


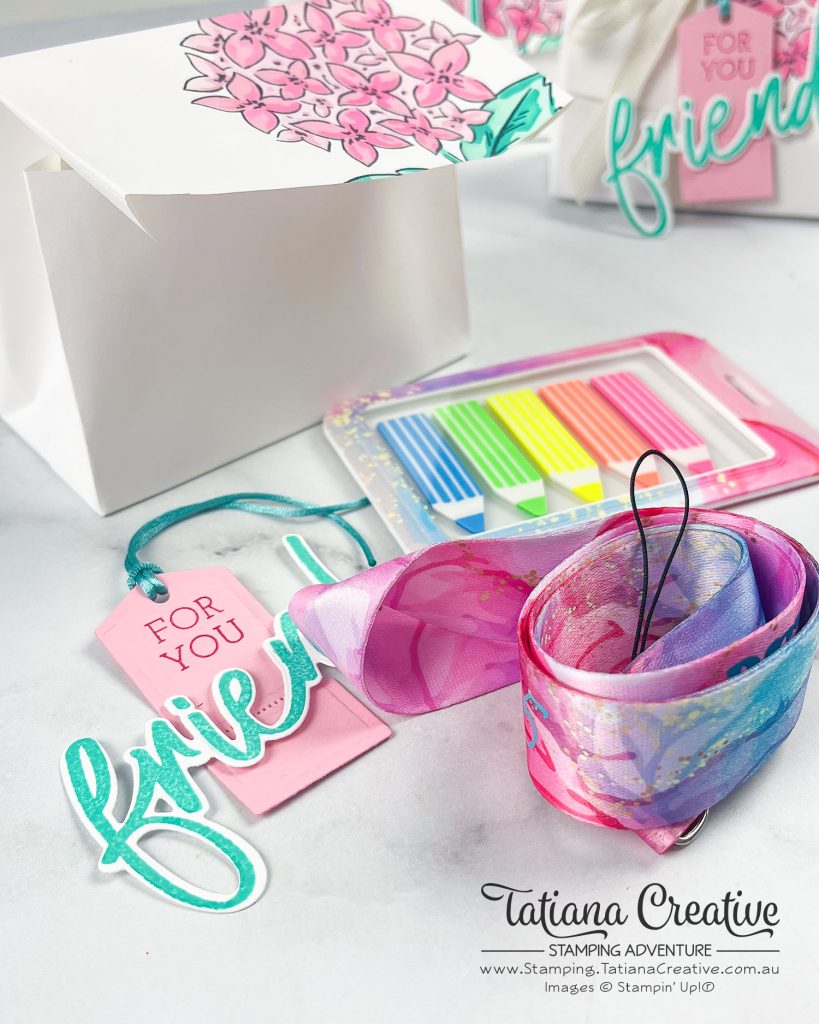
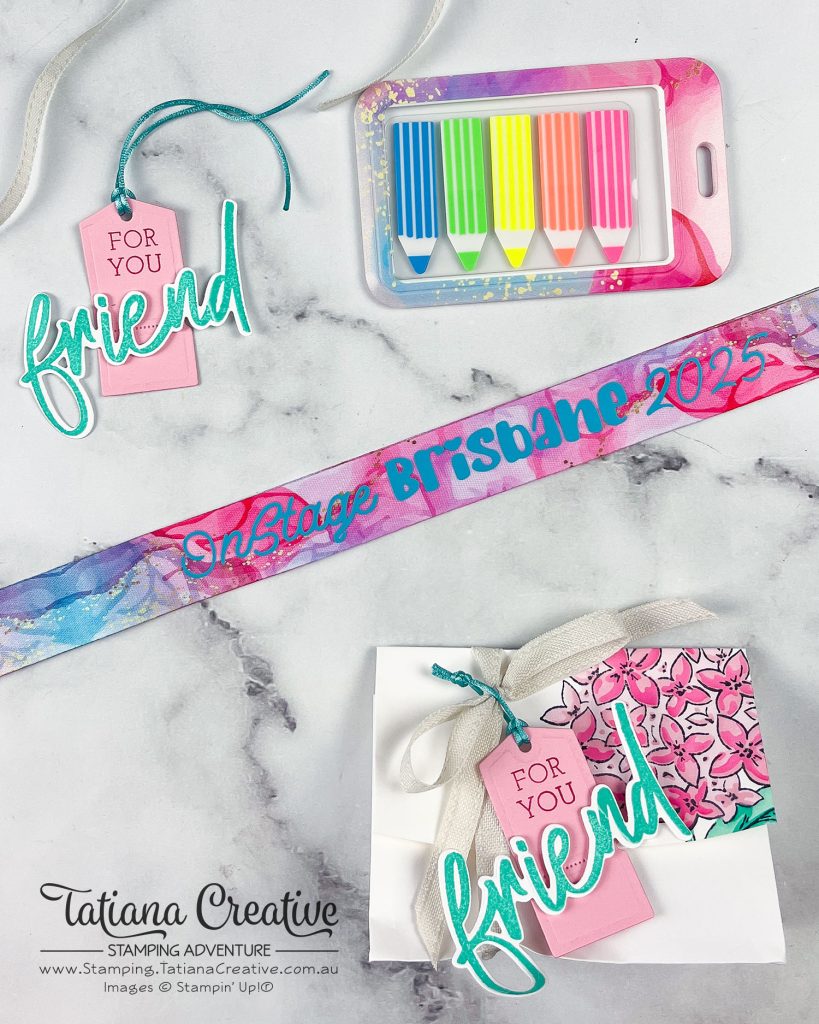
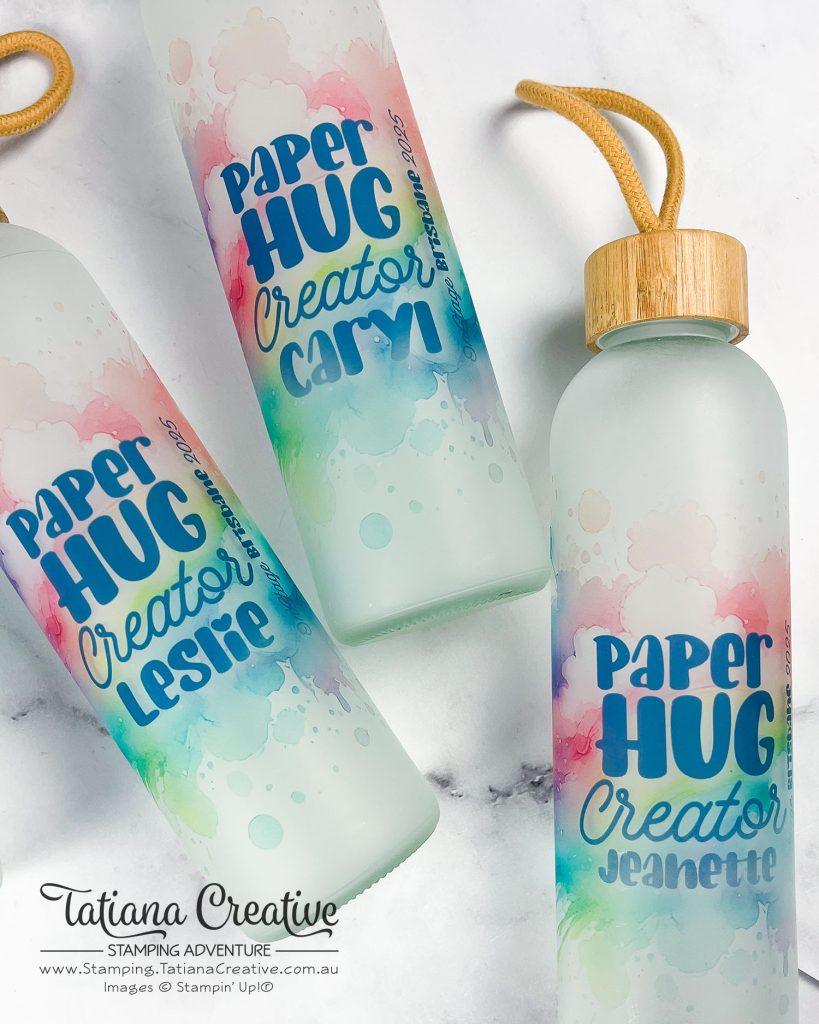
Hello Creative Friends! This past weekend, I had the most wonderful time at Stampin’ Up!® OnStage, celebrating creativity and connection with my amazing team and upline! To show my appreciation, I crafted special gifts for my team, beautifully packaged using the Thankful Garden Bundle. Each team member received a stylish lanyard, fun pencil-shaped page markers (to mark all the fantastic new products in the upcoming 2025-2026 Annual Catalogue), and a personalised frosted water bottle featuring the phrase “Paper Hug Creator.” It was such a joy to create these heartfelt gifts and share an unforgettable weekend filled with inspiration, stamping, and friendship!

[Want to recreate this project? You’ll find all the supplies I used at the end of this post, conveniently linked to my Stampin’ Up! online store. I’d love to be your demonstrator and appreciate your support—it means the world to me on this creative journey!]
Envelope Gift Bag Details:
- To create the gift packaging, I used the C6 Basic White Envelope. First I stamped the hydrangeas from the Thankful Garden Bundle. Using the coordinating Thankful Garden Decorative Masked I ink blended to colour them in. I used the following colours:
- Mask #1 Bubble Bath
- Mask #2 Pretty in Pink
- Mask #3 Melon Mambo
- Mask #4 Coastal Cabana
- Mask #5 Summer Splash
- Then I scored along the two sized and bottom of the envelope at 1″, burnish the folds and created small triangles to form a flat base. I adhere the triangles to the bottom. This was inspired by a live vide CEO of Stampin’ Up!® Sara Douglass did a long time ago. You can watch her quick video by clicking here.
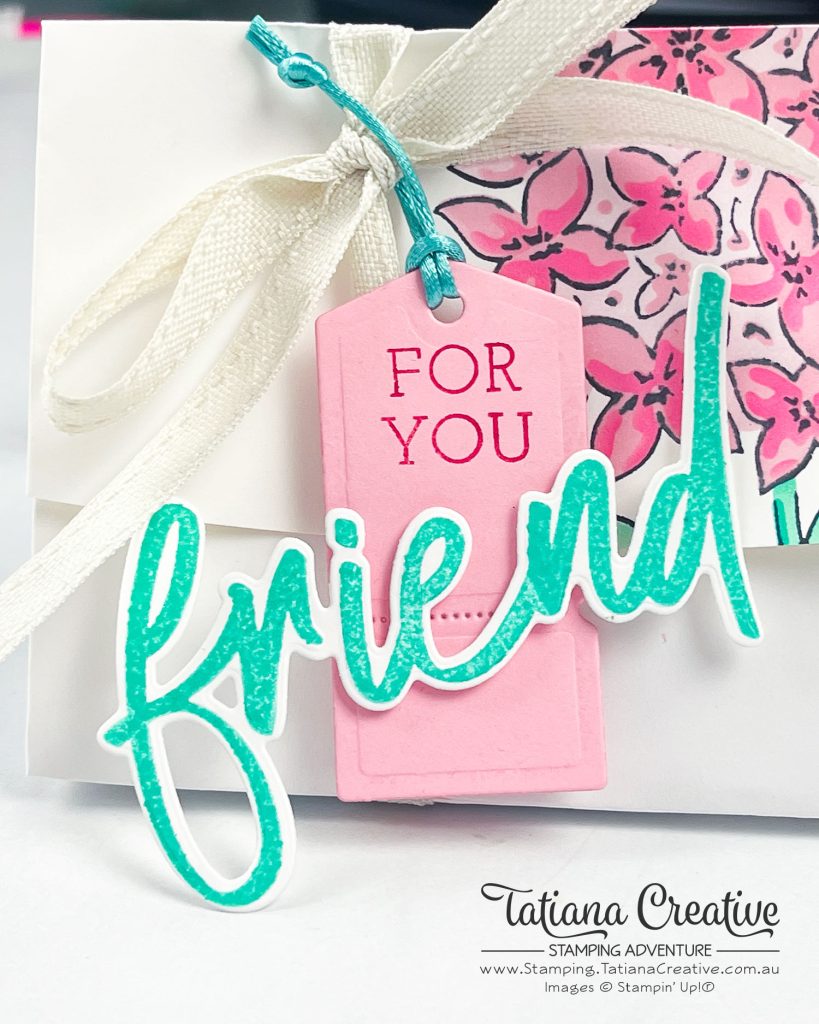
- Die cut out from Pretty In Pink the tag from the Tags To Go Dies that has a tear off section. Using the Friends For Life stamp set and Melon Mambo ink, stamp For You. TIP: I used the “So Excited For You” sentiment and just masked and inked single words to stamp it.
- On some Basic White stamp in Summer Splash the sentiment “friend” from the Friends For Life stamp set and then die cut out using the coordinating dies Adhere to the tag using Stampin’ Dimensionals.
- Add your gift inside and then tie a piece of Basic Beige Bordered Ribbon around
- Attach the tag using Lost Lagoon Soft Cording and tying it to the ribbon.
Thank you so much for visiting my blog! I hope today’s project has inspired you to get creative and try something new.
Until next time,
Tatiana
- Join Stampin’ Up!® to start getting your products at 20% discount: CLICK HERE
- Request a Catalogue to see what products you can purchase: CLICK HERE
- Subscribe to my newsletter to keep up to date with the latest news: CLICK HERE
- Follow me on Facebook for regular updates and inspiration: CLICK HERE
- Go SHOPPING for clearance items and specials: CLICK HERE
If you’re in Australia, you can shop Stampin’ Up!® products through my online store. I’d love to be your demonstrator and help you find the perfect supplies for your next creative project!
Supplies:
You can purchase the of the supplies I used in this project. Please click on the image below to purchase. Thank you for your support.
")
")


 Bordered Ribbon")


Basic Supplies:
I highly recommend the following basic supplies to make your paper crafting experience easier. I use this products in every project.


