Hello Everybody! Welcome to my blog!
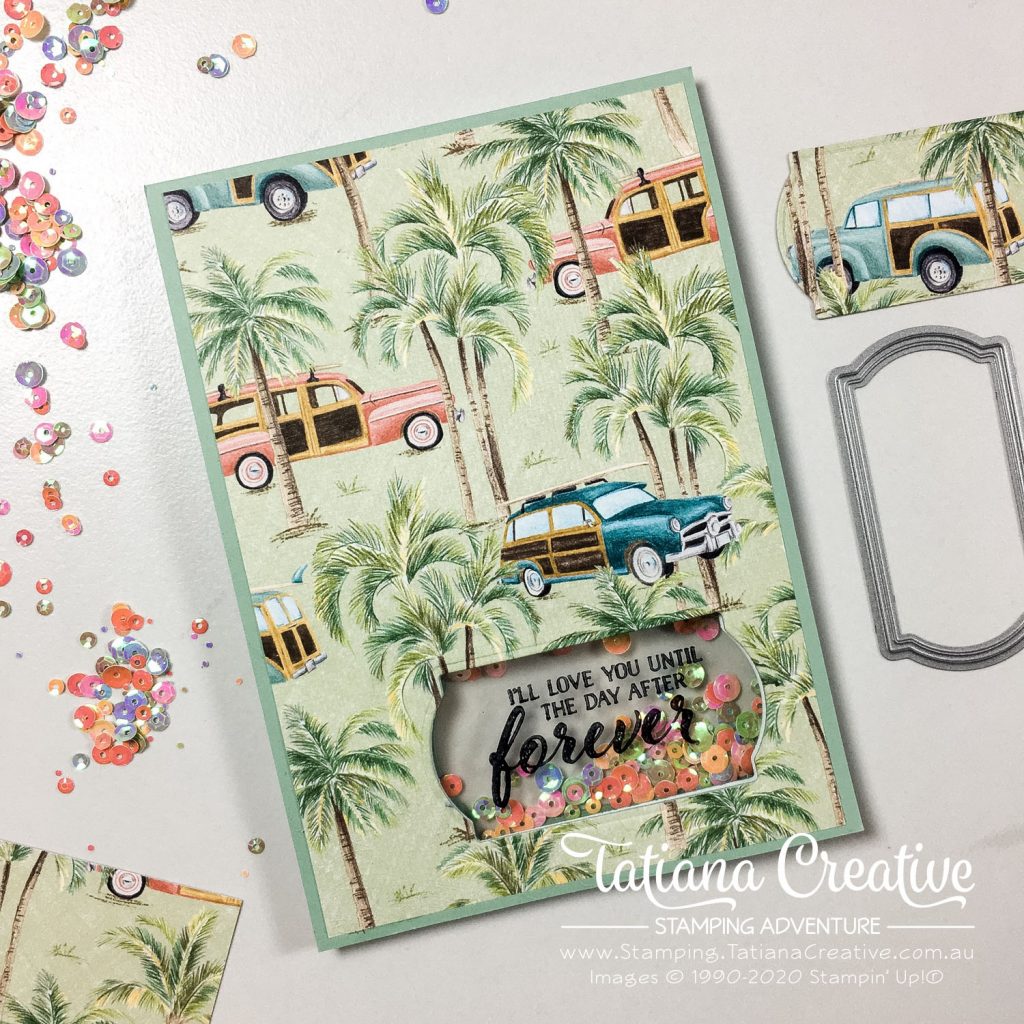
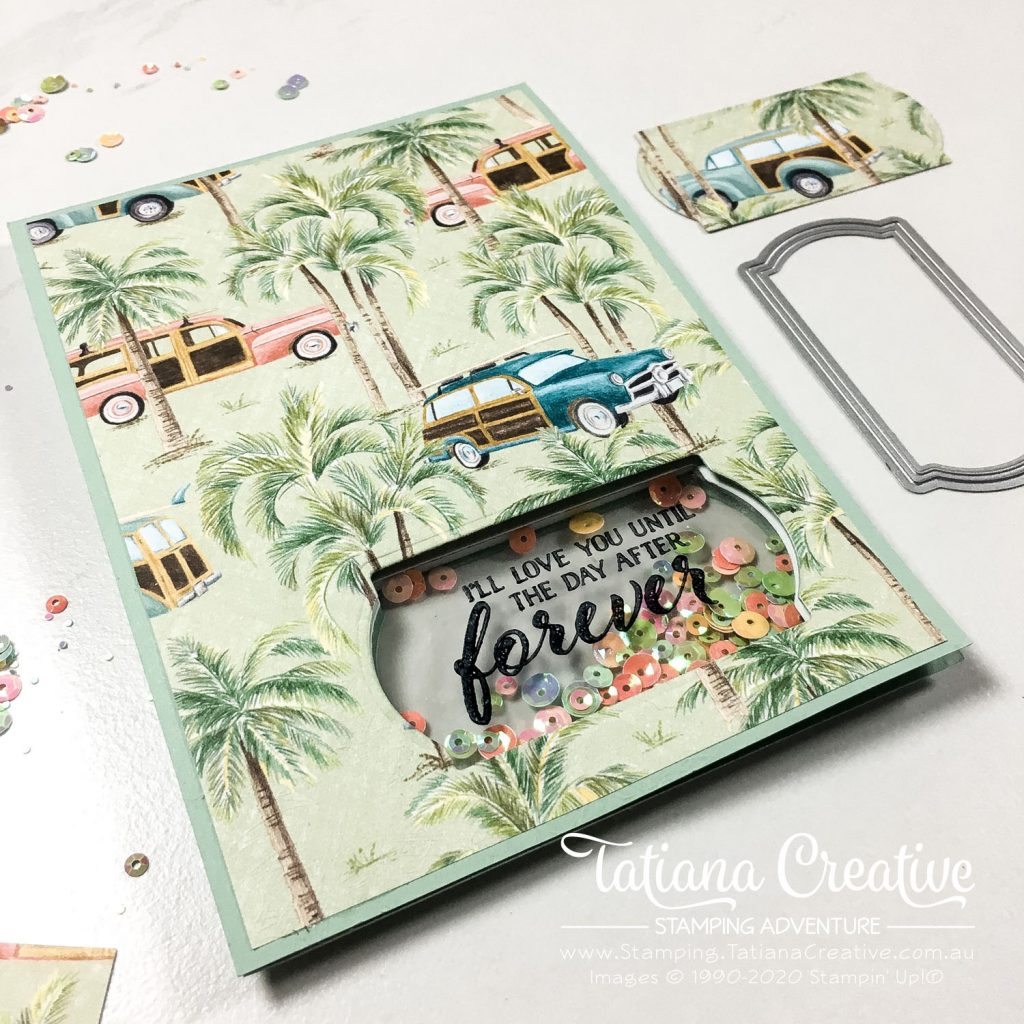
Yesterday was my wedding anniversary. I like to joke that our marriage is now a teenager LOL but hubby has suggested that we simply celebrate our 12th again and then jump to 14th next year! Either way, I wanted to celebrate the occasion with a card! Hubby likes cars and we love taking tropical holidays, the Tropical Oasis DSP had the PERFECT pattern for my card:

[Want to recreate this project? You’ll find all the supplies I used at the end of this post, conveniently linked to my Stampin’ Up! online store. I’d love to be your demonstrator and appreciate your support—it means the world to me on this creative journey!]
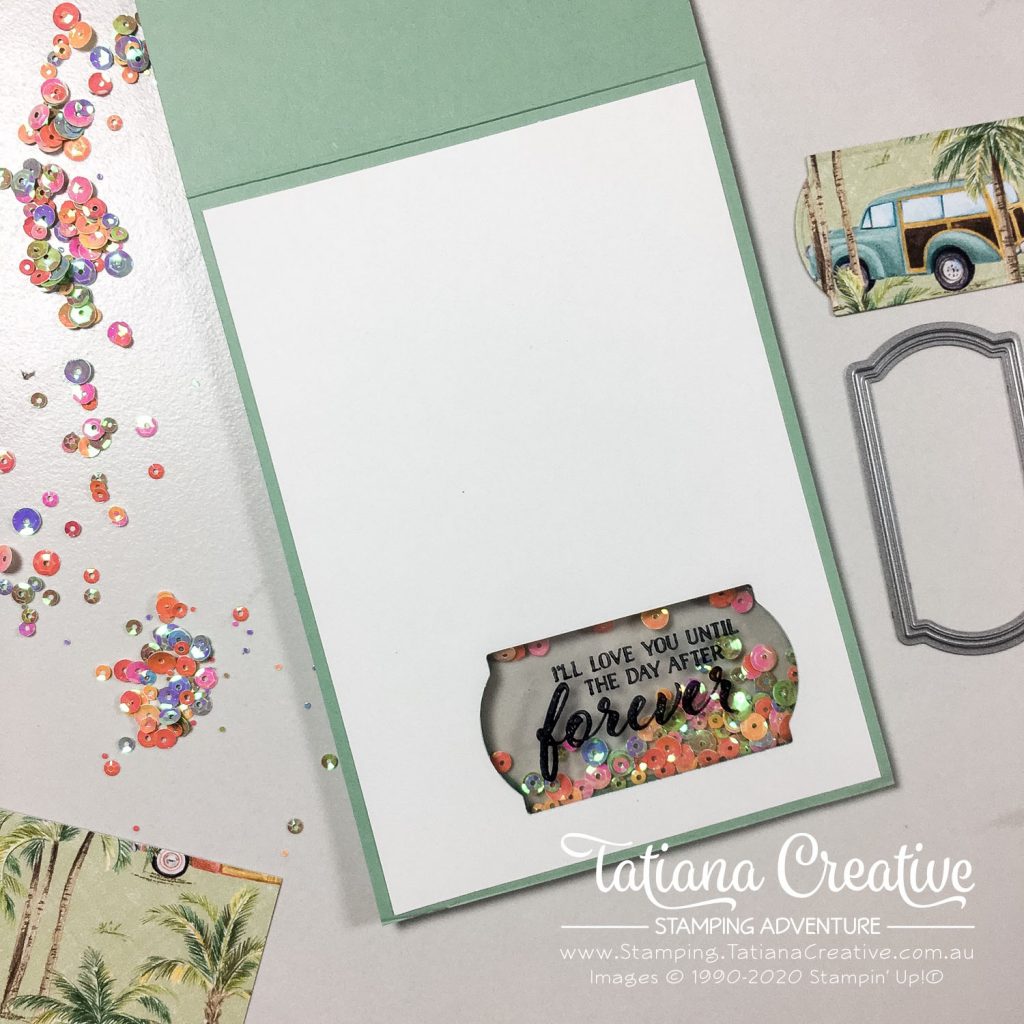
The extra fun part of this card (apart form the DSP) is the shaker aspect of the card. This is no ordinary shaker card. I was inspired by Jennifer McGuire’s video on See-Through Shaker Cards. In this technique the shaker aspect of the card is visible on the front and inside of the card (and back too!). AND the shaker element is on the back of the card and not on the front as usual.

Card Details:
- Card Base: Mint Macaron
- Card Front: Tropical Oasis DSP (10 x 14.3cm)
- Card Back: Mint Macaron (10 x 14.3cm)
- Card Insert: Whisper White (10 x 14.3cm)
- Window: the smaller label die from the Painted Labels Dies. TIP: keep the cut outs for another project.
- Window Sheet: two pieces larger than the label die.
- Create the windows by die cutting a number of time. First die cut from the front of the card base (not including the DSP), then fold the card base and place the die into the cut hole and run though the die cutting machine one more time. This creates the window in the exact same position on both sides of the card base.
- To create the window from the card front, card insert, and card back you simply place the piece onto the card base lining it up as it should sit, then place the die from the inside or back of the card through the cut out and run though the die cutting machine.
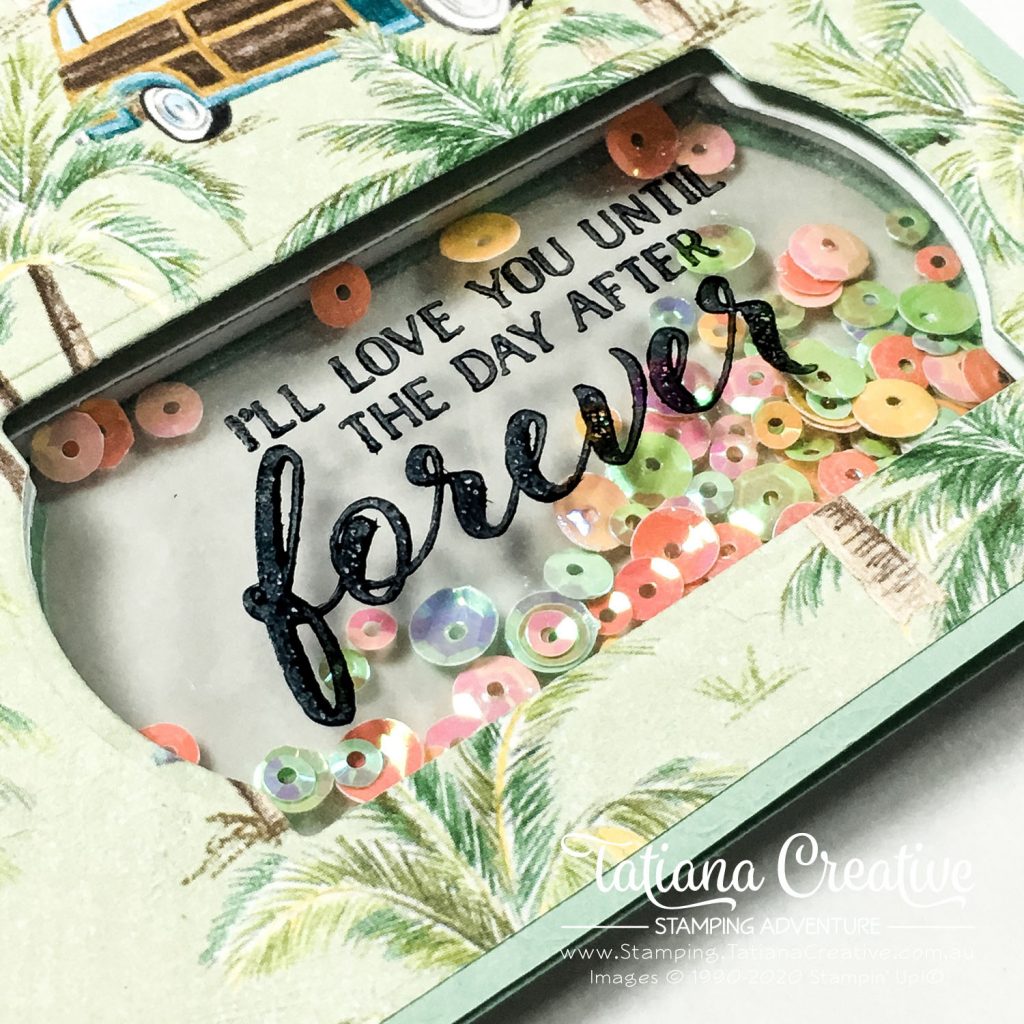
- Take one of your Window Sheets and stamp your sentiment in Stazon Ink. I used Jet Black colour. The sentiment I chose was from the Forever Lovely stamp set “I’ll Love you until the day after forever”. I thought this was perfect for a wedding anniversary card. TIP: When using Stazon Ink alway use the Stazon Cleaver to remove the ink. Water and regular cleaner are not enough. When using a photopolymer stamp with Stazon on I also recommend the Stamp Cleaning Pad, it will remove most of the staining from your stamp.
- Adhere the card front DSP to the card front. If you wanted to not have a hole there you could add a piece of window sheet between the DSP and card base. I didn’t.
- To assemble the card. First adhere the window sheet with your sentiment to the back of the card base (so essentially what usually is the back of your card). I recommend using Tear & Tape Adhesive.
- Keeping the card face down on the table add Foam Adhesive Strips around the opening of the window. Sprinkle some shaker elements into the window area. I used the Iridescent Sequin Assortment.
- Add the other window sheet to the card back using Tear & Tape. I then added Foam Adhesive Strips to the edge of the card back on the same side as the window sheet is adhered to.
- Remove the release paper from the Foam Adhesive Strips and place the card back onto the card base, aligning where the window is.

I love how the sequins are behind the sentiment! The DSP and the Iridescent Sequin coordinate really well together.

There’s still plenty of space to write a love note too! Do you make shaker cards? Have you ever tried to make one where the shaker element is though the whole card? I would love to hear about your cards!
Thank you so much for visiting my blog! I hope today’s project has inspired you to get creative and try something new.
Until next time,
Tatiana
- Join Stampin’ Up!® to start getting your products at 20% discount: CLICK HERE
- Request a Catalogue to see what products you can purchase: CLICK HERE
- Subscribe to my newsletter to keep up to date with the latest news: CLICK HERE
- Follow me on Facebook for regular updates and inspiration: CLICK HERE
- Go SHOPPING for clearance items and specials: CLICK HERE
If you’re in Australia, you can shop Stampin’ Up!® products through my online store. I’d love to be your demonstrator and help you find the perfect supplies for your next creative project!
Supplies:
You can purchase the of the supplies I used in this project. Please click on the image below to purchase. Thank you for your support.


