Hello everybody!
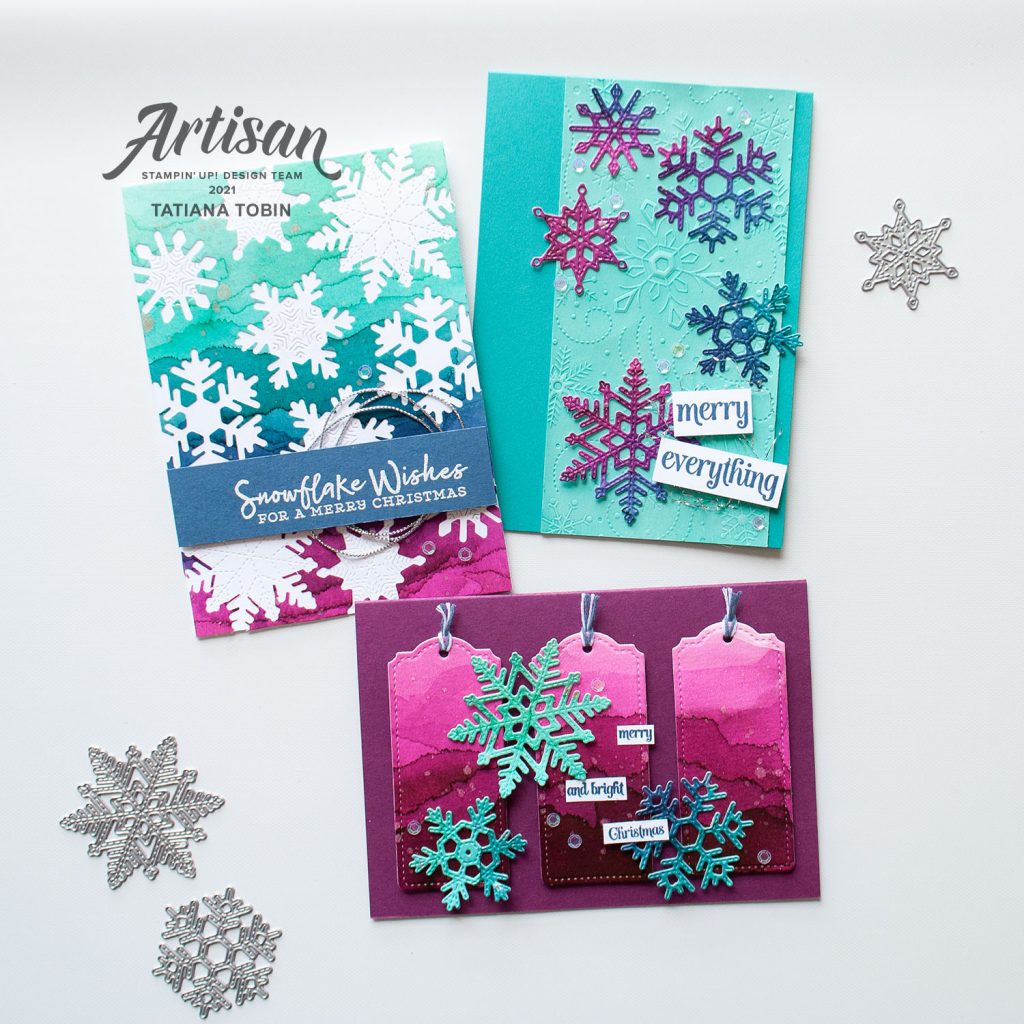
Welcome to my blog. Today I’m so excited to finally share with you my Artisan projects that were created for the Stampin’ Up!® Facebook page. I had so much fun creating these cards. Over my time as a demonstrator, every year there has been a new snowflake themed bundle. Even though I don’t live anywhere near the snow, snowflakes really fascinate me and I love that I can create with them. What I’m also excited about this set of projects is that I started with one watercolour background and then used all of it to create three different cards:
[Want to recreate this project? You’ll find all the supplies I used at the end of this post, conveniently linked to my Stampin’ Up! online store. I’d love to be your demonstrator and appreciate your support—it means the world to me on this creative journey!]
Watercolour Background:
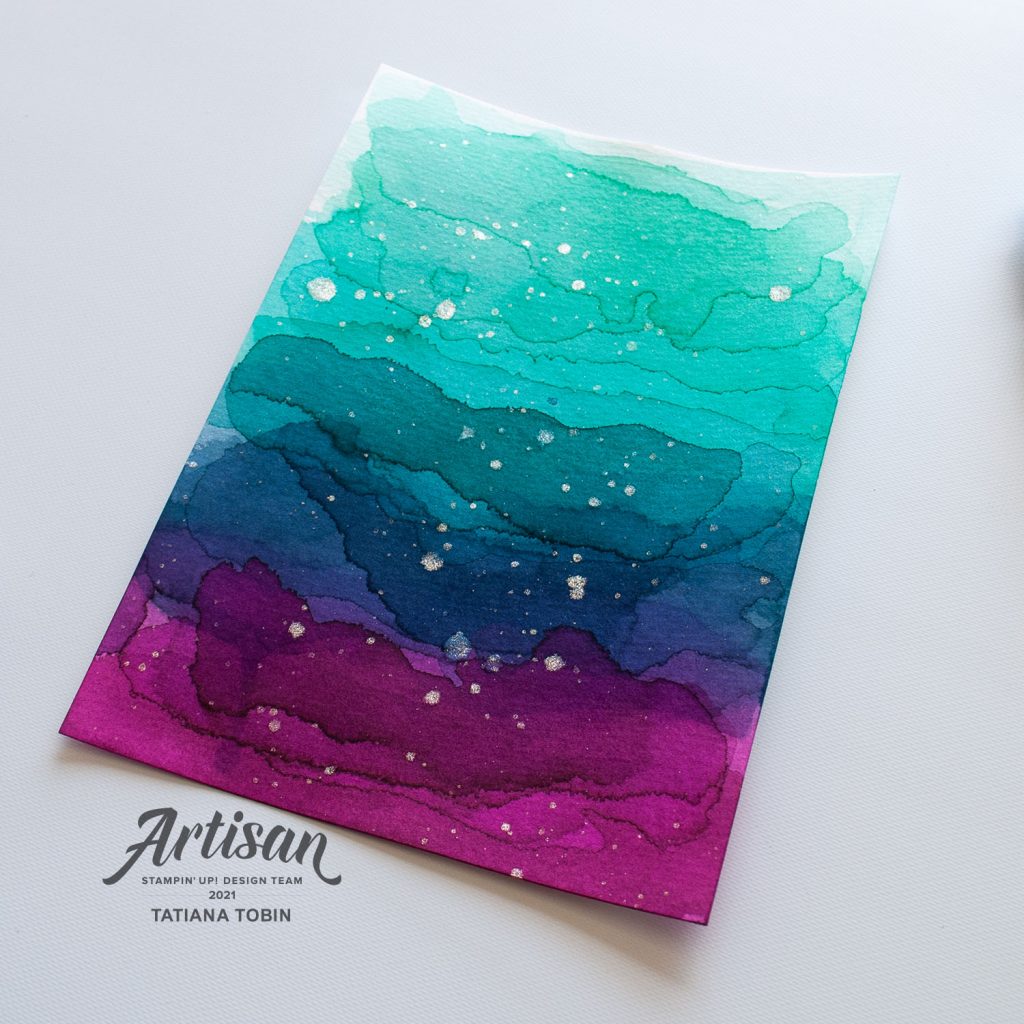
To create the watercolour background I layered light washes of colour (Coast Cabana, Bermuda Bay, Misty Moonlight, & Rich Razzleberry) and heat dried each wash. I filmed the process so that you can see:
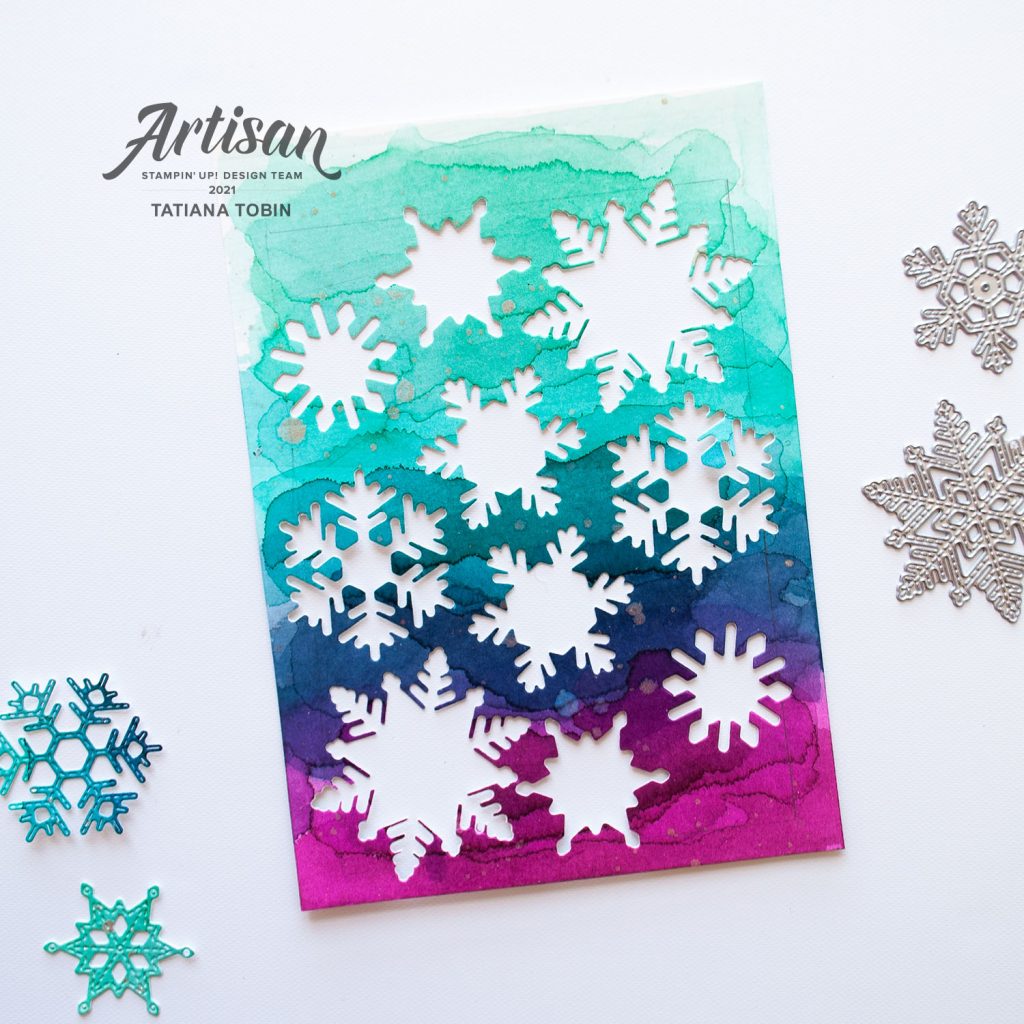
Once the wash was dried, I marked out in pencil the size of a card base and then die cut out lots of snowflakes:
Snowflake Wishes Card
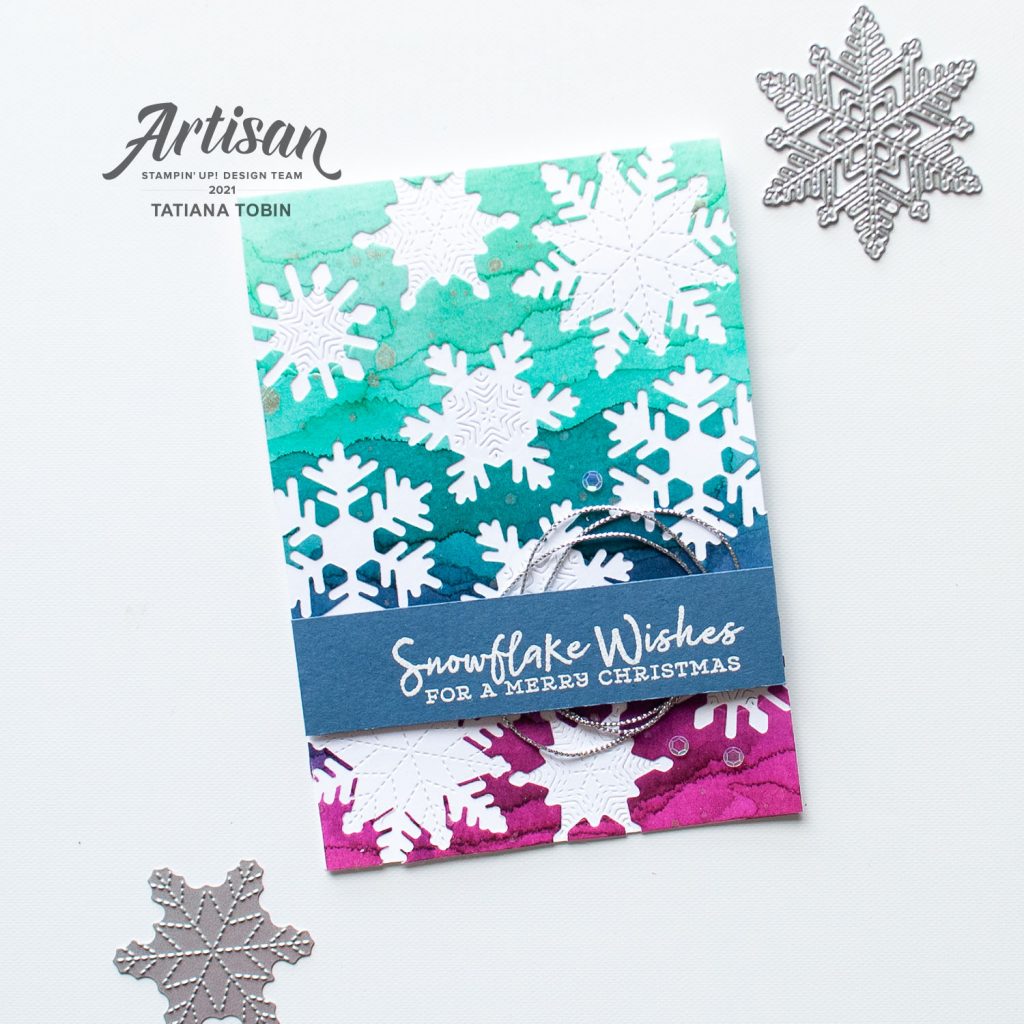
- Card Base: Basic White Thick (top folding, portrait)
- Sentiment Label: Misty Moonlight (10.5 x 2.5 cm)
- Adhere the watercolour background to the card base. I trimmed it once it was on the card base, I found this to be a better way to insure all the edge pieces are in place.
- Emboss some stitched snowflake details from the Stitched Snowflake dies. This gives some fun added details to the big open areas of the snowflakes.
- White heat emboss the sentiment “Snowflake Wishes for A Merry Christmas” onto the sentiment label.
- Behind where the sentiment label will go, adhere some of the silver Simply Elegant Trim. TIP: add a strip of Tear & Tape and add the trim, you can re-arrange it till you are happy.
- To finish off the card, add some of the adhesive backed sequins from the Expressions In Ink Ephemera Pack.
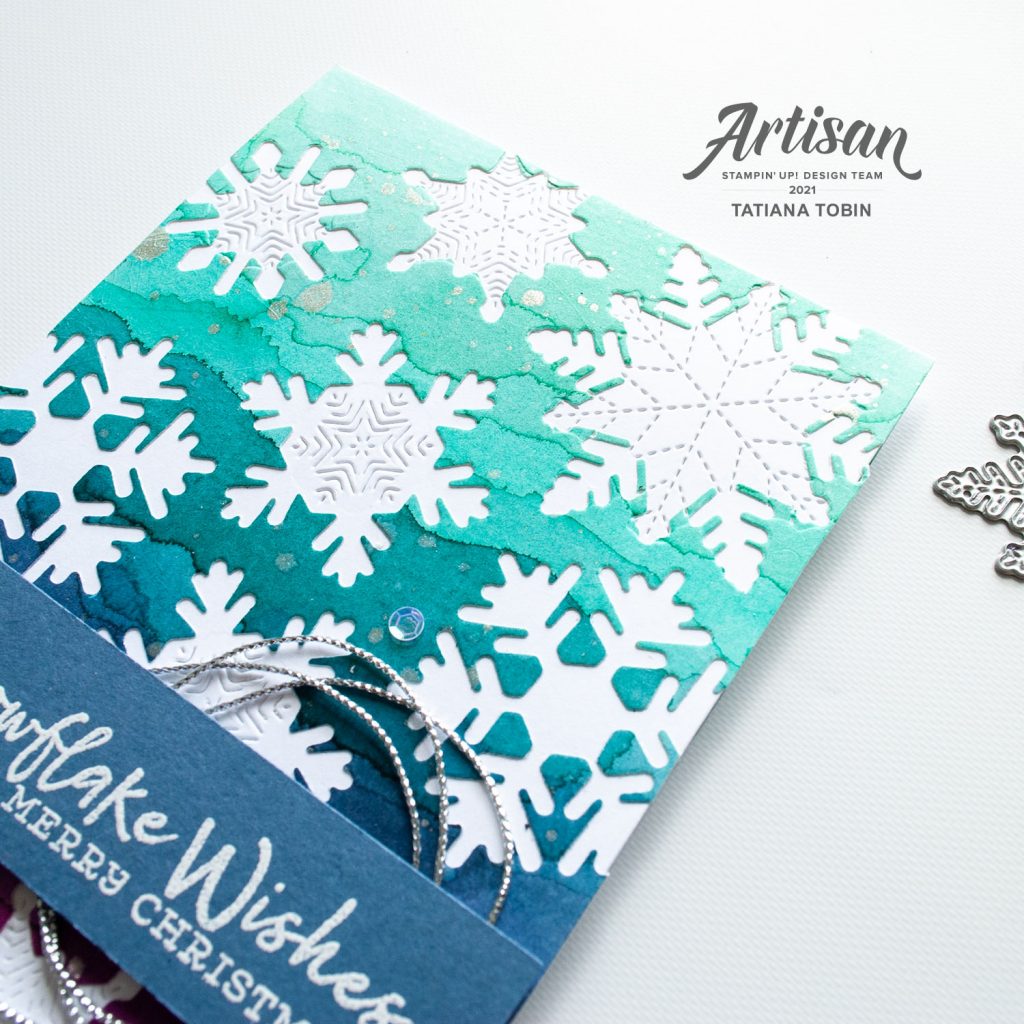
I love the detail of the stitched embossed snowflakes.
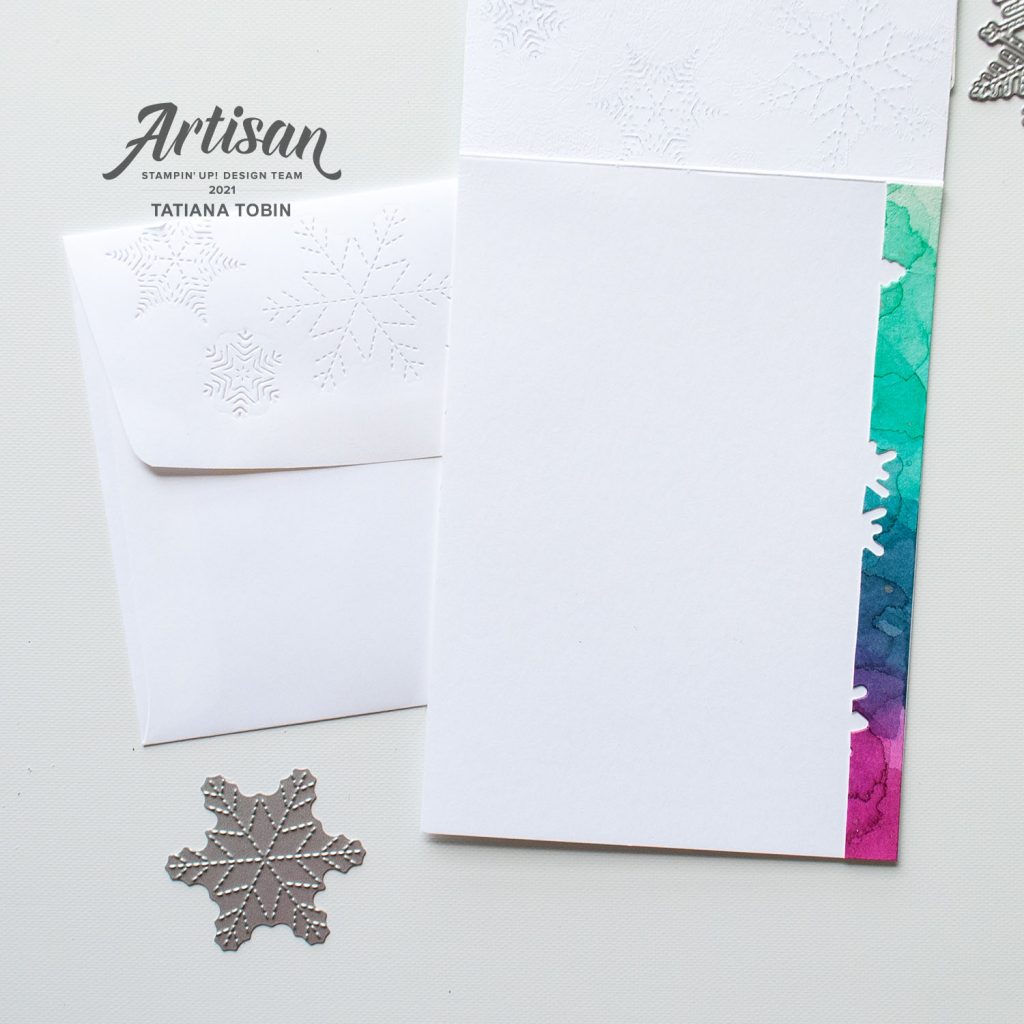
To complete this project, I added a strip of the watercolour background to the inside of the card and embossed the stitched snowflakes onto the envelope flap.
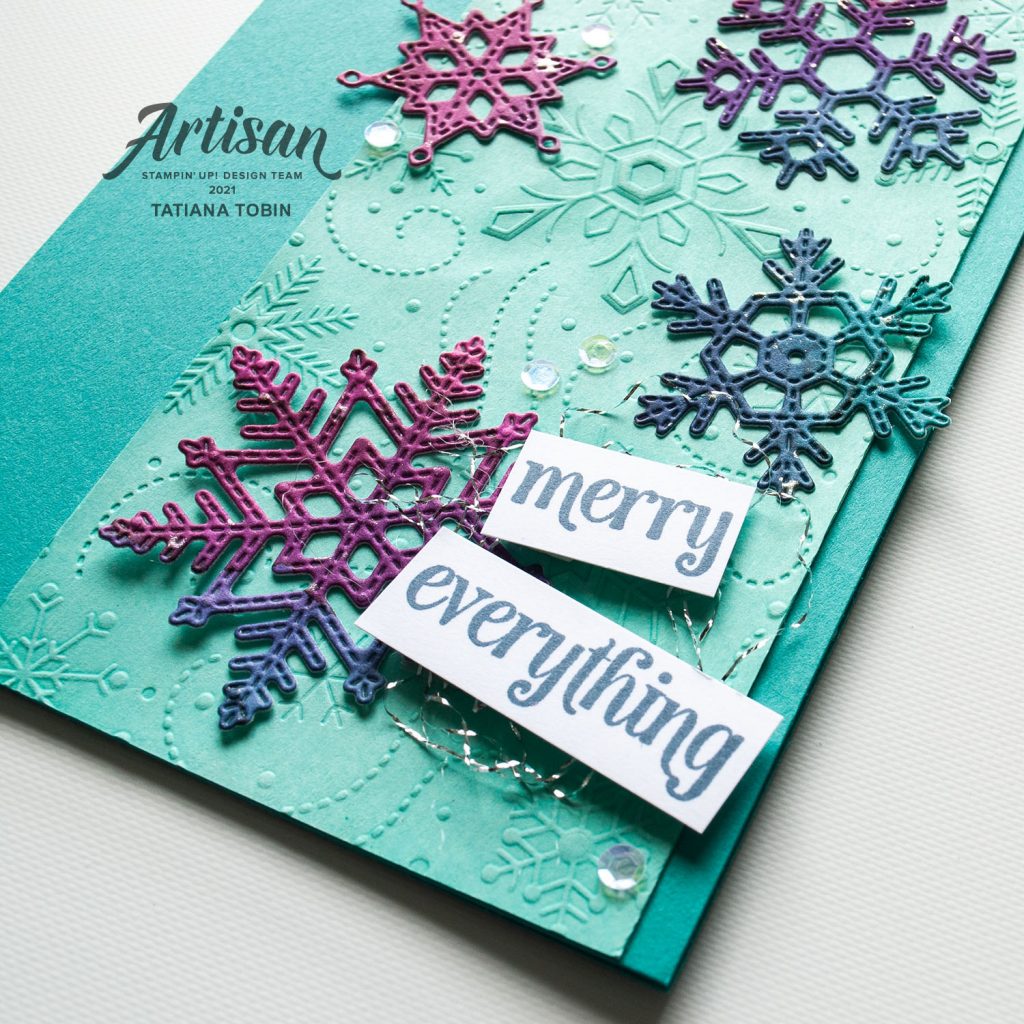
Merry Everything Card:
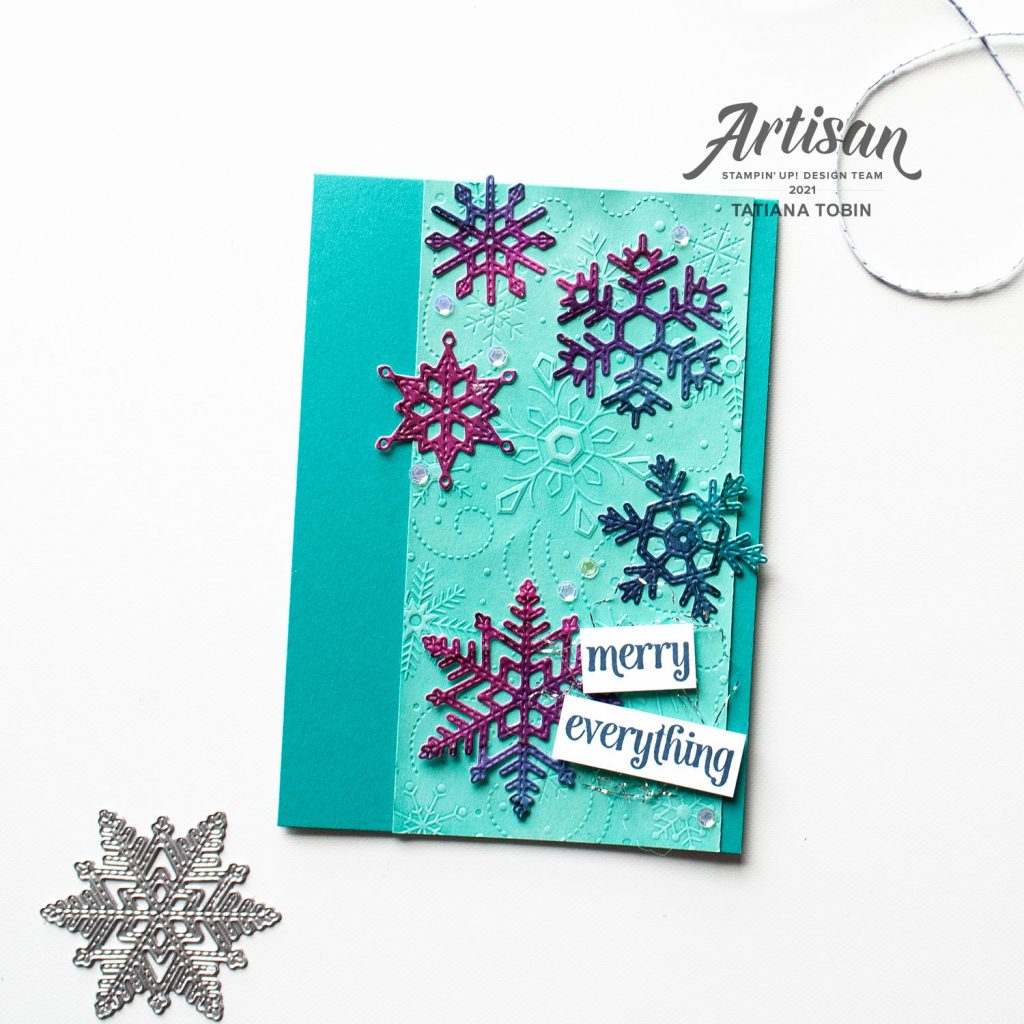
- Card Base: Bermuda Bay (top folding, portrait)
- Card Front: Coastal Cabana (7.5 x 14.8 cm)
- Sentiment: Basic White
- Emboss the card front using the snowflake embossing folder from the Wintry #D Embossing Folders. To enhance the snowflakes lightly blend some Bermuda Bay ink into them using a Blending Brush, and then using a Sponge Dauber add some Whisper White Craft Ink. Adhere to the card base.
- Add the more purple and blue snowflake die cuts from the watercolour background to the card.
- Stamp the sentiment “merry everything” in Misty Moonlight onto Basic White. Trim and cut so that there’s two parts.
- Separate the twine from the Flowers For Every Season Ribbon Combo Pack and using the silver thread, add to the card behind the sentiment. TIP: Don’t throw out the left over white and Misty Moonlight twin, it will be used on the next project.
- Finish off by adding some of the adhesive backed sequins from the Expressions In Ink Ephemera Pack.
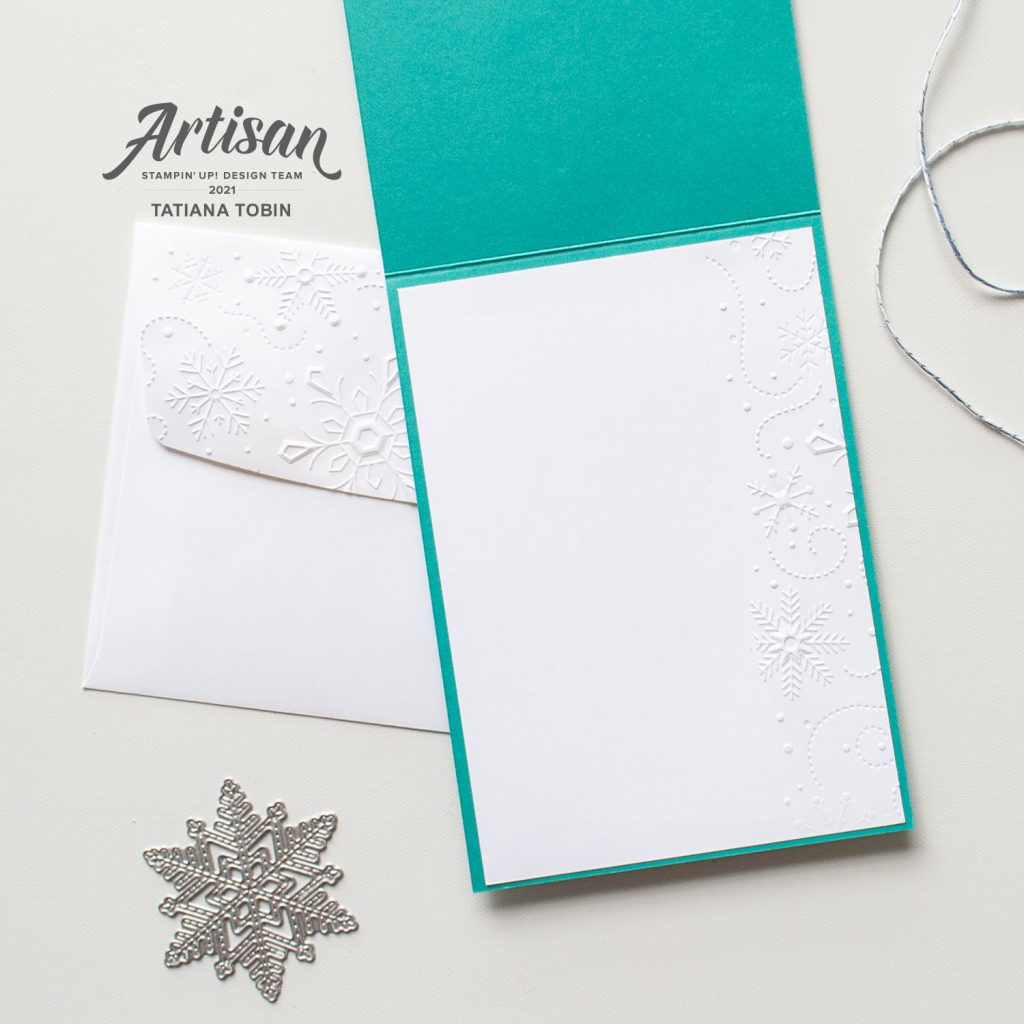
To complete this project I embossed the snowflakes onto the envelope flap and to the right edge of the card insert.
Merry And Bright Christmas Card:
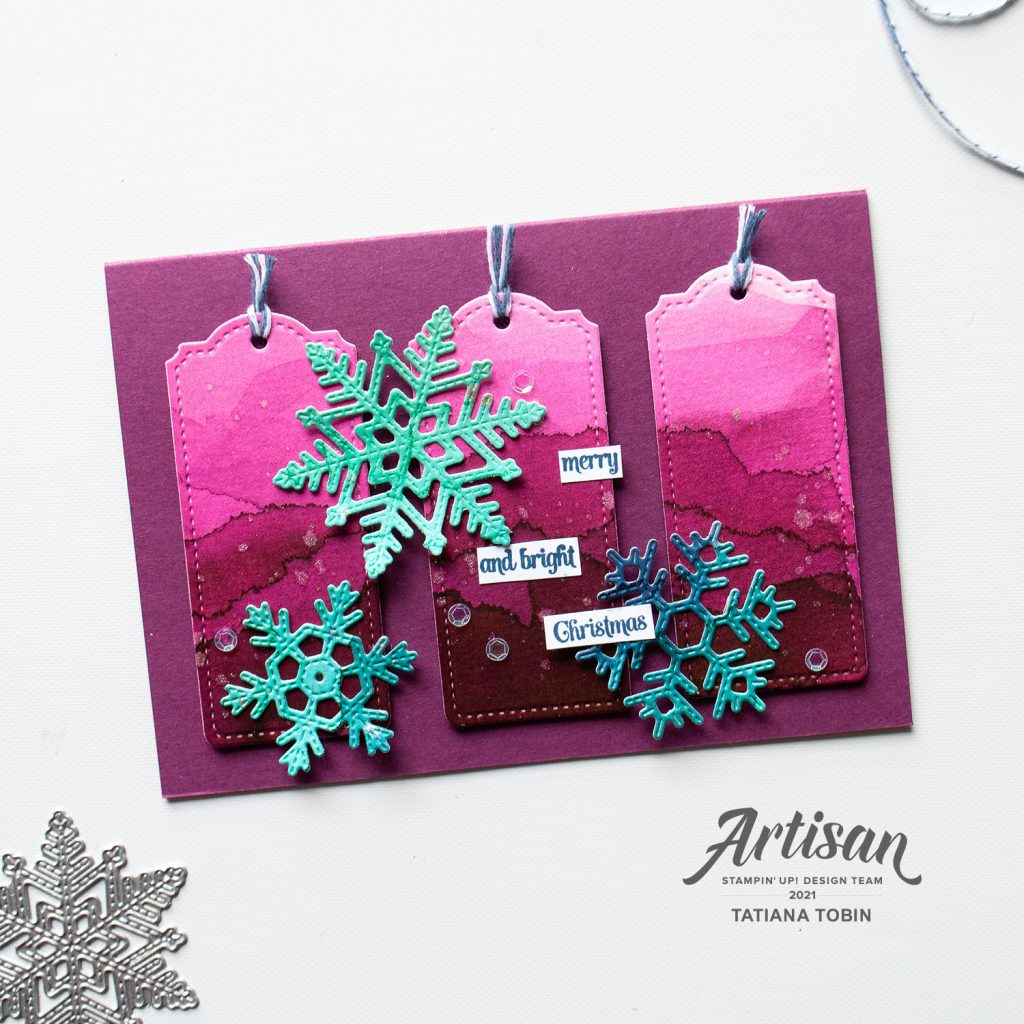
- Card Base: Rich Razzleberry (top folding, landscape)
- Gift Tags: Fluid 100 Watercolor Paper
- Sentiment: Basic White
- Create another watercolour background using the same process as in the above video, but this time only using Rich Razzleberry and creating an ombre look. Add the Wink of Stella slats. Die cut out three of the same tags from the Tailor Made Tags Dies. Tie on the white and Misty Moonlight twine left over from the previous card.
- Adhere the tags to the card base using Stampin’ Dimensionals, spacing them out evenly.
- Add the more Coastal Cabana / Bermuda Bay / Misty Moonlight snowflake die cuts from the watercolour background.
- Stamp in Misty Moonlight the sentiment “May your days be merry and bright And may all your Christmases be white” onto Basic White cardstock. I masked the words I wanted (“merry” “and bright” “Christmas”) and stamped them individually. Then trimmed and added to the card.
- Finish off by adding some of the adhesive backed sequins from the Expressions In Ink Ephemera Pack.
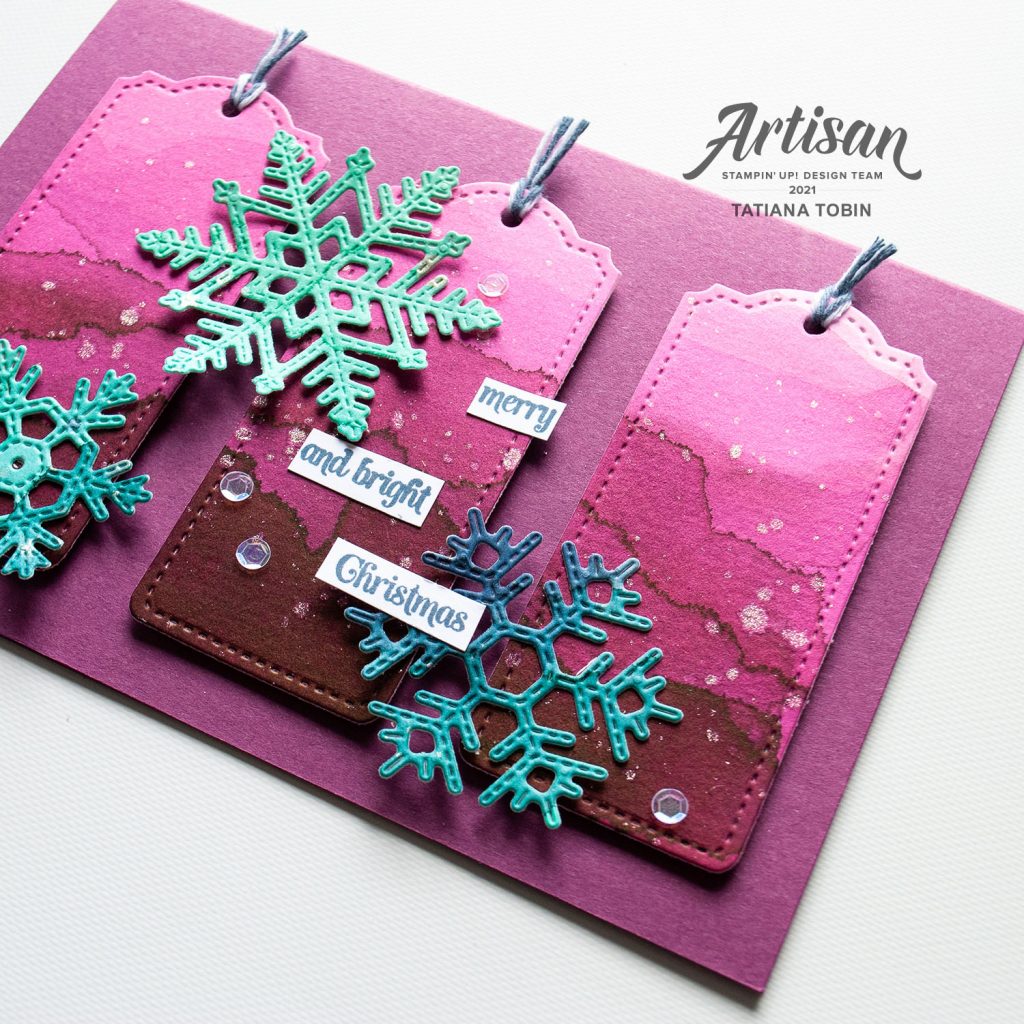
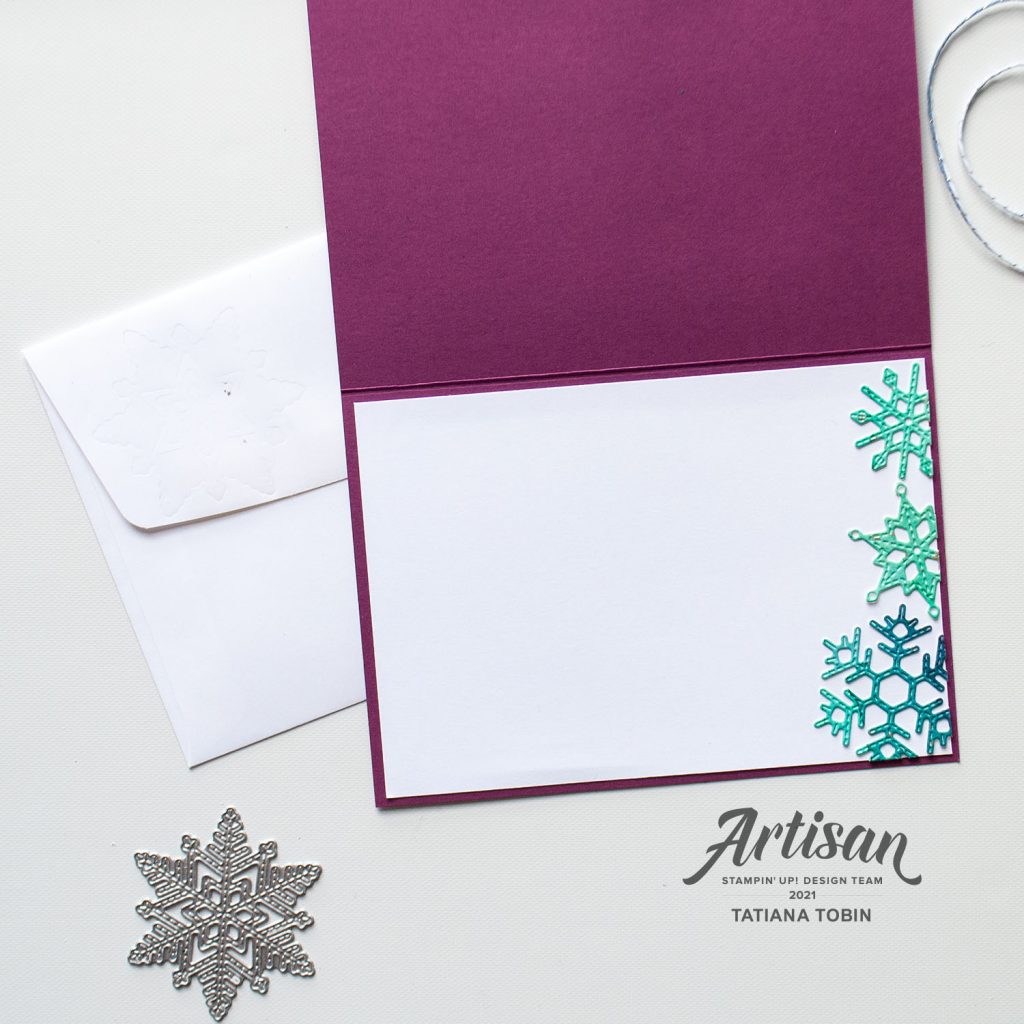
To complete the card, I added the left over snowflakes to the inside of the card and embossed the snowflake die into the envelope flap. To emboss a die, turn it cutting side up and run through the embossing folder.
Hope you have been inspired to try some watercoloring background and to use all the parts to create more than one project.
Thank you so much for visiting my blog! I hope today’s project has inspired you to get creative and try something new.
Until next time,
Tatiana
- Join Stampin’ Up!® to start getting your products at 20% discount: CLICK HERE
- Request a Catalogue to see what products you can purchase: CLICK HERE
- Subscribe to my newsletter to keep up to date with the latest news: CLICK HERE
- Follow me on Facebook for regular updates and inspiration: CLICK HERE
- Go SHOPPING for clearance items and specials: CLICK HERE
If you’re in Australia, you can shop Stampin’ Up!® products through my online store. I’d love to be your demonstrator and help you find the perfect supplies for your next creative project!
Supplies:
You can purchase the of the supplies I used in this project. Please click on the image below to purchase. Thank you for your support.


