


Hello everyone!
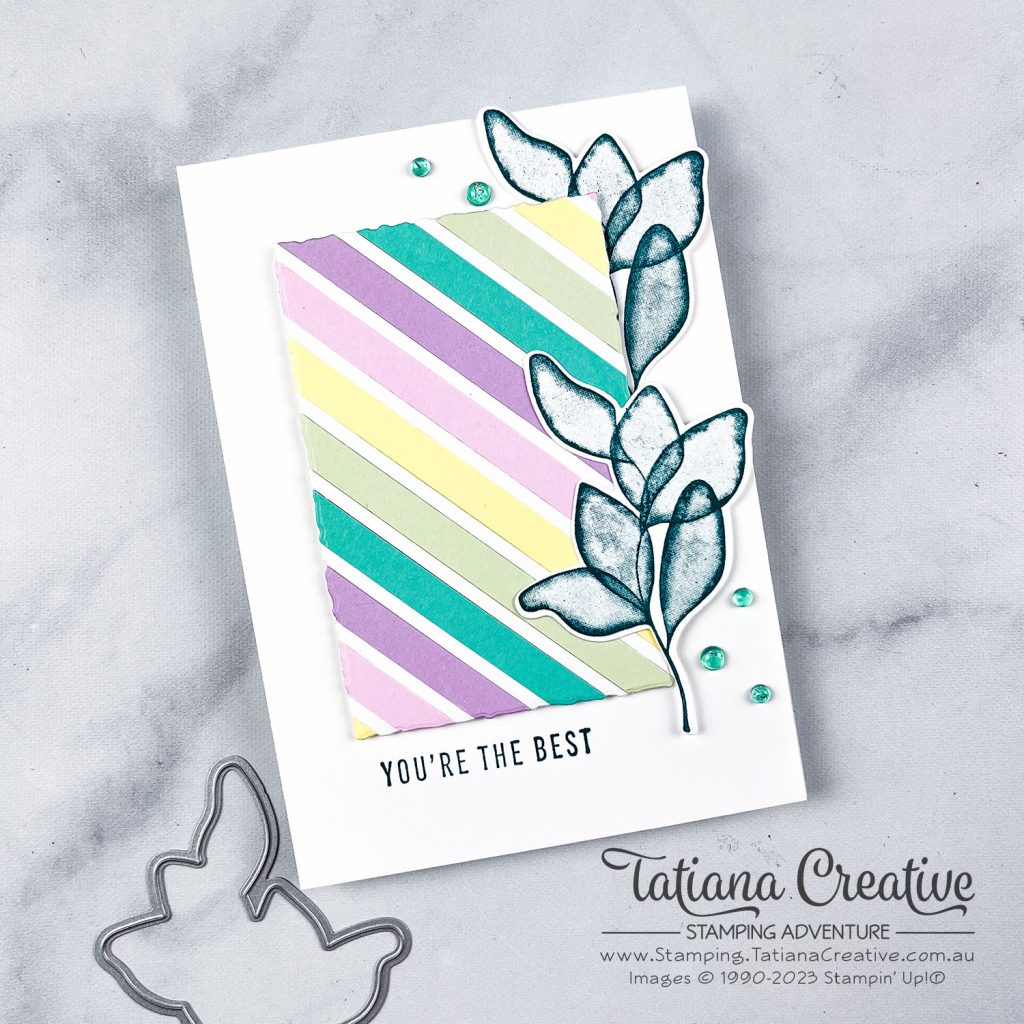
Welcome to my blog. Today I’m sharing a project I created for Stampin’ Fancy Friday. This month the challenge was Stripes and Spots. I love creating stripy backgrounds using scraps. I combined it with upcoming bundle Translucent Florals in the 2023 September – December Mini Catalogue. I was able to pre-order this stamp set as a demonstrator who attended Creativity Now – a demonstrator only creative event.
[Want to recreate this project? You’ll find all the supplies I used at the end of this post, conveniently linked to my Stampin’ Up! online store. I’d love to be your demonstrator and appreciate your support—it means the world to me on this creative journey!]
Card Details:
- Card Base: Basic White Thick
- Card Front: Basic White (10.5 x 14.85 cm)
- Card Insert: Basic White (10 x 14.35 cm)
- First I created the striped background. I used Coastal Cabana, Fresh Freesia, Bubble Bath, Lemon Lolly, with Basic White between each colour. The coloured stripes I cut at 8mm wide and the Basic White at 3mm wide. I cut mine but you can use scraps from your stash.
- To get the right angle on my stripes I first used grid paper as a guide to draw a 45 degree line on my piece of Basic White for the card front. (See photos below).
- Add some Adhesive Sheets to the front of the Basic White card front. I made it so that it didn’t go quite to the edge.
- Then line up the first colour with your pencil line. Add Basic White strip to either side and continue to build alternating the colours.
- You can trim off the excess and use them as it reaches smaller parts of the cardstock to cover.
- Once the card front has been covered trim off the excess that it measures back to 10.5 x 14.85 cm.
- Die cut out a Deckled Rectangle from the middle of this piece. I only used the die cut in this project. Watch on my social media for how I use the negative.
- Stamp two leaves sprigs in Pretty Peacock on Basic White cardstock from the Translucent Florals stamp set. Die cut out with coordinating die.
- Adhere the stripe panel to the card base using Stampin’ Dimensionals making sure one the leaves sprigs in behind. Add the second sprig on top.
- Stamp the sentiment “You’re The Best” underneath the strip panel.
- To finish off add some Tinsel Gems Three Pack in Lost Lagoon colour.
I also love to make sure the envelope and inside the card coordinate. I stamped the same leaves on both.
Thank you so much for visiting my blog! I hope today’s project has inspired you to get creative and try something new.
Until next time,
Tatiana
- Join Stampin’ Up!® to start getting your products at 20% discount: CLICK HERE
- Request a Catalogue to see what products you can purchase: CLICK HERE
- Subscribe to my newsletter to keep up to date with the latest news: CLICK HERE
- Follow me on Facebook for regular updates and inspiration: CLICK HERE
- Go SHOPPING for clearance items and specials: CLICK HERE
If you’re in Australia, you can shop Stampin’ Up!® products through my online store. I’d love to be your demonstrator and help you find the perfect supplies for your next creative project!
Supplies:
You can purchase the of the supplies I used in this project. Please click on the image below to purchase. Thank you for your support.
")


Basic Supplies:
I highly recommend the following basic supplies to make your paper crafting experience easier. I use this products in every project.


