


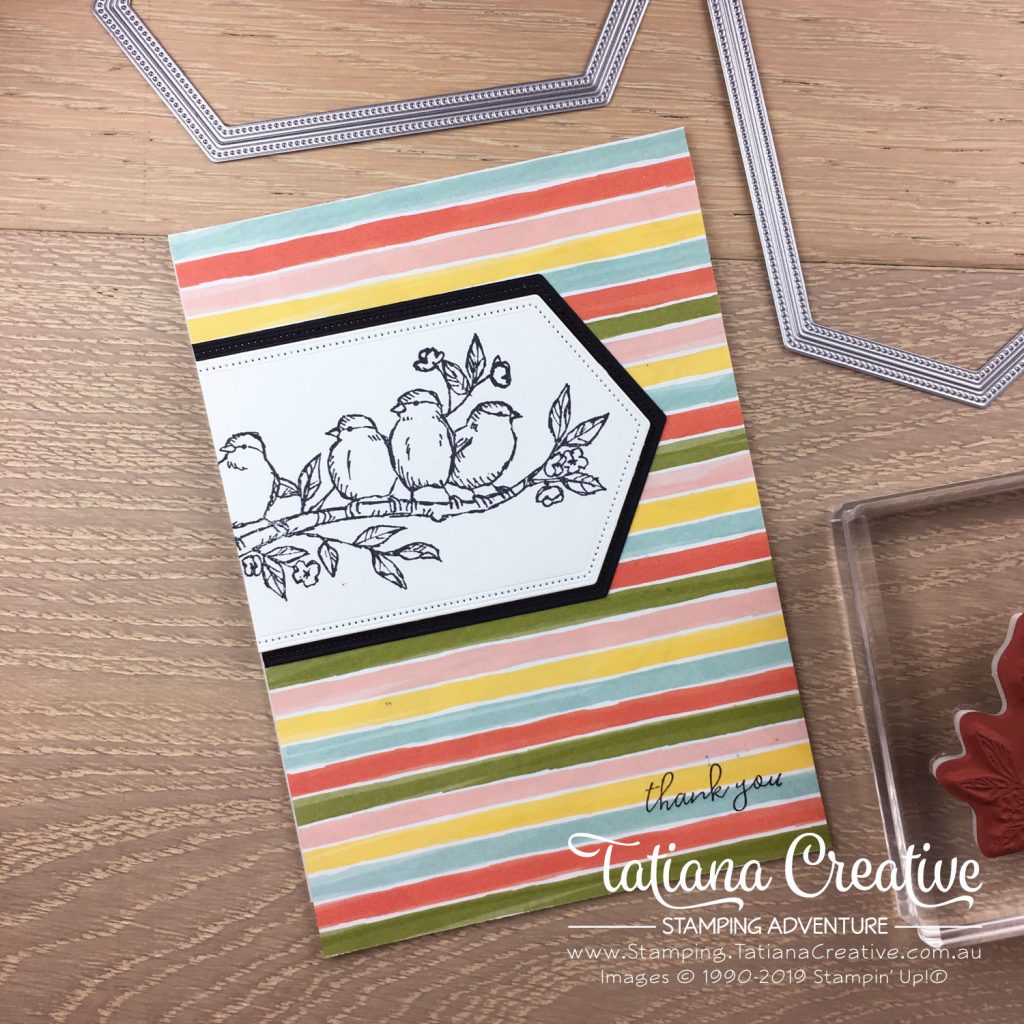
Today’s card is again really quick and easy to make. This time I have the full front of the card covered in DSP (Designer Series Paper). I have tried to not take away from the lovely colours in the DSP by not colouring in the stamped image.
[Want to recreate this project? You’ll find all the supplies I used at the end of this post, conveniently linked to my Stampin’ Up! online store. I’d love to be your demonstrator and appreciate your support—it means the world to me on this creative journey!]
Tips for creating this card:
- Stamp the image before you cut it. You can align the die quite easily where you want it.
- You can trim the Stitched Nested Label die cut and use only some of it. This gives you more uses for the dies.
- Attach the white Stitched Nested Label die cut to the black with Stampin’ Dimensionals to give it more interest.
- Stamp the sentiment “Thank You” on the lighter colours of the DSP
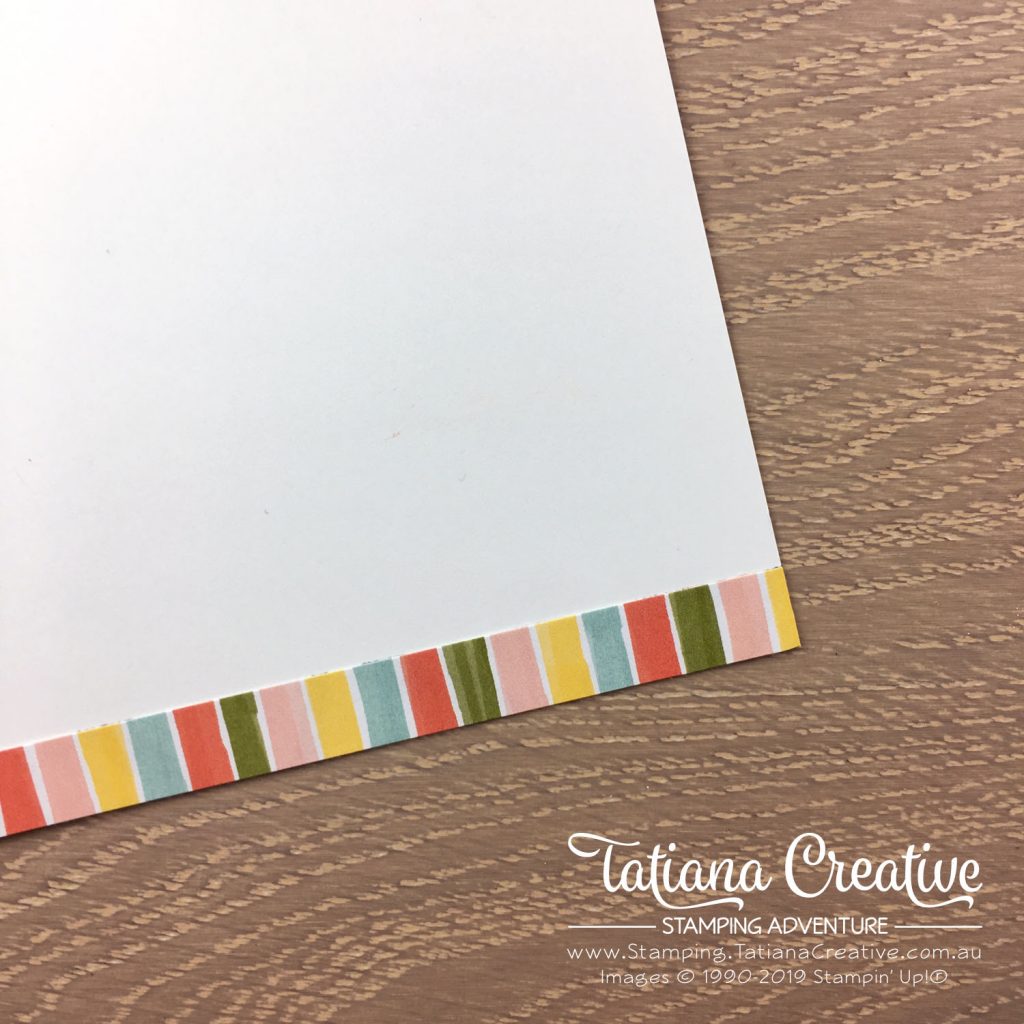
This time I added a strip of the DSP to the bottom of the card inside. I turned the direction of the stripes so that you can still see all the lovely colours.
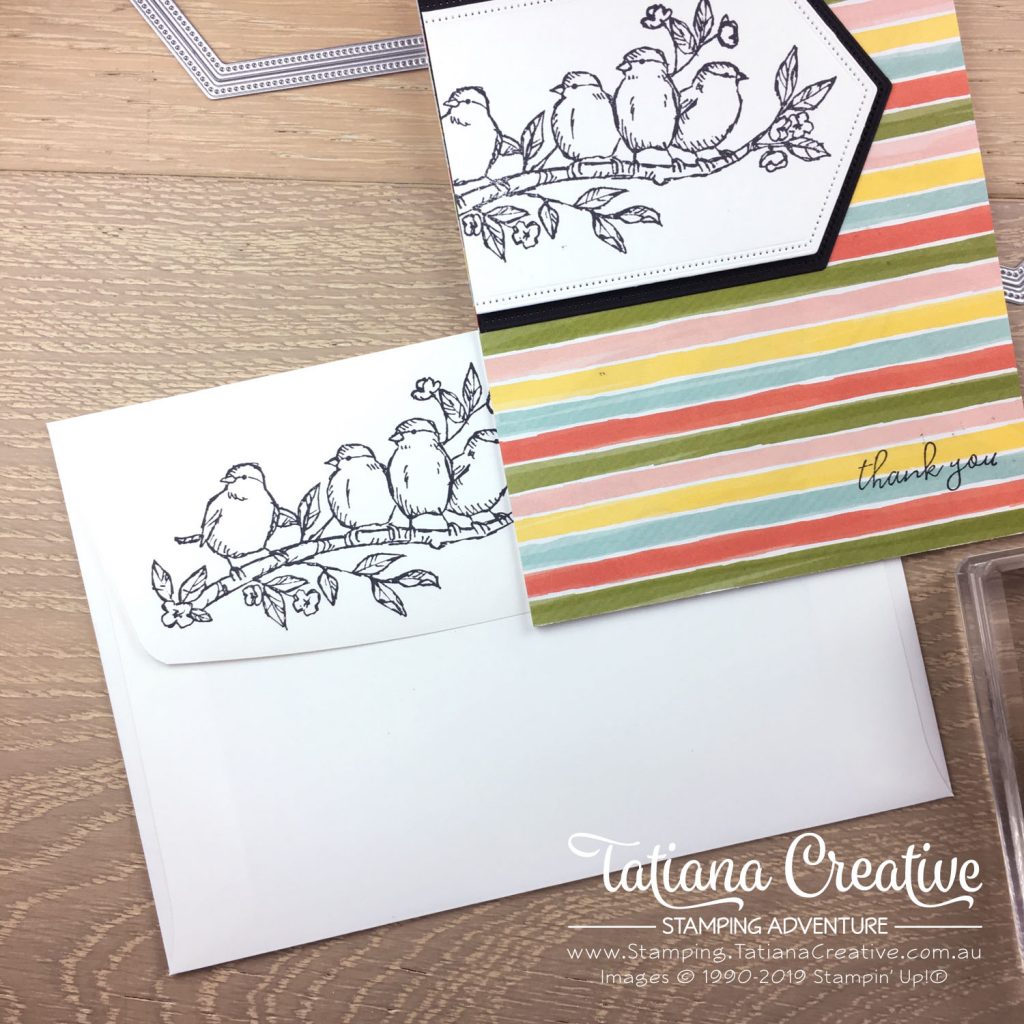
I stamped the same birds onto the envelope flap to tie the envelope to the card.
Thank you so much for visiting my blog! I hope today’s project has inspired you to get creative and try something new.
Until next time,
Tatiana
- Join Stampin’ Up!® to start getting your products at 20% discount: CLICK HERE
- Request a Catalogue to see what products you can purchase: CLICK HERE
- Subscribe to my newsletter to keep up to date with the latest news: CLICK HERE
- Follow me on Facebook for regular updates and inspiration: CLICK HERE
- Go SHOPPING for clearance items and specials: CLICK HERE
If you’re in Australia, you can shop Stampin’ Up!® products through my online store. I’d love to be your demonstrator and help you find the perfect supplies for your next creative project!
Supplies:
You can purchase the of the supplies I used in this project. Please click on the image below to purchase. Thank you for your support.


