Hello everybody,
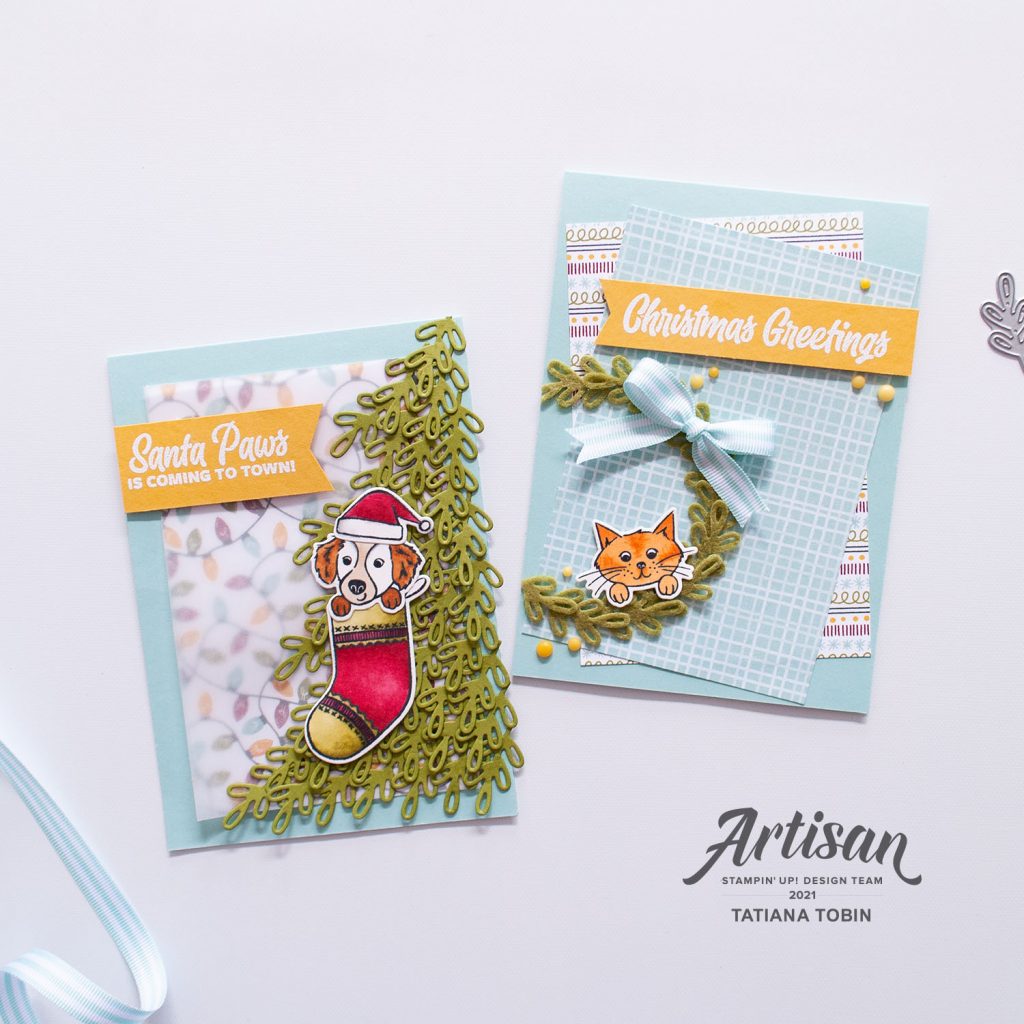
Welcome to another Artisan Design Team Showcase. This is our first showcase featuring products from the recently launched 2021 July – December Mini Catalogue and we are all sharing Christmas inspiration. I was assigned the cute Sweet Stockings Suite Collection. This collection is chock full for fabulous and fun products, I hope that you I do inspire you to create with this suite. Here are the projects I created using this suite:
[Want to recreate this project? You’ll find all the supplies I used at the end of this post, conveniently linked to my Stampin’ Up! online store. I’d love to be your demonstrator and appreciate your support—it means the world to me on this creative journey!]
I have to admit, I was a bit overwhelmed with all the different possibilities with this suite. There’s so many wonderful products and I wanted to do them justice. My kids actually came up with the ideas for the card. I didn’t show them the suite, I only described the stamp set to them and they came up with a number of ideas. I then took their ideas and personalised them and turned them into reality. I’m supper happy with how they have turned out.
Santa Paws Card Details:
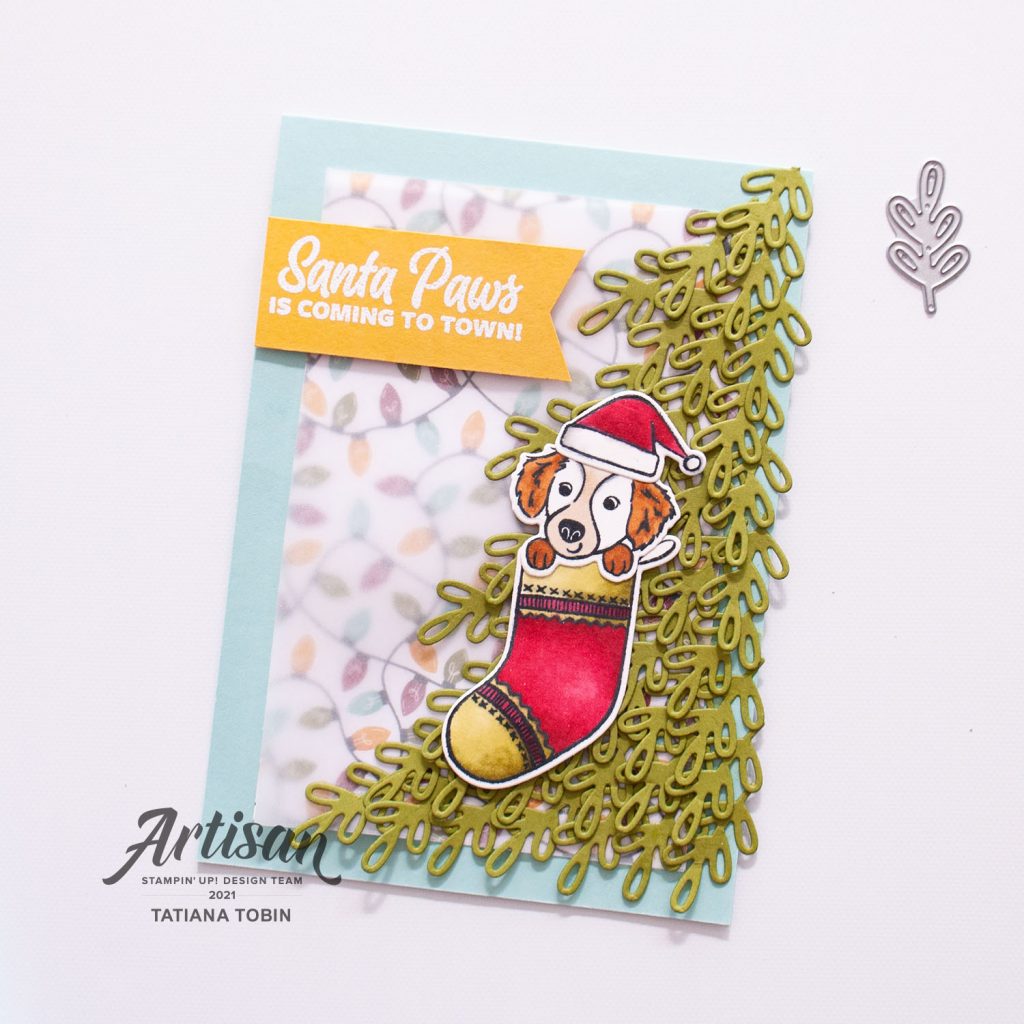
- Card Base: Pool Party
- Card Front: Sweet Stockings DSP (8.5 x 12.8 cm) and White Vellum (8.5 x 12.8 cm)
- Sentiment Label: Bumblebee (7 x 2.5 cm)
- Start by die cutting out lots (and lots and lots) of sprigs (from the Stockings Dies) from Old Olive cardstock.
- Onto the sentiment label stamp the sentiment “Santa Paws Is Coming To Town!” in Versamark Ink and heat emboss with white embossing powder.
- On a piece of Shimmery White Cardstock stamp your chosen stocking, the puppy and the Santa hat in Memento Ink. Colour in with Stampin’ Blends. Die cut out with coordinating dies.
- For the Stocking I coloured the main part in Cherry Cobbler. The toe and top are coloured in with Old Olive.
- The puppy’s ear and paws are coloured in with Cinnamon Cider and the nose area in Ivory.
- The Santa hat is colour in Cherry Cobbler and the white parts have tiny bit of shading added by first adding Color Lifter to the area, then a bit of Smoky Slate Light and blended in with the Color Lifter.
- Adhere the DSP to the card front and add the Vellum on top (only adding glue to the right hand side where the Christmas Tree is going.
- Start creating the Christmas Tree by starting at the bottom and adhering down each sprig. TIP: you can draw a bit of a guide of the vellum.
- Once the tree is finished assemble the Christmas stocking with the puppy and Santa hat and adhere down over the tree.
- Punch out a banner on the sentiment and add to the card using Stampin’ Dimensionals.
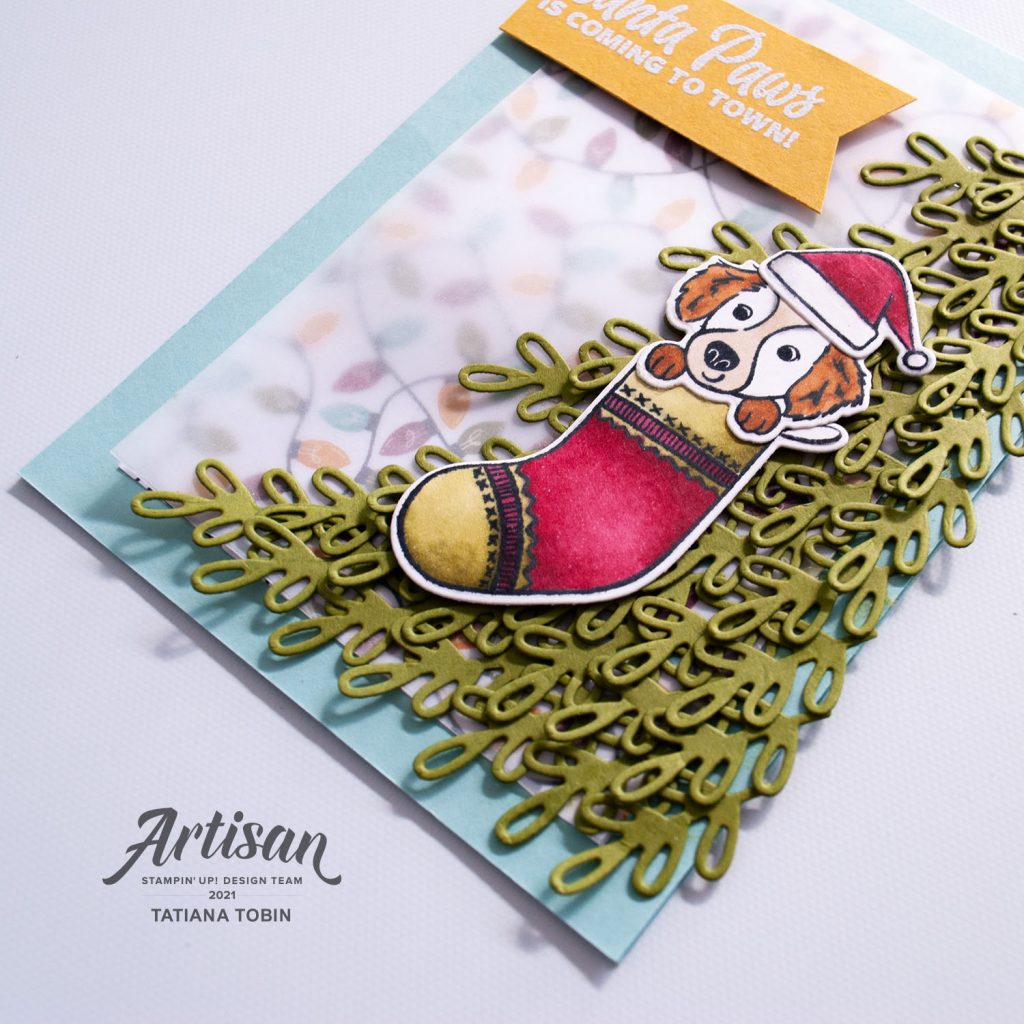
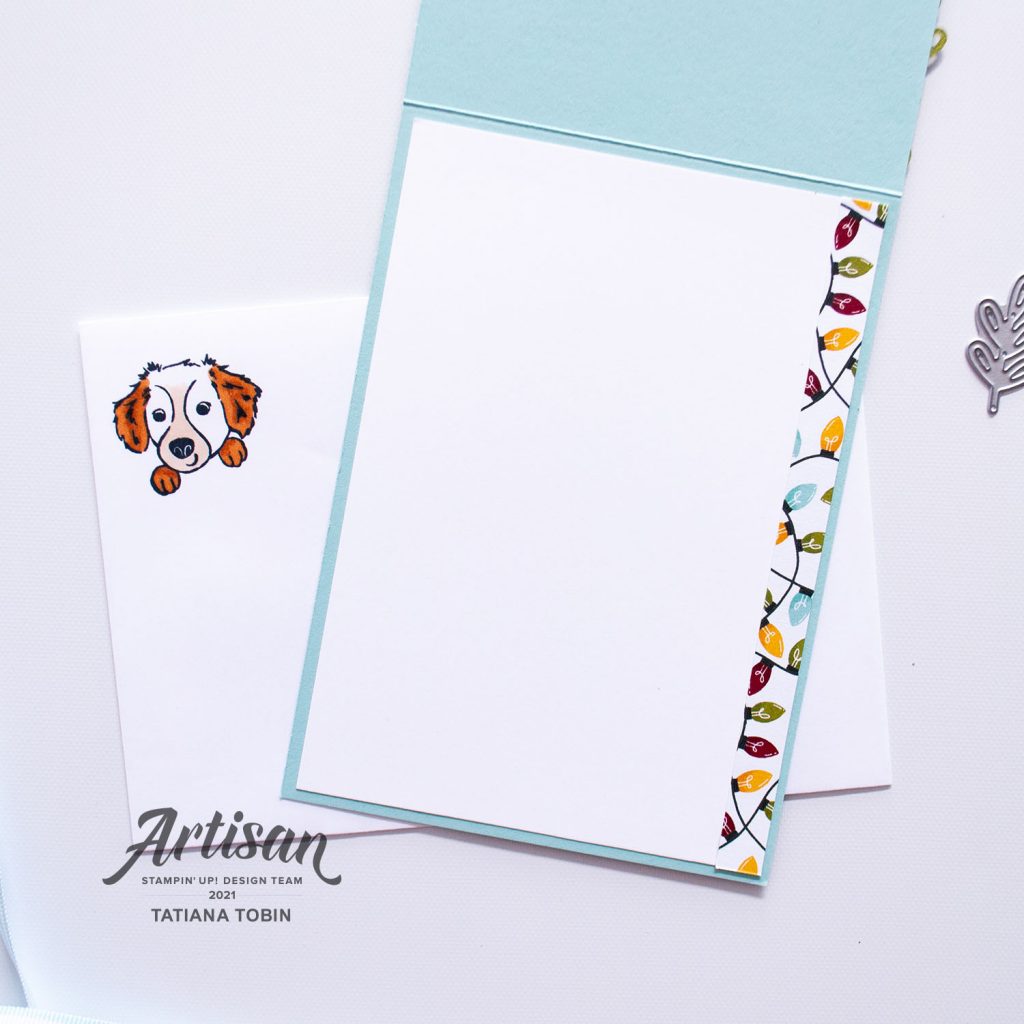
To finish this project, I stamped and coloured the puppy on the top left corner of the envelope and added a strip of DSP to the inside of the card.
Christmas Greetings Card Details:
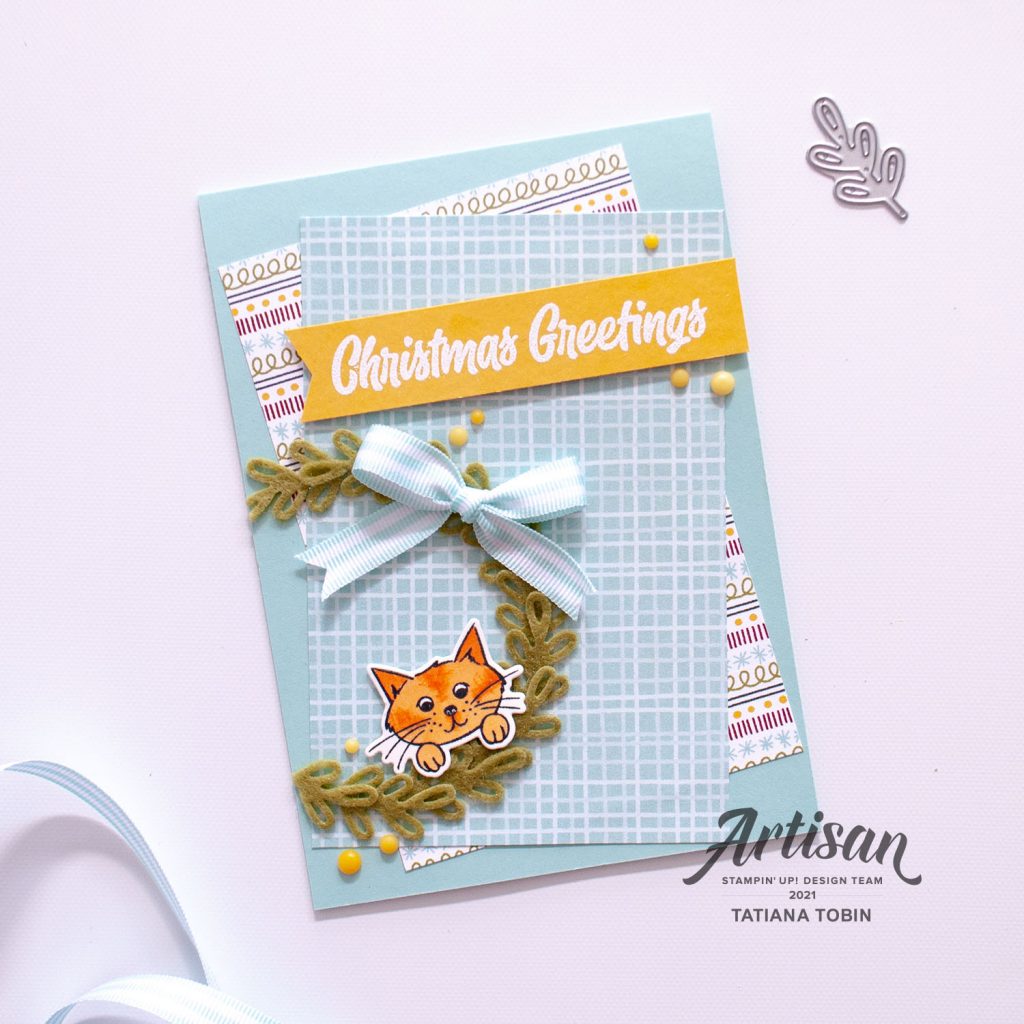
- Card Base: Pool Party
- Card Front: two different pieces of Sweet Stockings DSP (8.5 x 12.8 cm)
- Sentiment Label: Bumblebee (10 x 2 cm)
- Die cut out of Old Olive Jolly Felt a bunch of sprigs.
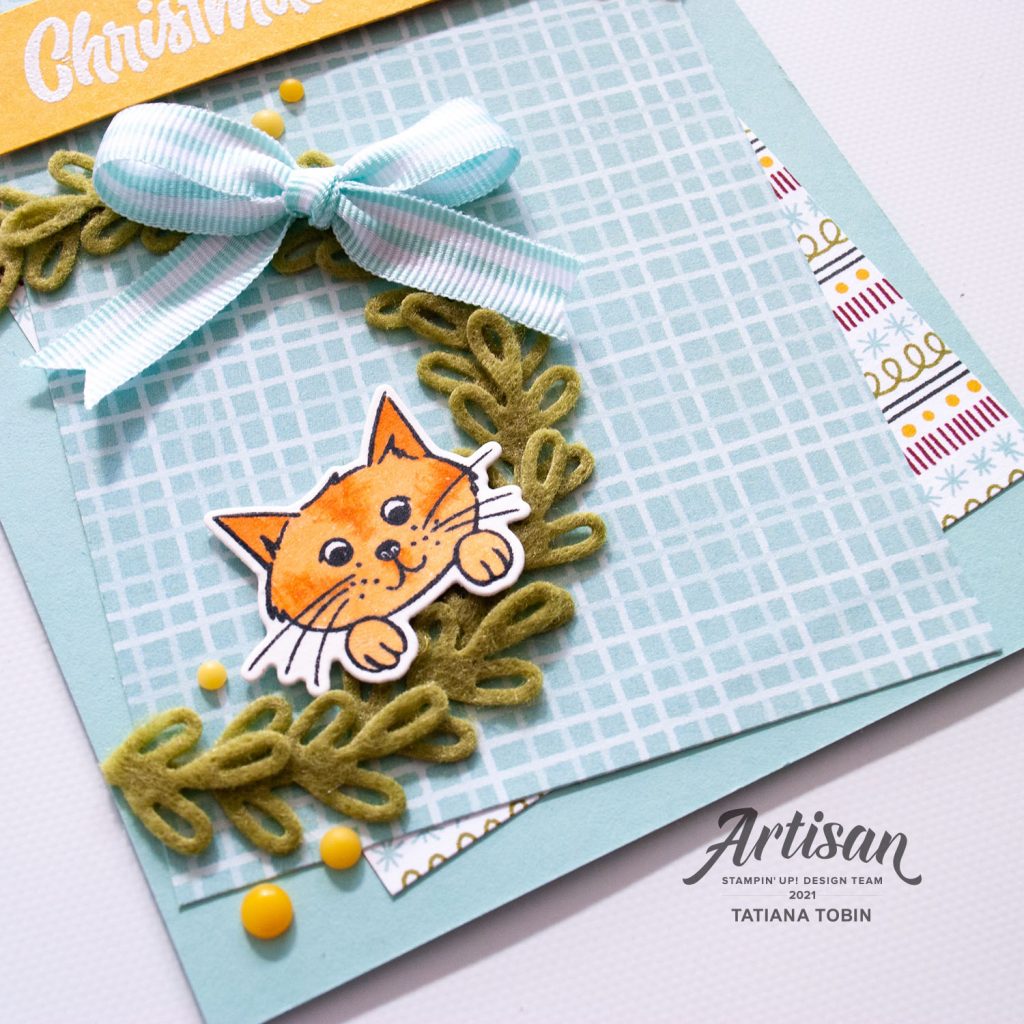
- On a piece of Shimmery White stamp the kitty in Memento Ink and colour using Stampin’ Blends. I created stripes on the kitty’s face with Pumpkin Pie Dark and the rest of the face in Pumpkin Pie Light, blending the edges in with the darker areas. Then to define the stripes more I did streaks of Pumpkin Pie Dark on top. Die cut out.
- Onto the sentiment label stamp the sentiment “Christmas Greetings” in Versamark Ink and heat emboss with white embossing powder. Punch out a banner end on the left.
- Adhere the two pieces of DSP onto the card base with them both on angles. Then take a round object and position it where the wreath is to go and in pencil trace around lightly. Using this pencil mark start adhering felt sprigs around the line. Overlap each one. You can slightly curve the felt to make it sit nicely on the circle.
- Add the kitty cat to the wreath with Stampin’ Dimensionals.
- Tie a bow using Pool Party Striped Grosgrain Ribbon and add to the wreath with Mini Glue Dots. TIP: I added Mini Glue Dots to the middle of the bow as well as behind both loops to keep in sitting where I want it to.
- Add the sentiment with Stampin’ Dimensionals.
- Finished the card adds some of the (adorable) Decorative Matte Dots. I used the Bumblebee ones in varies sizes and shades.
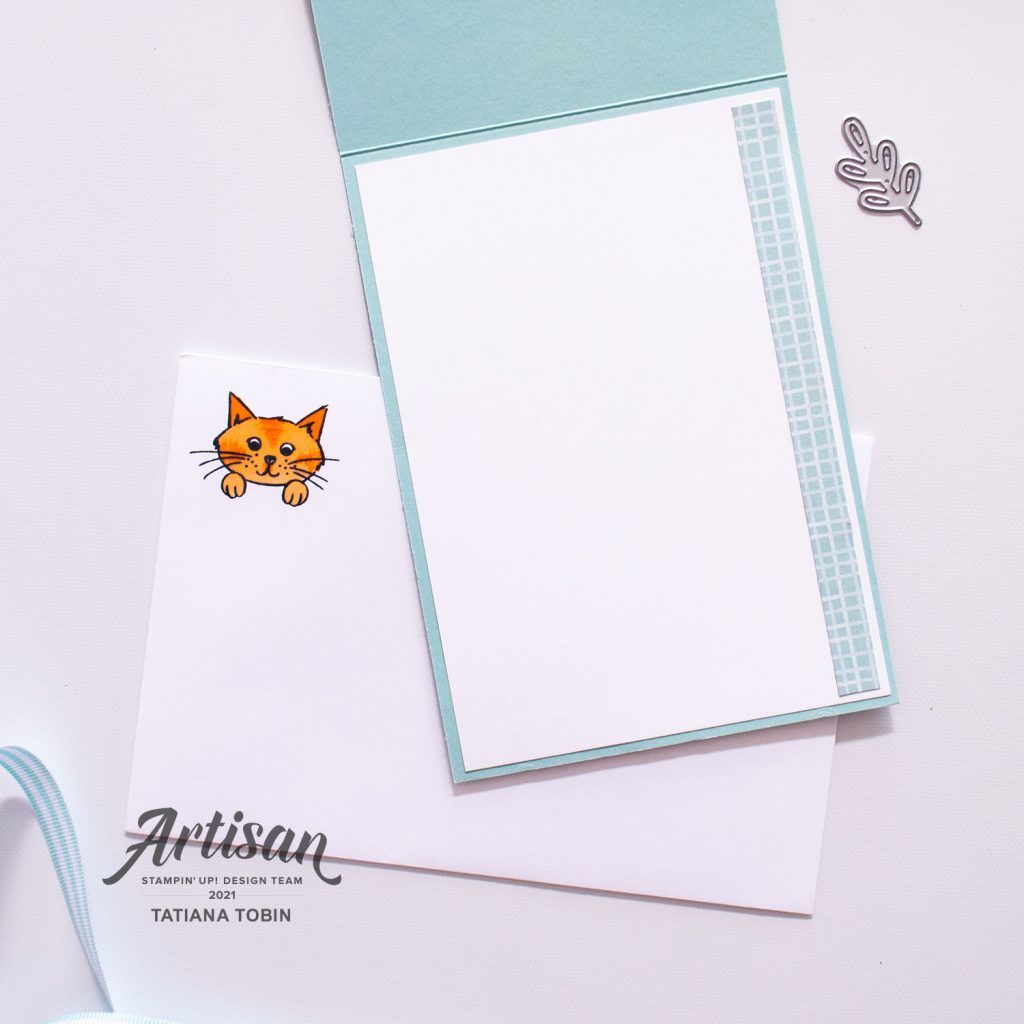
To finish this project, I stamped and coloured the kitty on the top left corner of the envelope and added a strip of DSP to the inside of the card.
Thank you so much for visiting my blog! I hope today’s project has inspired you to get creative and try something new.
Until next time,
Tatiana
- Join Stampin’ Up!® to start getting your products at 20% discount: CLICK HERE
- Request a Catalogue to see what products you can purchase: CLICK HERE
- Subscribe to my newsletter to keep up to date with the latest news: CLICK HERE
- Follow me on Facebook for regular updates and inspiration: CLICK HERE
- Go SHOPPING for clearance items and specials: CLICK HERE
If you’re in Australia, you can shop Stampin’ Up!® products through my online store. I’d love to be your demonstrator and help you find the perfect supplies for your next creative project!
Supplies:
You can purchase the of the supplies I used in this project. Please click on the image below to purchase. Thank you for your support.


