


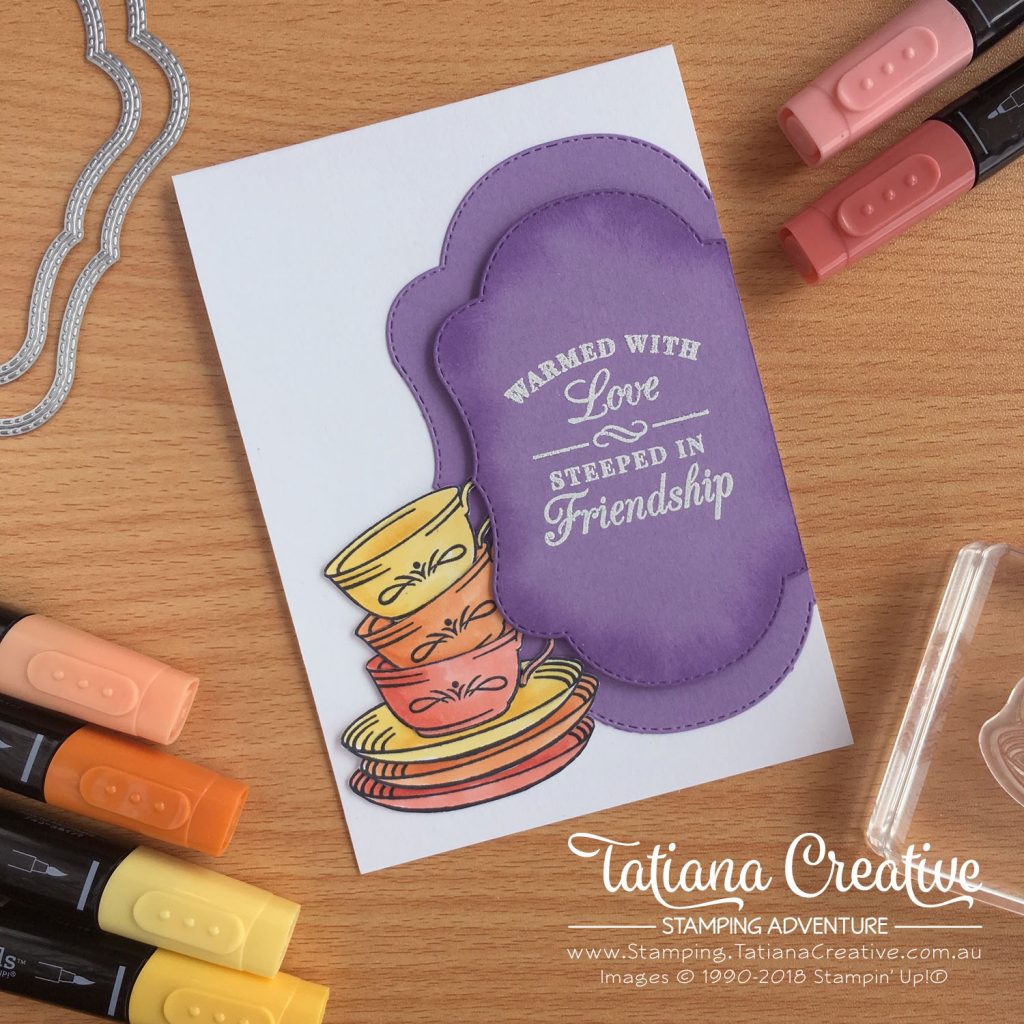
Hello again, I’m quite excited about today’s card. When I saw the Emma Goddard stack the tea cups from the Time For Tea stamp set I knew I wanted to try it out! It is sooooo cute!
All supplies used in this card are shown at the end of this post in the thumbnails. These linked to my Stampin’ Up! online store.
To create this card:
- Prepare card base in Whisper White Thick cardstock.
- Die cut using the Big Shot the medium and the large stitched labels from the Stitched Seasons Framelits in Highland Heather cardstock.
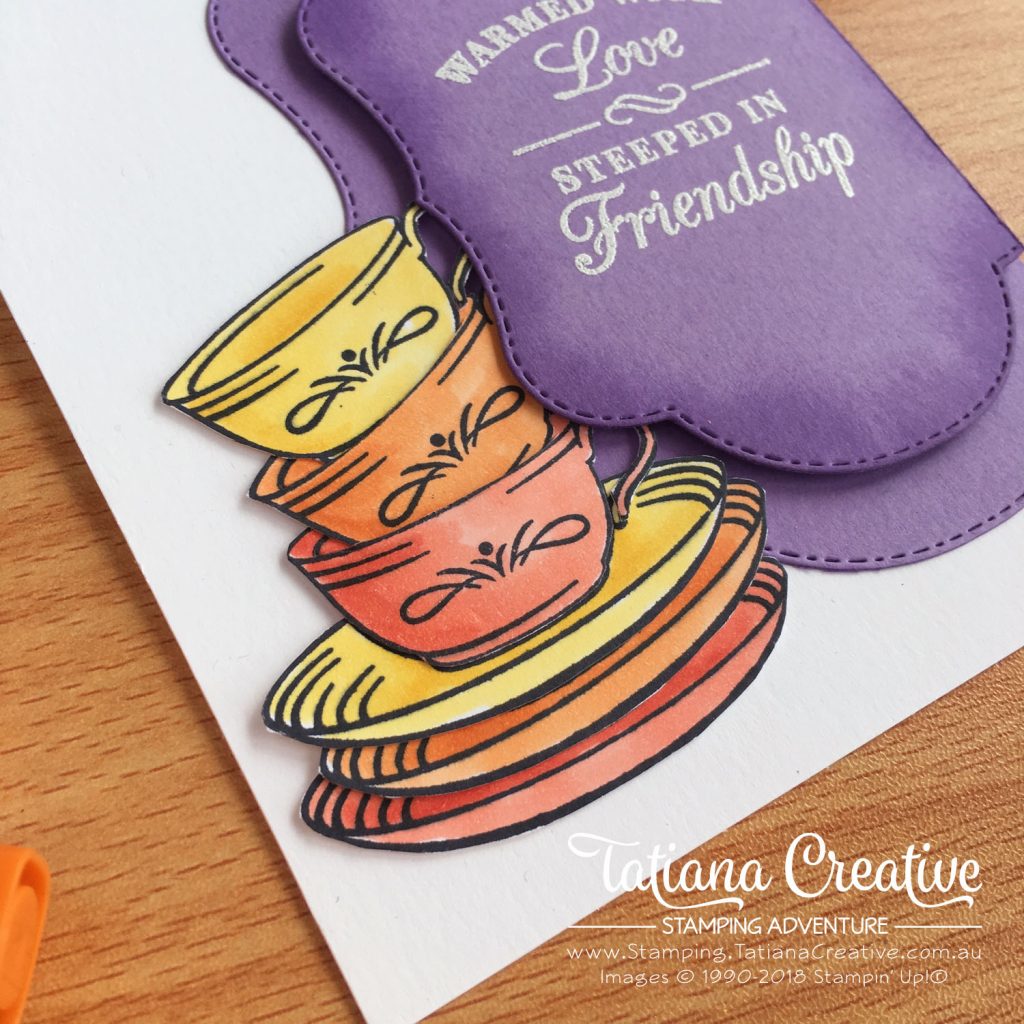
- Stamp the tea cup and saucer from the Time For Tea stamp set six times on Whisper White Thick card stock.
- Colour the tea cups and saucers using your favourite colouring method, I used Stampin’ Blends. (TIP: colour only the tea cups of three stamped images and then colour only the saucers of the remaining three).
- Carefully fussy cut right on the black line the three tea cups. Fussy cut the saucers too but keep the tea cup area so that there is place to add glue to stack them (i.e. cut the saucer out and just cup off the top of the tea cup, leaving the bottom of the tea cup in the saucer).
- To stack:
- Stack the saucers first adhering each one to the one underneath. Make sure you cover over the tea cup.
- Using a craft knife, slice the rim of two of the tea cups so that you can slip the the next tea cup into the one below it. No need to cut the top tea cup.
- Slip the teacups into each other and adhere. (TIP: I found using Tear & Tape on the back was the easiest).
- Adhere the tea cups to the saucers.
- Take the medium stitched label and using a Sponge Dauber dipped in the same colour ink as the cardstock, gently brush around the edge.
- Dust the same stitched label with the Embossing Buddy and stamp in VersaMark ink the sentiment “Warmed with Love, Steeped in Friendship” from the Time For Tea stamp set. Heat emboss using White Stampin’ Embossing Powder.
- Align the stitched labels as you would like them on the card base and mark where to cut, then use the Stampin’ Trimmer to cut off the edge.
- To Assemble:
- Adhere the large stitched label to the card using Multipurpose Liquid Glue.
- Add the stacked tea cups and saucers to the card.
- Adhere the medium stitched label using Stampin’ Dimensionals.
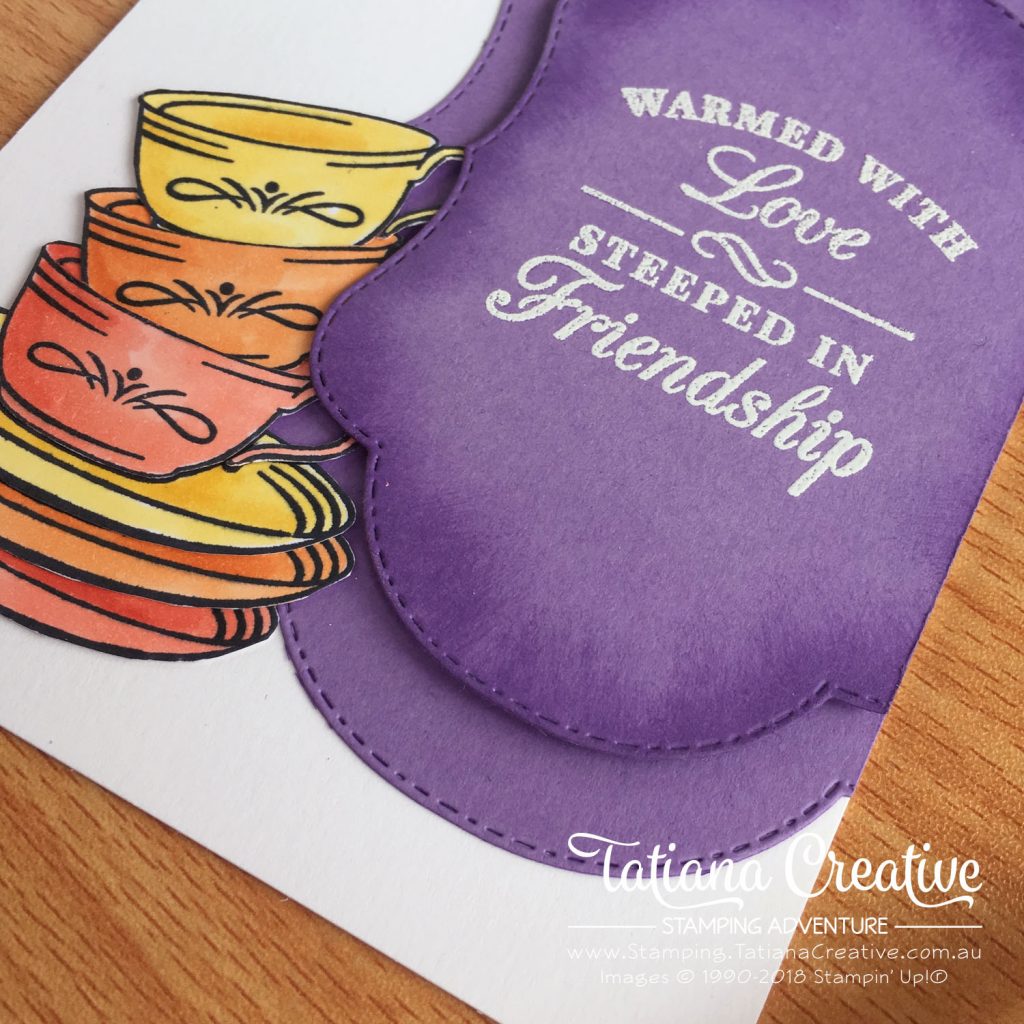
I love the extra dimension you get by adding the sponging to the edge of the medium stitched label. It really makes the card pop. By using the Stampin’ Blends to colour the tea cups and saucers I was also able to add shading and a more depth to the image.
The Stitched Seasons Framelits are just adorable and are for a limited time. They’re part of the Colour Your Season bundle. You can only purchase them this month (August 2018) and they’re while stock last so don’t miss out and order them now!
Thank you so much for visiting my blog! I hope today’s project has inspired you to get creative and try something new.
Until next time,
Tatiana
- Join Stampin’ Up!® to start getting your products at 20% discount: CLICK HERE
- Request a Catalogue to see what products you can purchase: CLICK HERE
- Subscribe to my newsletter to keep up to date with the latest news: CLICK HERE
- Follow me on Facebook for regular updates and inspiration: CLICK HERE
- Go SHOPPING for clearance items and specials: CLICK HERE
If you’re in Australia, you can shop Stampin’ Up!® products through my online store. I’d love to be your demonstrator and help you find the perfect supplies for your next creative project!
Supplies:
You can purchase the of the supplies I used in this project. Please click on the image below to purchase. Thank you for your support.


