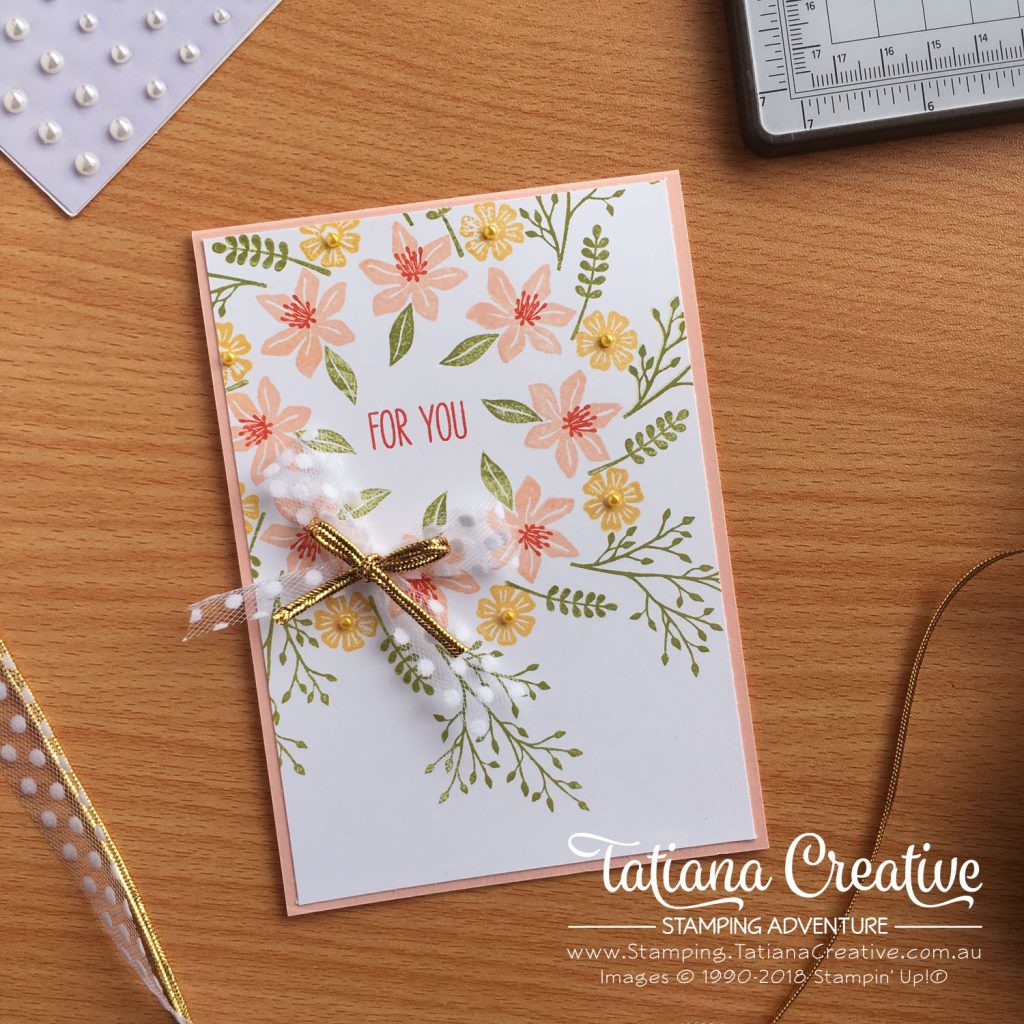
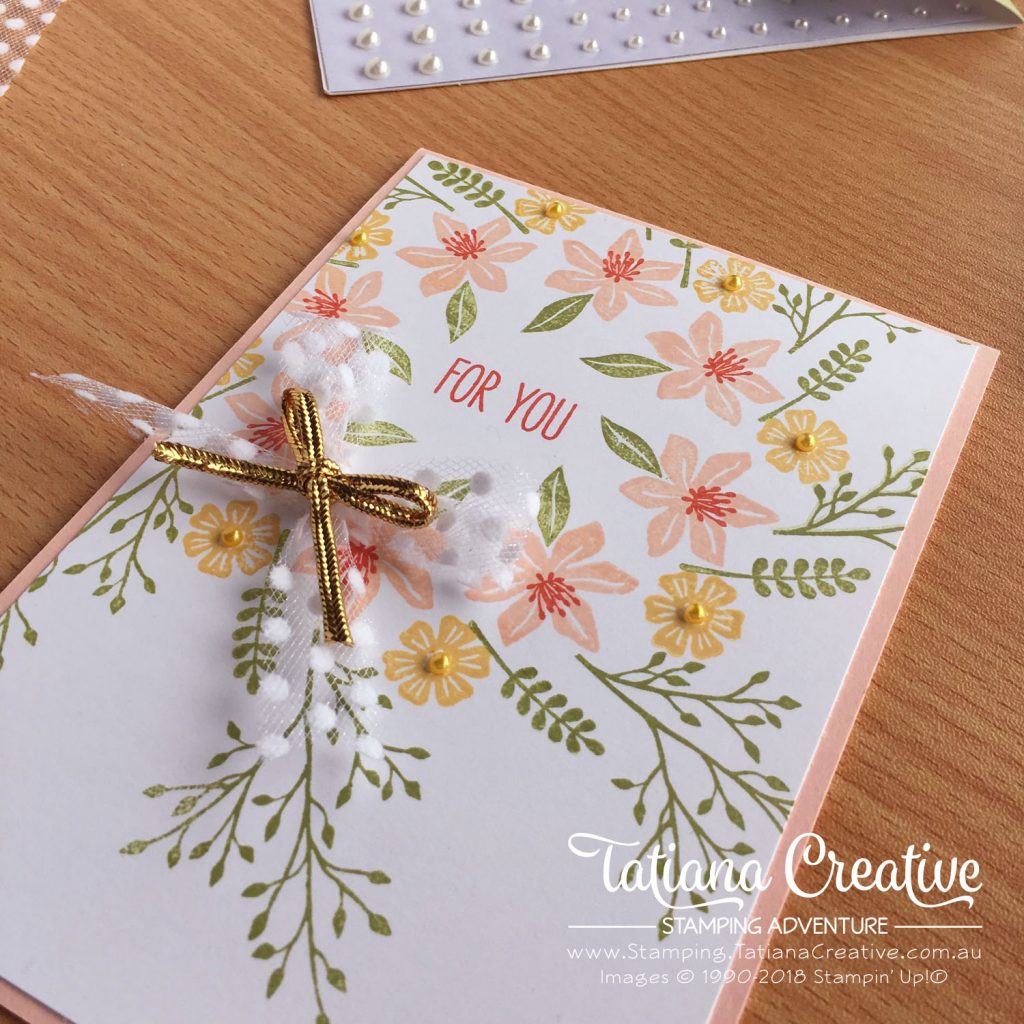
With September comes Spring here in Australia. In hope to speed up the warmer weather (our house is COLD and doesn’t heat up very well so I’m now a bit over the cooler weather) I made this Spring Wreath card.

All supplies used in this card are shown at the end of this post in the thumbnails. These are linked to my Stampin’ Up! online store.

To create this card:
- Prepare card base in Petal Pink
- Prepare card front from Whisper White cardstock cut to 148.5mm x 148.5mm (To create this off centred wreath you need a larger piece of cardstock).
- Add the below wreath template to your Stamparatus and then position the first largest flower to where you would like it.
- Mark one of your corners of you Whisper White cardstock. This helps you to know which corner you are rotating since the template is smaller than the cardstock.
- Stamp the flower rotating the same corner to the next position on the template.
- I started with a large flower form the Beautiful Bouquet stamp set stamping in Petal Pink and then centres stamped in Calypso Coral.
- Smaller flower from the same stamp set in So Saffron.
- Leaves I added from the Jar Of Love stamp set. The fine sprigs are actually long so I only inked the top half and avoided the stem.
- The card front will be too big for the Stamparatus. Position your template towards the open corner of the Stamparatus. A corner of the card front will get bent but we are cutting that off so it doesn’t matter.
- TIP: I found it much easier to use Stampin’ Spots when inking elements on the Stamparatus. This avoids excess ink getting onto the plate. If you do have ink that gets onto your plate I recommend cleaning it up with the Shammy to avoid any accidental ink transfer.
- Trim the cardstock with the wreath down to 100mm x 145.5mm making the centre of the wreath towards one corder.
- In the centre of the wreath stamp the “For You” sentiment from the Jar Of Love stamp set in Calypso Coral.
- Adhere card front to the card base. Add some ribbons and Pear Basic Jewels (I coloured mine using Daffodil Delight Dark Stampin’ Blend and added to the So Saffron flowers).
Template for wreath cards:

To see the basic concept of stamping a wreath you can watch this Facebook Live demonstration I did earlier this year. Note that this isn’t the same card just shows you the concept of how to create wreath cards:
Wreath cards can be addictive. Best part is that once you have the stamps on the Stamparatus then it’s easy to create multiples of the same card as you won’t have to line them up again!
I always like to stamp a matching envelope and make the inside of the card link to the card front. I choose to use the sprigs:

Hurry spring, I’m looking forward to your arrival! Thank you winter for a great season. See you next year!
Have you done a wreath card? Did you enjoy making it? I would love to hear about it! Comment below.
Thank you so much for visiting my blog! I hope today’s project has inspired you to get creative and try something new.
Until next time,
Tatiana
- Join Stampin’ Up!® to start getting your products at 20% discount: CLICK HERE
- Request a Catalogue to see what products you can purchase: CLICK HERE
- Subscribe to my newsletter to keep up to date with the latest news: CLICK HERE
- Follow me on Facebook for regular updates and inspiration: CLICK HERE
- Go SHOPPING for clearance items and specials: CLICK HERE
If you’re in Australia, you can shop Stampin’ Up!® products through my online store. I’d love to be your demonstrator and help you find the perfect supplies for your next creative project!
Supplies:
You can purchase the of the supplies I used in this project. Please click on the image below to purchase. Thank you for your support.


