I’m really excited about today’s blog post. Today I’m showing you my first ever Stampin’ Up! scrapbook page!!! I also made matching card. This post is previewing a new stamp set coming in the new Holiday catalogue: the Beautiful Blizzard! It is an adorable stamp set!
I do want to share with you why I’m particularly excited – I scrapbooked for almost 10 years and then I had kids and it became a bit too challenging as I used the dinning table. I’m so exciting to be getting back into it and to be sharing a page which will be part of our recent “Snow Holiday” album. (My daughter who’s 5 calls it a Snow Holiday).
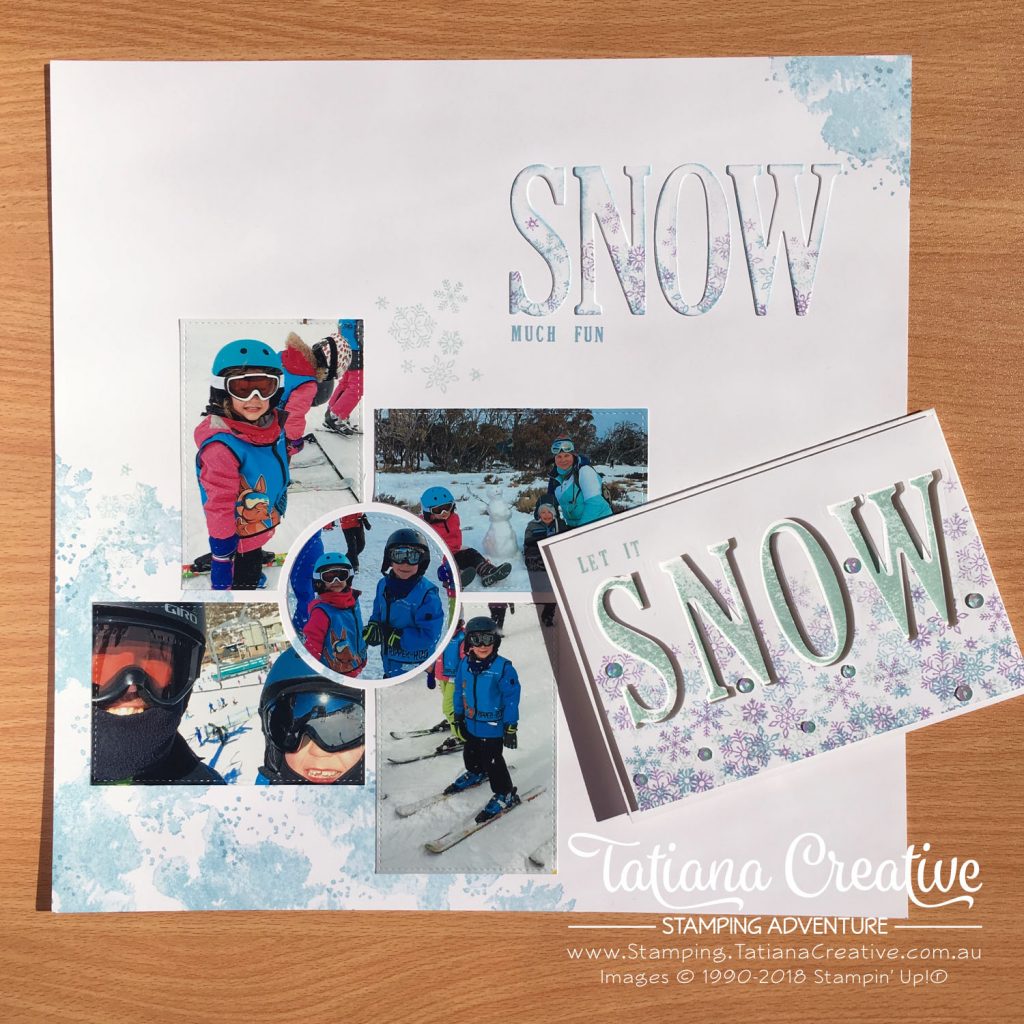
All supplies used in these projects are shown at the end of this post in the thumbnails. These linked to my Stampin’ Up! online store.
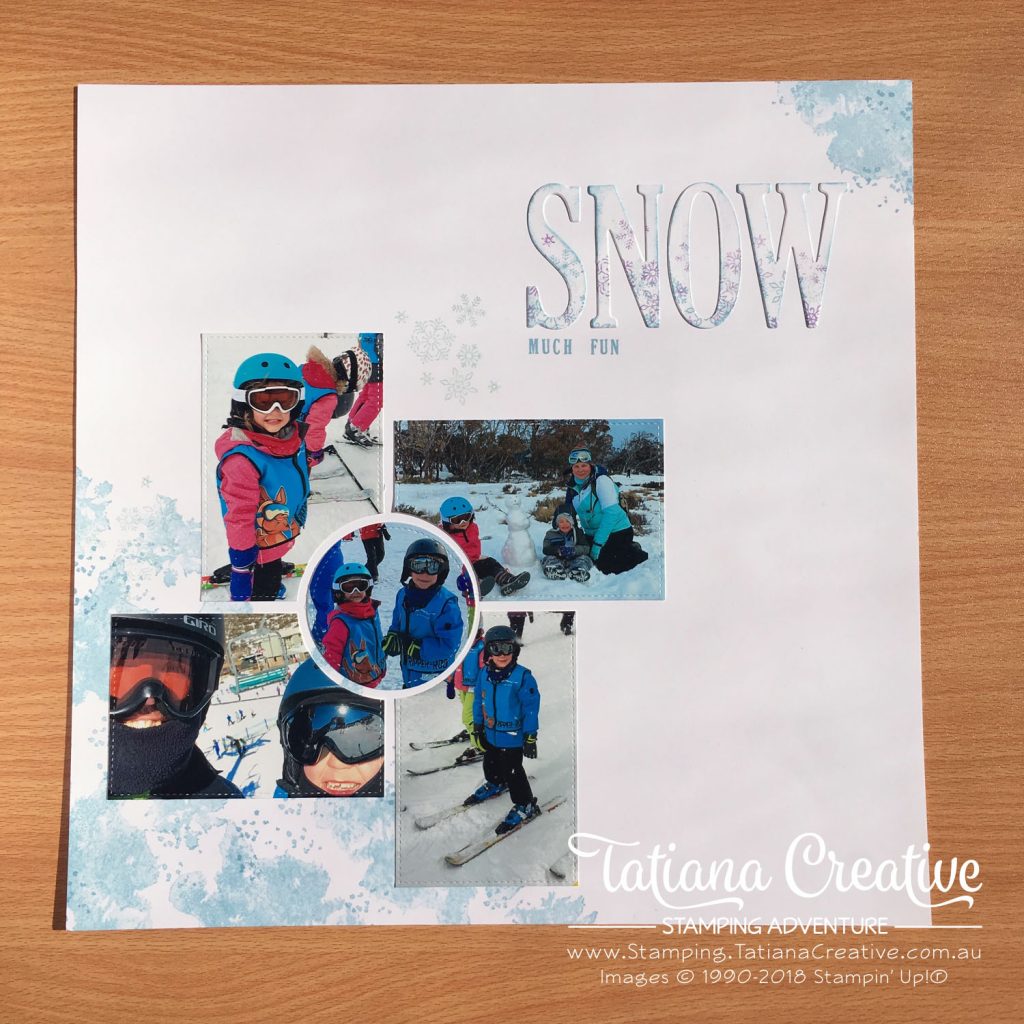
To create this scrapbook layout:
- Take your 12″ x 12″ cardstock and stamping the blizzard stamps from the Beautiful Blizzard stamp set in Balmy Blue on the top right corner and bottom left corner. (TIP I stamped off to get a more subtle look).
- Stamp the snow in Balmy Blue.
- Crop your photos, for this layout you need one circle, two horizontal, and two vertical photos. (TIP: I found it easier to crop the rectangle photos to size and then run them though the Big Shot one half at a time using the square Stitched Shapes Framelits).
- Line up how you would like the four rectangle photos to sit and cut a circle shape from the middle. (TIP: I used post-it notes to hold the photos in alignment and then the circle framelit so that it was a perfect match).
- Take a piece of Whisper White card stock 143.5mm x 100mm and stamp the snowflakes from the Beautiful Blizzard stamp set in Pool Party (stamped off), Highland Heather (stamped off), and Balmy Blue (both stamped off and not). Stamp the snowflakes primarily at the bottom of the cardstock in landscape mode.
- Cut out the word snow from the above cardstock and do not discard. Make sure that the top half of the letters do not have snowflakes.
- Using a wedge of the Stampin’ Sponge, sponge the end of the letters in Balmy Blue. This allows them to stand out on the Whisper White background.
- Adhere photos.
- Stamp the words “much fun” using letters from the Pick A Pennant stamp set in Balmy Blue.
- Stamp some snowflakes in Pool Party onto the scrapbook page making them look like they’re settling on top of the photos.
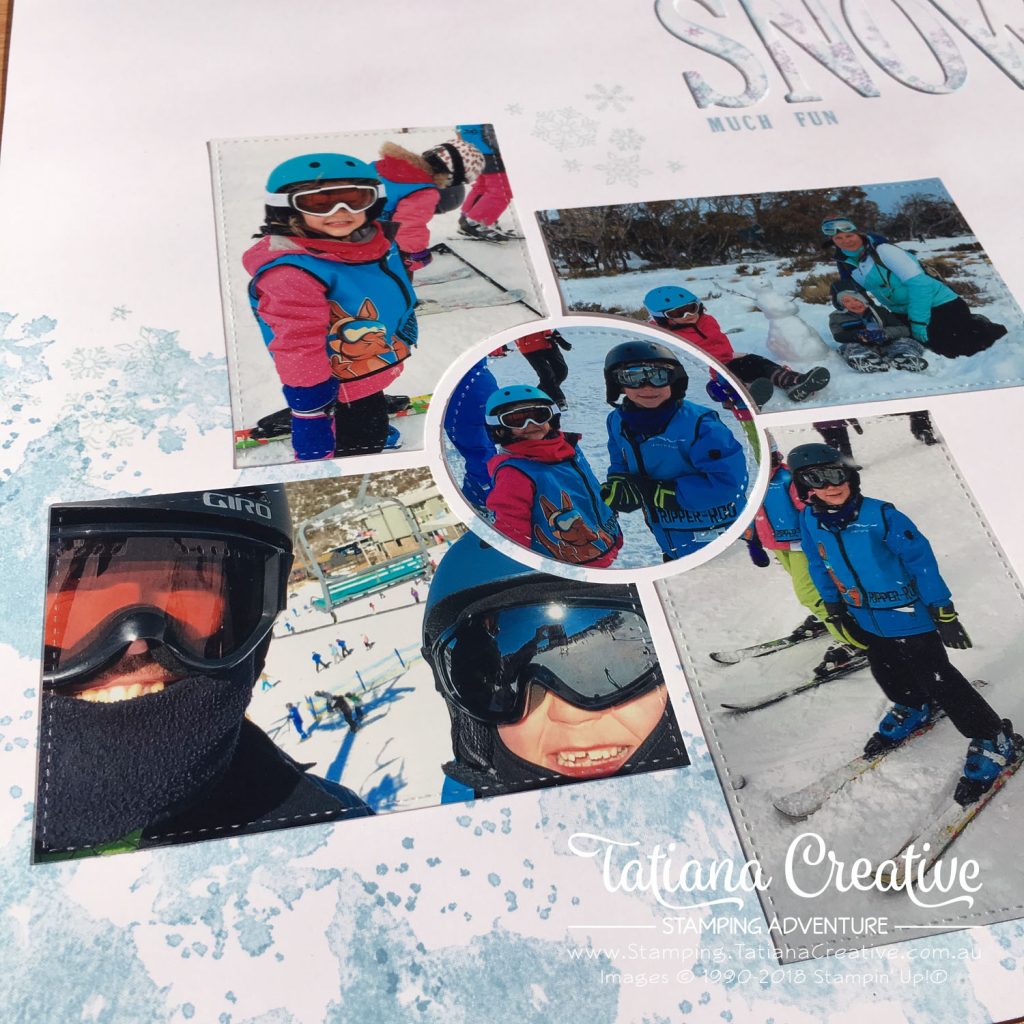
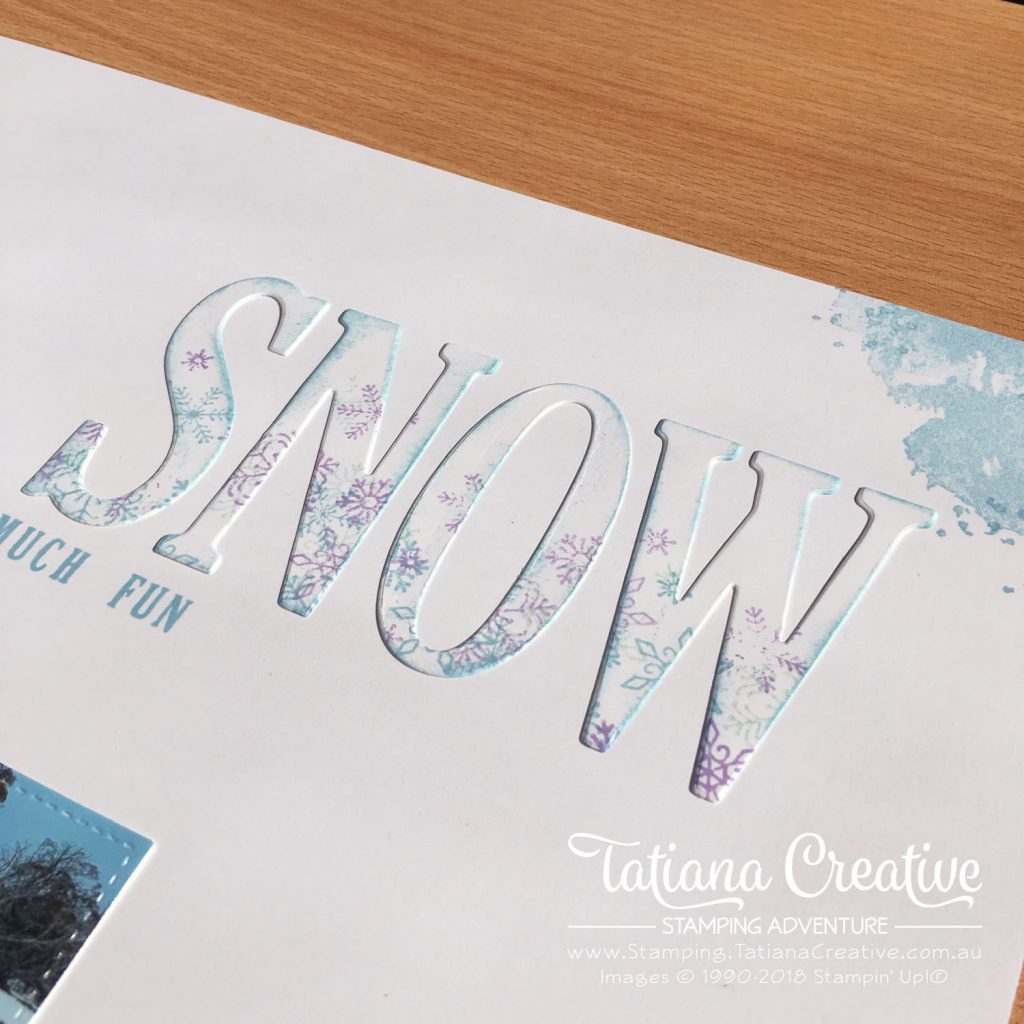
What a fun album cover page for our Snow Holiday photos. I’m looking forward to creating more layouts! I didn’t want to wast the piece of card stock with all the lovely layered snowflakes that was left over from the word “SNOW”. This became a perfect base for a matching card.
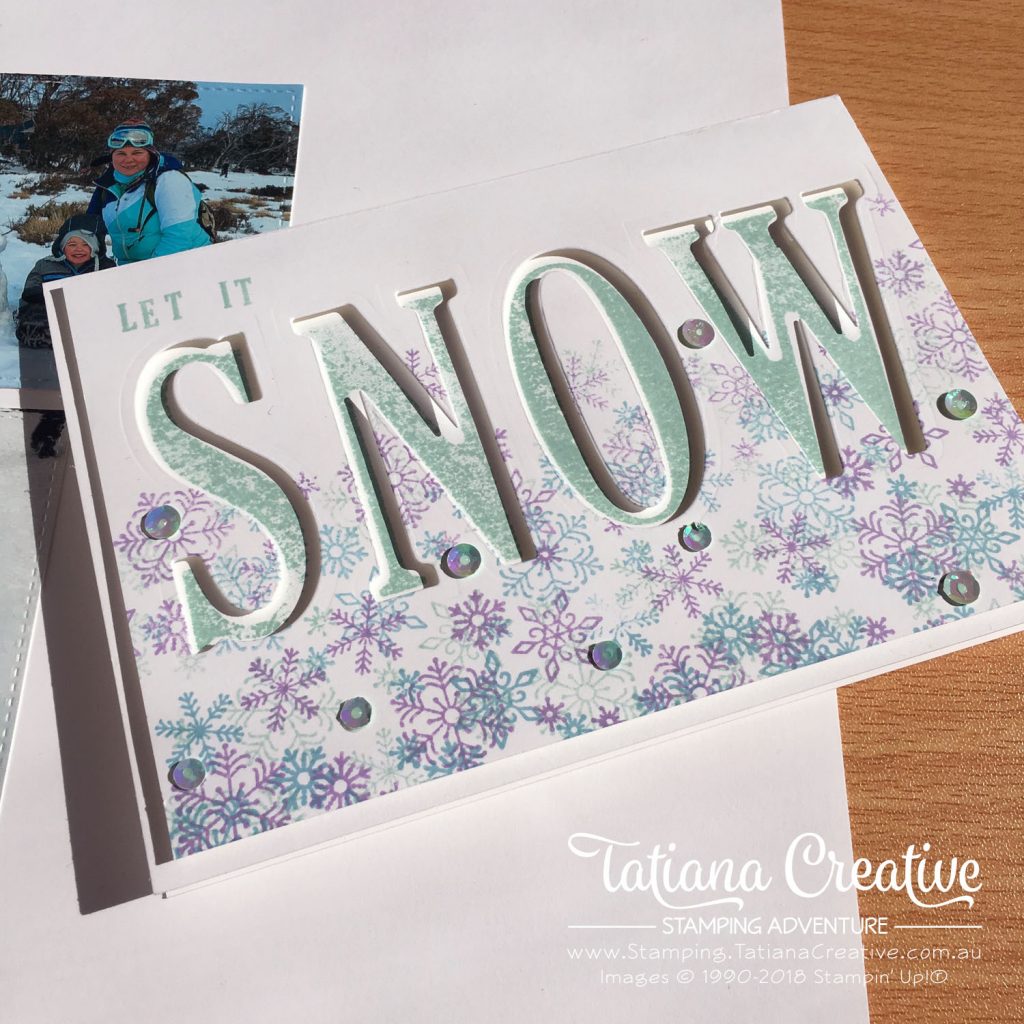
To create this card:
- Prepare card base in Whisper White Thick cardstock.
- Place the negative (which now becomes our card front) from the above project steps 5 & 6 onto the card stock temporarily and stamp the corresponding letters in Pool Party. (TIP: by stamping through the negative I get perfect alignment of the letters.
- On the card front stamp “let it” using letters from Pick A Pennant stamp set in Pool Party.
- Add some Pool Party Iridescent Sequin in the card front using the Take Your Pick tool (TIP: let the glue set a little bit before placing the sequin).
Love getting more out of my supplies by using scraps from one project for a new project!
Thank you so much for visiting my blog! I hope today’s project has inspired you to get creative and try something new.
Until next time,
Tatiana
- Join Stampin’ Up!® to start getting your products at 20% discount: CLICK HERE
- Request a Catalogue to see what products you can purchase: CLICK HERE
- Subscribe to my newsletter to keep up to date with the latest news: CLICK HERE
- Follow me on Facebook for regular updates and inspiration: CLICK HERE
- Go SHOPPING for clearance items and specials: CLICK HERE
If you’re in Australia, you can shop Stampin’ Up!® products through my online store. I’d love to be your demonstrator and help you find the perfect supplies for your next creative project!
Supplies:
You can purchase the of the supplies I used in this project. Please click on the image below to purchase. Thank you for your support.


