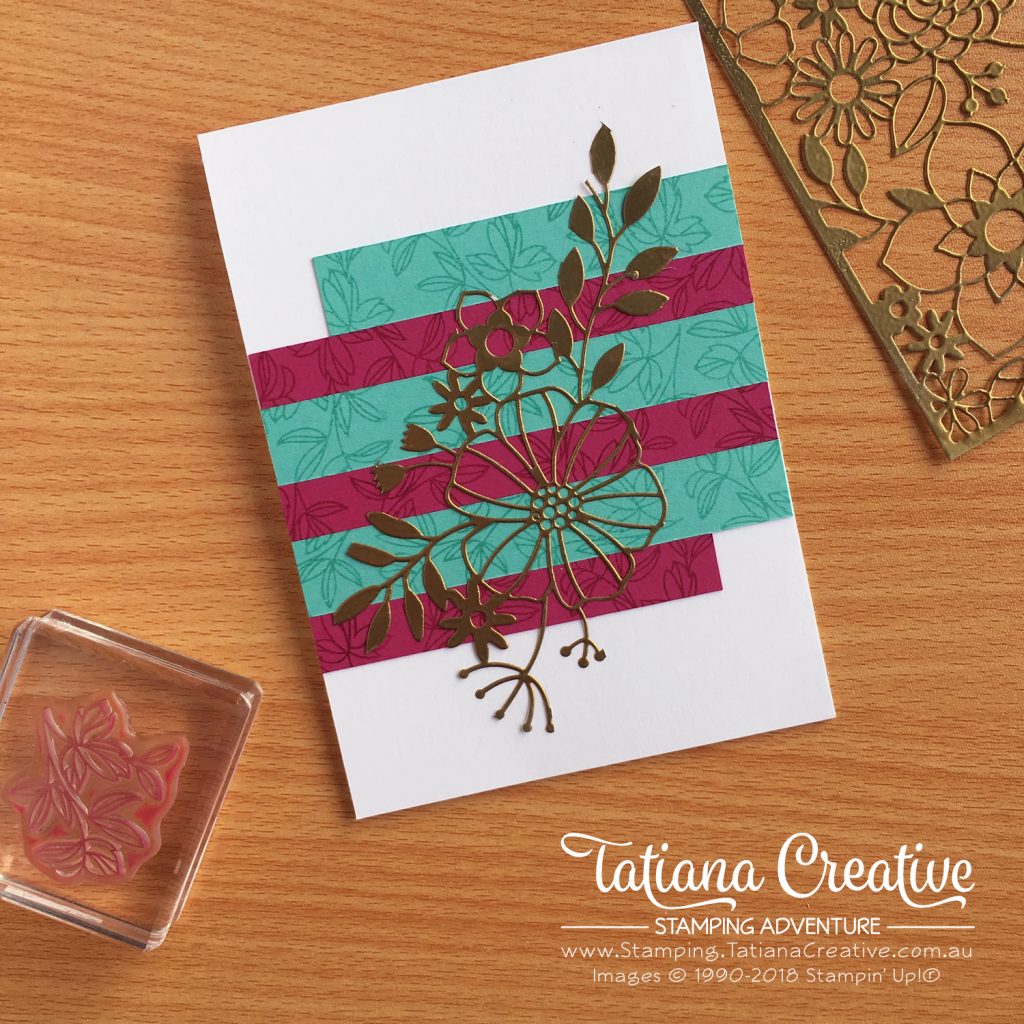
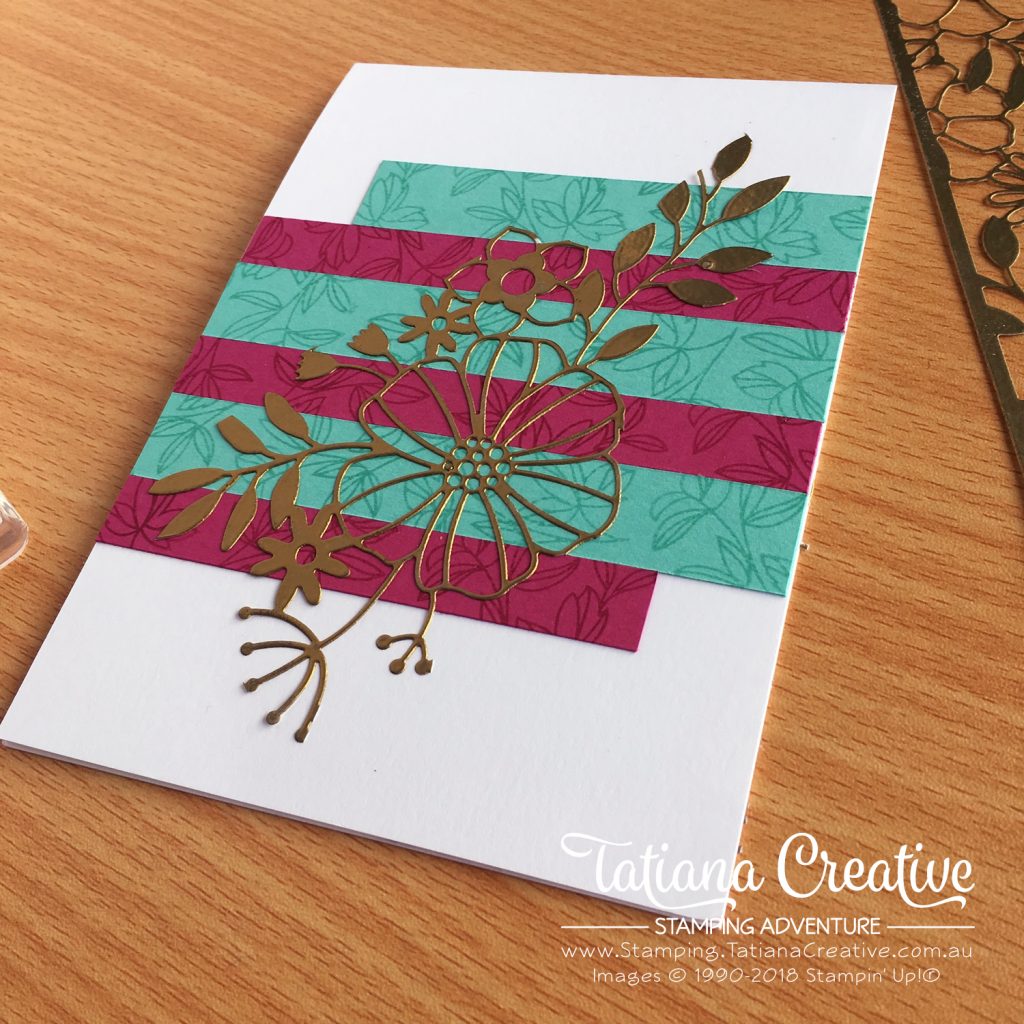
Today’s card is a CASE (Copy And Selectively Edit) one. The original was made by Sayerah Deasey and I loved how she used strips of card stock behind the Delightfully Detailed Laser-Cut Specialty Paper. I’ve changed things up in mine by stamping in the strips of paper and heat embossing the laser-cut paper in gold. Honestly this is a simple card but quite stunning (even if I say so myself lol).

All supplies used in this card are shown at the end of this post in the thumbnails. These linked to my Stampin’ Up! online store. What is so fantastic about this card is that you can use any colours, card stock, and stamps that you have on hand to create your own version!

I used scraps strips of card stock that were cut offs. I feel bad about throwing these out and when I saw Lesley’s card I knew how perfect these cut off would be! To step them up a bit more, I first stamped the cut offs using the leaf outline stamp from the new Time For Tea stamp set. You can use any stamp you would like. I stamped in the same coloured ink as the card stock and found I liked the softer stamped off versions. I then cut the strips to 105mm lengths to fit on a card front, I have a piece left that was a bit smaller and I decided to use it anyway to add more interest. I adhered the strips to the card base using the Liquid Multipurpose Glue.
The Delightfully Detailed Laser-Cut Specialty Paper is really easy to heat emboss. I took the full 12″x12″ sheet, but I would recommend cutting out the parts you want to use first. I layed the laser-cut paper on some scrap paper and pressed my Versamark Ink Pad onto it and then strangled Gold Stampin’ Emboss Powder (away from your scrap paper as you don’t want to waste embossing powder on it). Heat set making sure the whole of the powder is heated.
A new trick I’ve recently learnt on how to adhered such delicate paper and cut outs was to take some Liquid Multipurpose Glue and use a wedge of the Stamping Sponge to cover the back in glue. It works so wonderfully and makes sure you don’t get any glue leaking out from underneath.
I’m taking a pause on my Facebook Lives for the first two weeks in November 2023. Make sure you like my Facebook Page so that you can get notifications on when I will be going live. The lives will resume and will become Mystery Stamping! Looking forward to you joining me.
Thank you so much for visiting my blog! I hope today’s project has inspired you to get creative and try something new.
Until next time,
Tatiana
- Join Stampin’ Up!® to start getting your products at 20% discount: CLICK HERE
- Request a Catalogue to see what products you can purchase: CLICK HERE
- Subscribe to my newsletter to keep up to date with the latest news: CLICK HERE
- Follow me on Facebook for regular updates and inspiration: CLICK HERE
- Go SHOPPING for clearance items and specials: CLICK HERE
If you’re in Australia, you can shop Stampin’ Up!® products through my online store. I’d love to be your demonstrator and help you find the perfect supplies for your next creative project!
Supplies:
You can purchase the of the supplies I used in this project. Please click on the image below to purchase. Thank you for your support.


