Hello everybody!
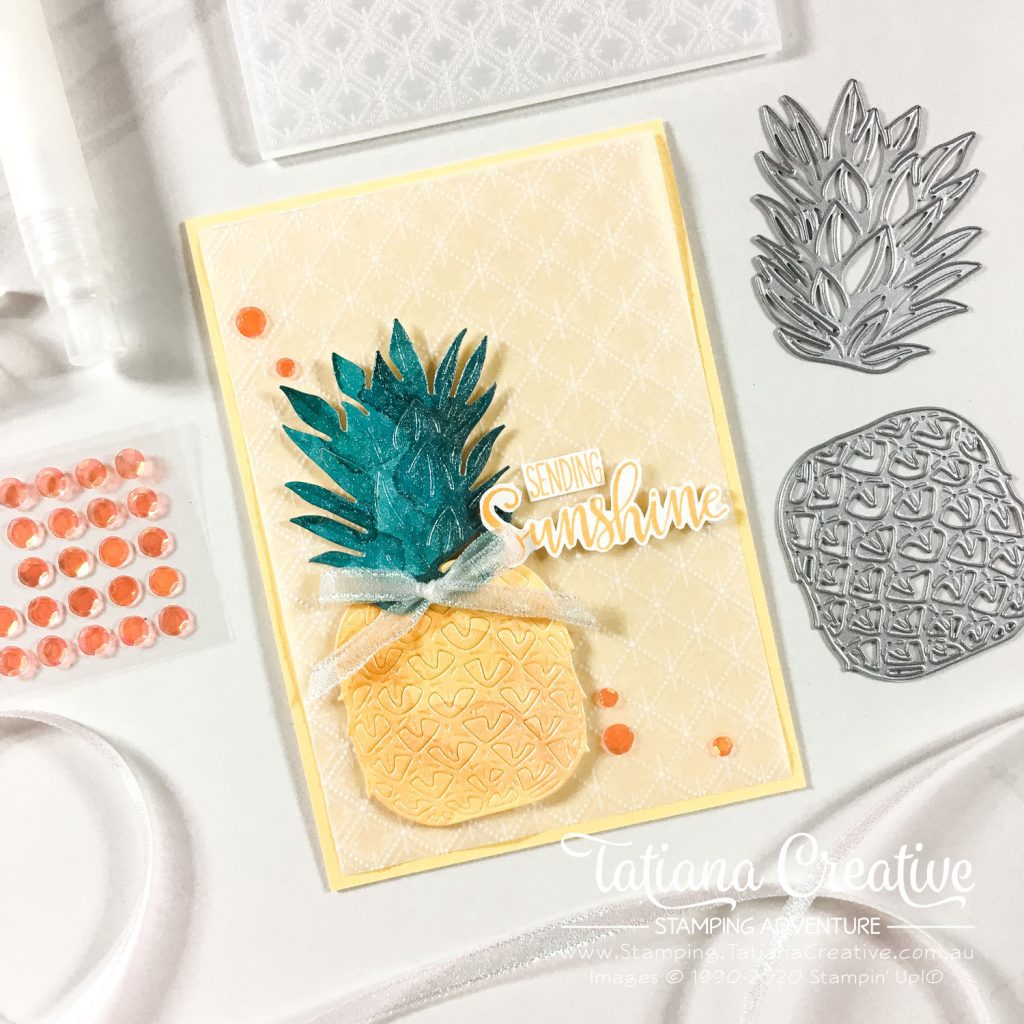
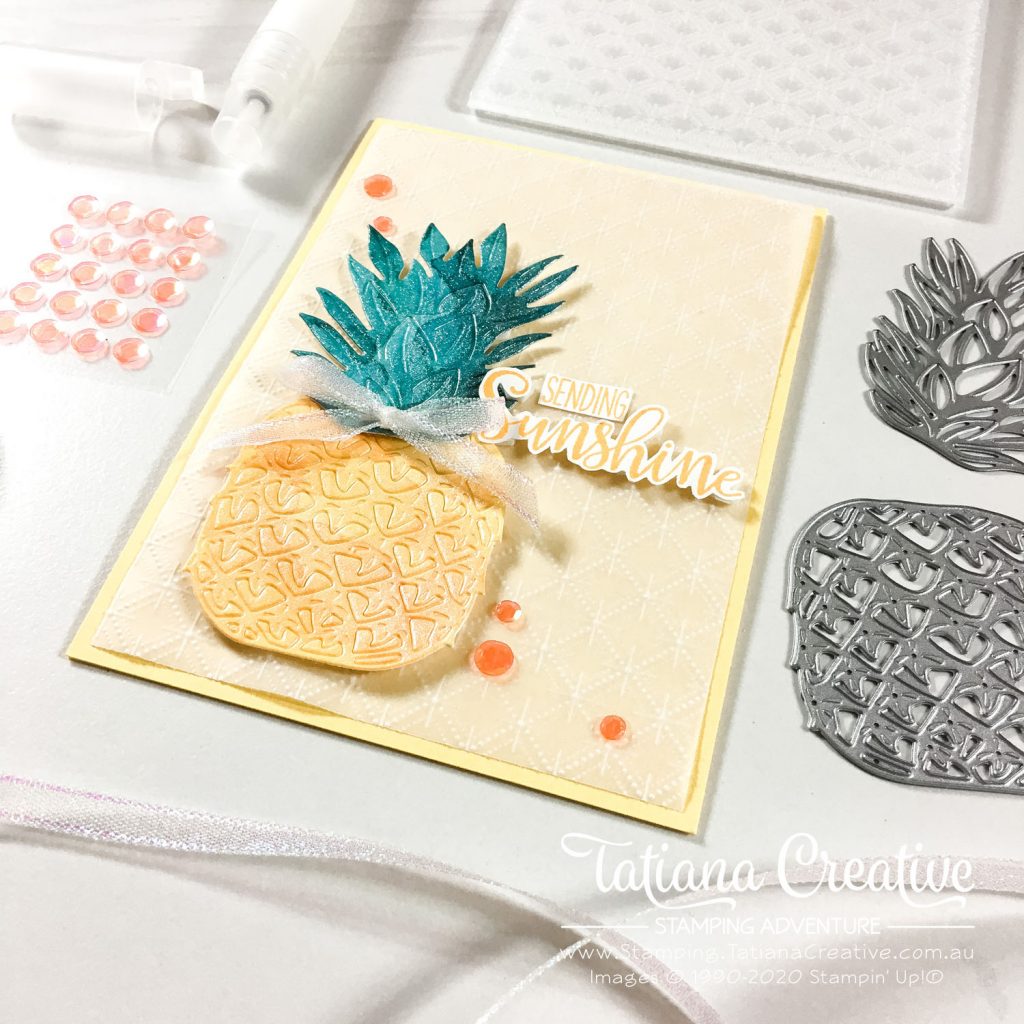
Welcome to my blog. I hope that you’ve all had a wonder Christmas. One of the best things about the Stampin’ Up!® community (as we really are a community) is the friendships that you make. I have met so many wonderful people which I’m now blessed to call friends. When a friend has some downs what is really wonderful is to send a card to send some sunshine. Stampin’ Up!® released a global Paper Pumpkin Kit called Share Sunshine earlier this year which focused on sending some joy and love around with bright yellow colours. I used the stamp set from this kit and the In The Tropics dies to create this card for fellow demonstrator Kayla who loves pineapples:

[Want to recreate this project? You’ll find all the supplies I used at the end of this post, conveniently linked to my Stampin’ Up! online store. I’d love to be your demonstrator and appreciate your support—it means the world to me on this creative journey!]
Card Details:
- Card Base: Daffodil Delight
- Card Front: White Vellum (10 x 14.3 cm) embossed with the Dainty Diamonds Embossing Folder TIP: When embossing Vellum with this embossing folder, include a piece of cardstock on the bottom (the side with all the point) and then you’ll be able to release the vellum from the embossing folder with no problems
- To create the pineapple I took some Fluid 100 Water and cut a piece big enough for the pineapple and another for the leaves of the pineapple.
- Watercolour each piece starting with lighter colours and heat set each layer so that you get a dried watermark.
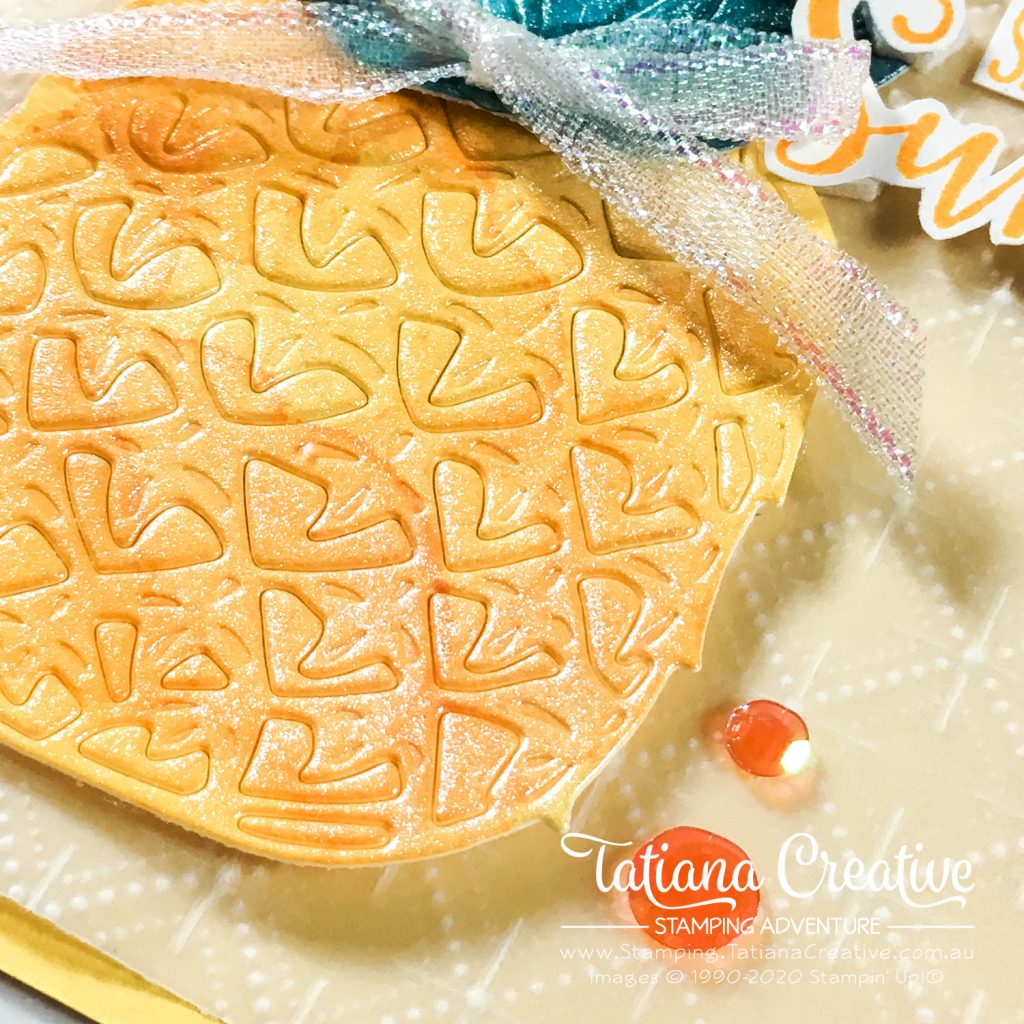
- I used a combination of Daffodil Delight and Mango Melody ink for the pineapple
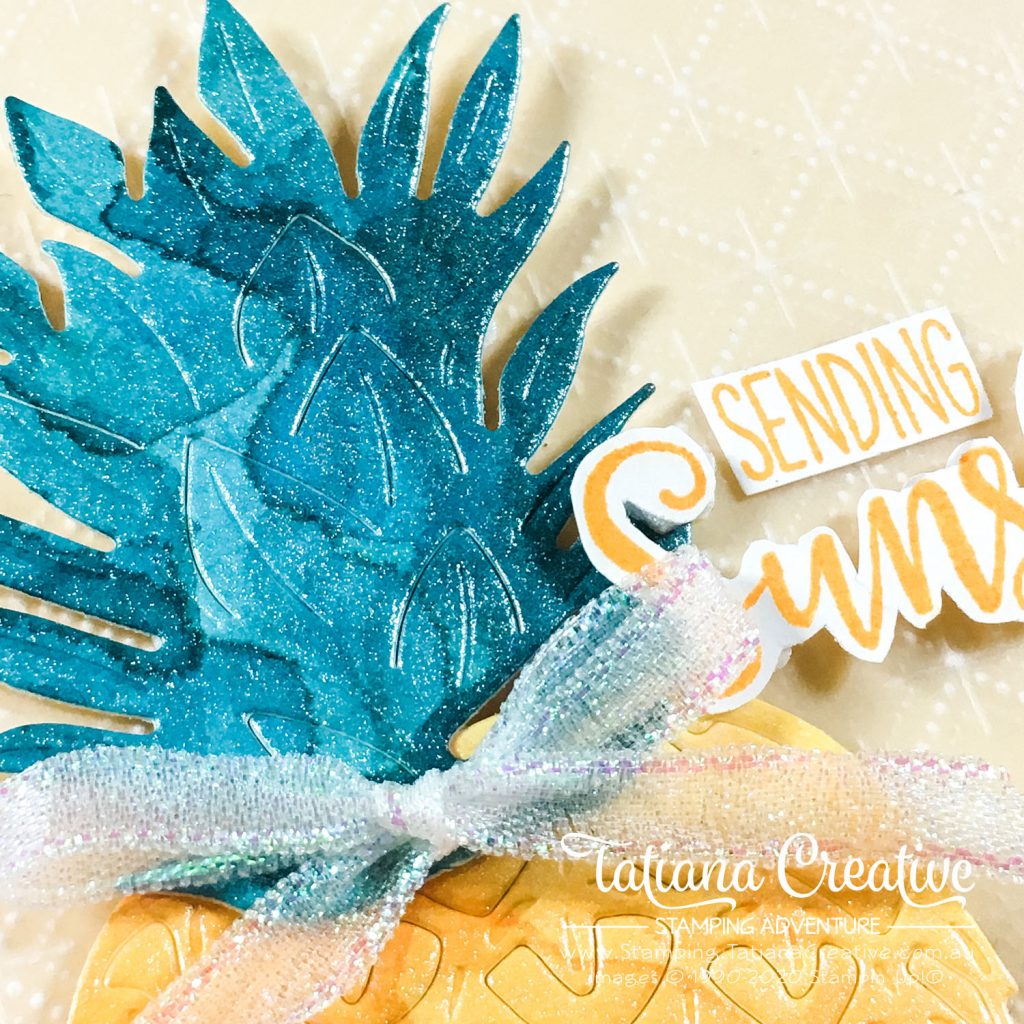
- For the leaves I used Pretty Peacock.
- Layer the washes of colour using Water Painters and heat set each layer till you are happy with it.
- Die cut our the pineapple and the leaves. TIP: Die cut the pineapple upside down so that the die is first the the cardstock in your sandwich. This way you can add some tape to the back to hold in place all of the inside parts before removing the cardstock from the die.
- Before assembling the pineapple use the Stampin’ Spritzer mixed with rubbing alcohol and Frost White Shimmer Paid to make it really shimmery.
- Assemble the card by adding glue to the Vellum where the pineapple will be. Adhere the pineapple with Stampin’ Dimensionals.
- The sentiment is from the Box Of Sunshine Paper Pumpkin stamp set stamped and fussy cut out.
- Complete the card by adding some Artistry Blooms Sequins.


I really LOVE how shimmery this pineapple turned out to be!
Thank you so much for visiting my blog! I hope today’s project has inspired you to get creative and try something new.
Until next time,
Tatiana
- Join Stampin’ Up!® to start getting your products at 20% discount: CLICK HERE
- Request a Catalogue to see what products you can purchase: CLICK HERE
- Subscribe to my newsletter to keep up to date with the latest news: CLICK HERE
- Follow me on Facebook for regular updates and inspiration: CLICK HERE
- Go SHOPPING for clearance items and specials: CLICK HERE
If you’re in Australia, you can shop Stampin’ Up!® products through my online store. I’d love to be your demonstrator and help you find the perfect supplies for your next creative project!
Supplies:
You can purchase the of the supplies I used in this project. Please click on the image below to purchase. Thank you for your support.


