Hello Everyone! Welcome to my blog!
If you have been following me particularly on Facebook and my blog you will have noticed that I’m really big on creating backgrounds using strips of card stock that I have left over. I’ve not been able to throw them out because I was sure there was something I could make with them. Today I share another two in one card using the left over scraps. The other thing you may notice is that sneaky little ladybug that keeps hiding from me has finally made it onto a card!


[All supplies used in this project are shown at the end of this post and are linked to my Stampin’ Up! online store. You can purchase them and create this project too! Thank you for your support of my stamping adventure]
Card Details:
- Card Base: Whisper White Thick
- Stripy Panel: Adhere strips of coloured card stock onto a piece of 14.8 x 10.5 cm piece of Whisper White. First put some Snail Adhesive on to the Whisper White card stock and then lay down the strips on an angle.
- I used a rainbow of colours and alternated with Sparkle Glimmer Paper. My strips are 1cm thick and the glimmer paper is 0.3 cm thick.
- Cut out the scalloped stitched die from the Stitched So Sweetly Dies from the centre of this background. You then use the stitched scalloped die for one card and the border for another.
- Stamp onto Whisper White thick a variety of ladybugs and flowers in Tuxedo Black Memento Ink and colour using Stampin’ Blends. Die cut using Ladybug Dies. I have one full flower and two just the flower heads.
- For the stripy boarder card I adhered the flowers so that some are behind and one goes over the border.
- For the stitched scalloped die cut I added a smaller stitched scalloped die cut from Vellum on top. This softens the rainbow background and brings more attention to the ladybugs.

Above is the cute little ladybug that keeps hiding from me!

What I really love about creating this rainbow background is that even though you need to have lots of coloured card stocks you only need one strip of each. This is perfect for looking at what scraps you may have and using them all up.


Inside of the cards and the envelope flap was kept really simple – two stamps of the cute little ladybug row stamp and coloured in Stampin’ Blends in the same colour as the card front.
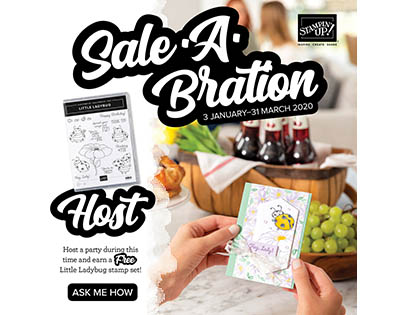
There’s only today and tomorrow left to get this adorable stamp set for FREE with a qualifying order. Gather your friends for a virtual workshop and you easily get this hostess stamp set.

Thank you for visiting my blog! I hope that I’ve inspired you to be creative.
Bye for now!
Tatiana
- Join Stampin’ Up!® to start getting your products at 20% discount: CLICK HERE
- Request a Catalogue to see what products you can purchase: CLICK HERE
- Subscribe to my newsletter to keep up to date with the latest news: CLICK HERE
- Follow me on Facebook for regular updates and inspiration: CLICK HERE
- Go SHOPPING for clearance items and specials: CLICK HERE
If you live in Australia you can purchase Stampin’ Up!® products from my online store.
Current Host Code (August 2024): NN39AWU4
(Use the hostess code when ordering less than $250. All orders over get a handmade card from me. Orders over $50 will receive a FREE gift, and collect stickers part of my Customer Loyalty Program! Orders over $90 will also get a FREE tutorial bundle the following month!!). Click here to shop now using the current Host Code.
Supplies:
You can purchase the of the supplies I used in this project. Please click on the image below to purchase. Thank you for your support.


