I have to admit that I am most excited about this card this week. It is a Never Ending Card. It is also called an Infinity Card. Basically you keep folding it back and it reveals another section of the card. I’ve made one before that I never shared because I felt like it wasn’t quite right – the mechanics worked really well I just wasn’t happy with the way it looked. Recently I decided to find an example that set me on the right path for decorating the card and I found one at Beccy’s Place. Changed the format to be landscape (Beccy’s example is square).
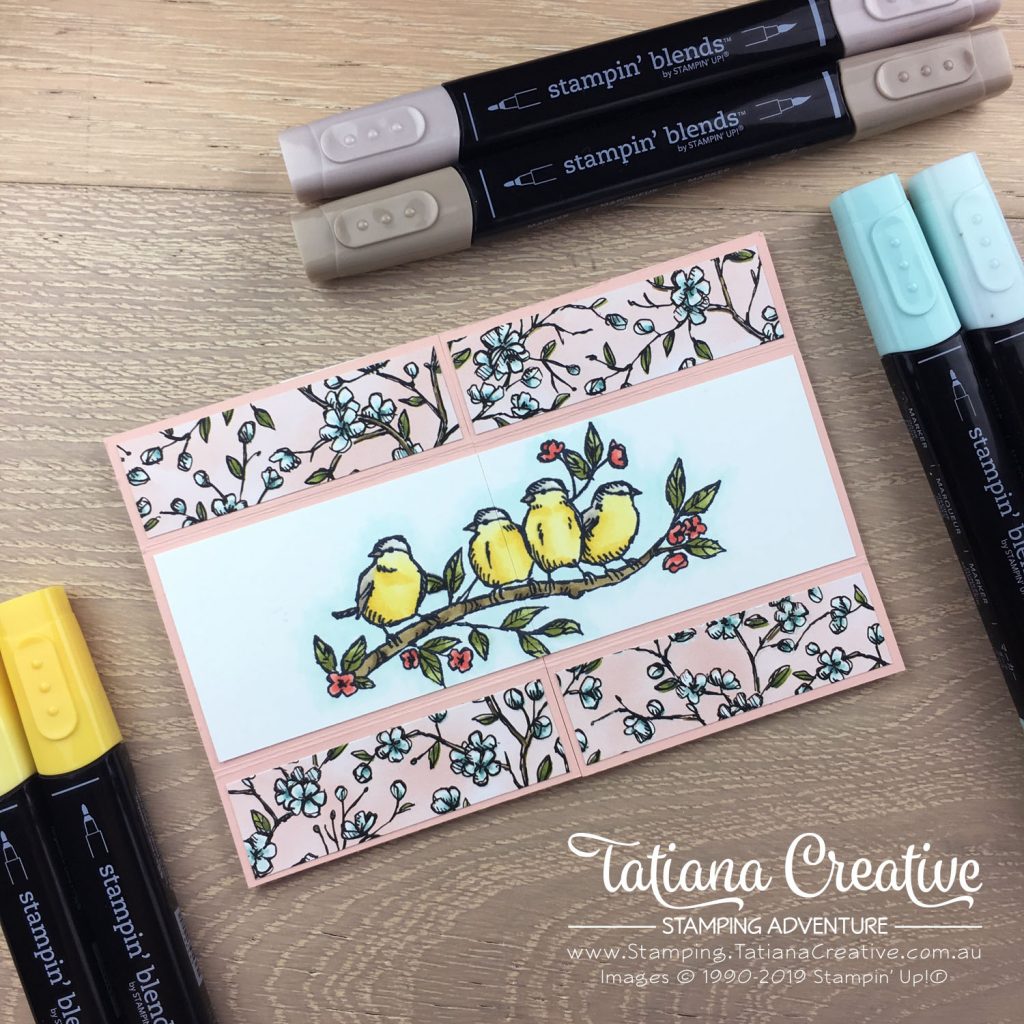
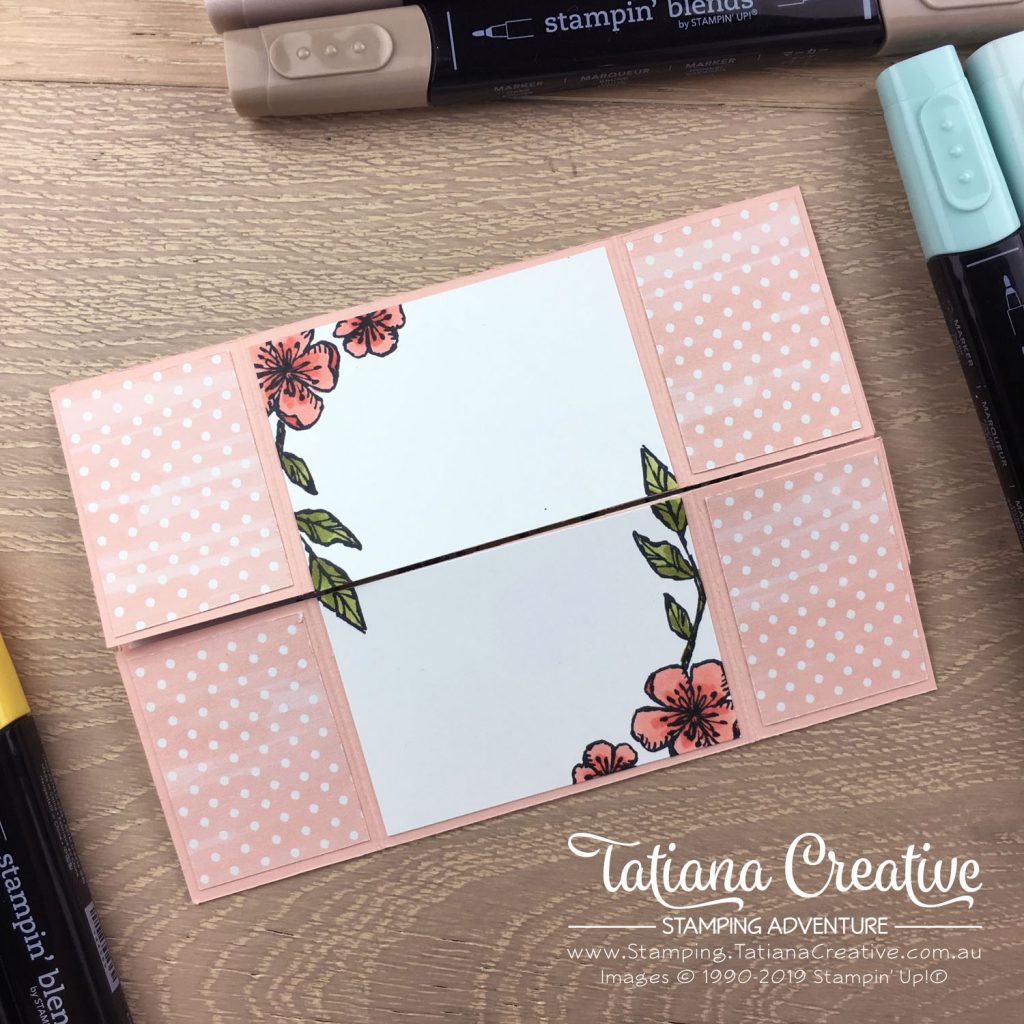
Here is the front of the card. It looks fairly regular:
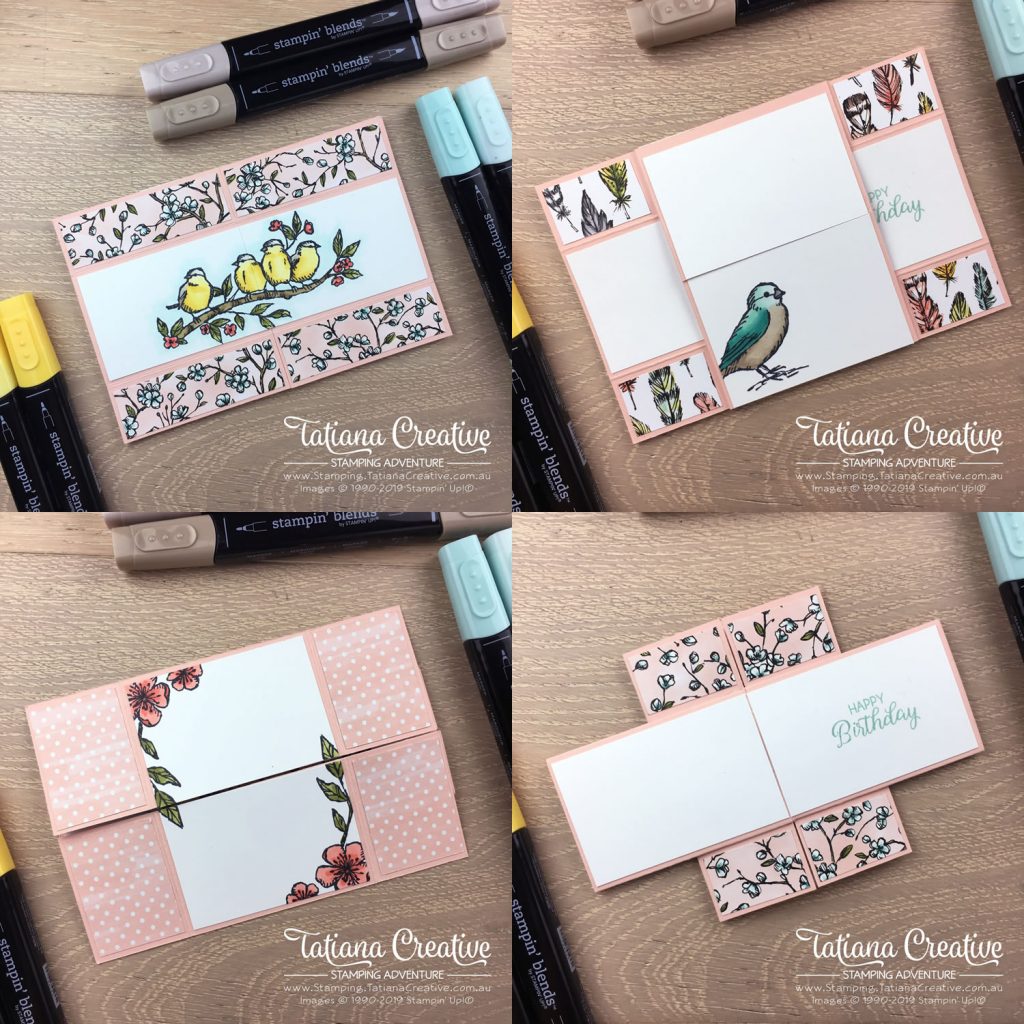
The magic in this fun fold is when you fold it back. The Never Ending card has four faces. I’ve compiled all four into one image so that you can see (going clockwise from the top left):
[Want to recreate this project? You’ll find all the supplies I used at the end of this post, conveniently linked to my Stampin’ Up! online store. I’d love to be your demonstrator and appreciate your support—it means the world to me on this creative journey!]
I will share my dimensions in a blog post later. For now I shall share some general tips to make this card:
- The four faces of the card each have a big space to work with, so yo don’t have to think about smaller areas all the time.
- Think about the big four spaces first before decorating the smaller areas.
- Decorate these big four spaces before cutting them in half.
- Remember to leave some blank space to write on.
- Don’t be afraid to use the coloured cardstock as your base – it’s not too thick even with the layers glued on top.
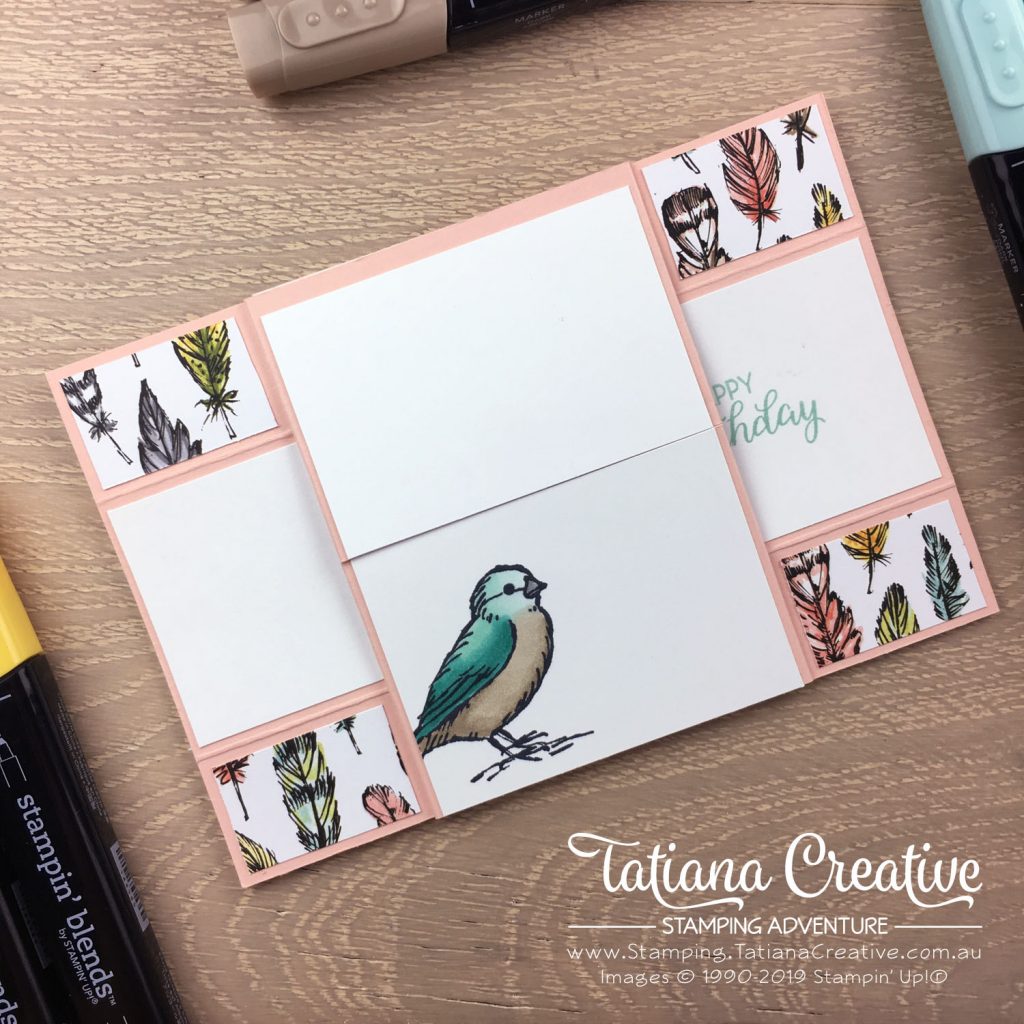
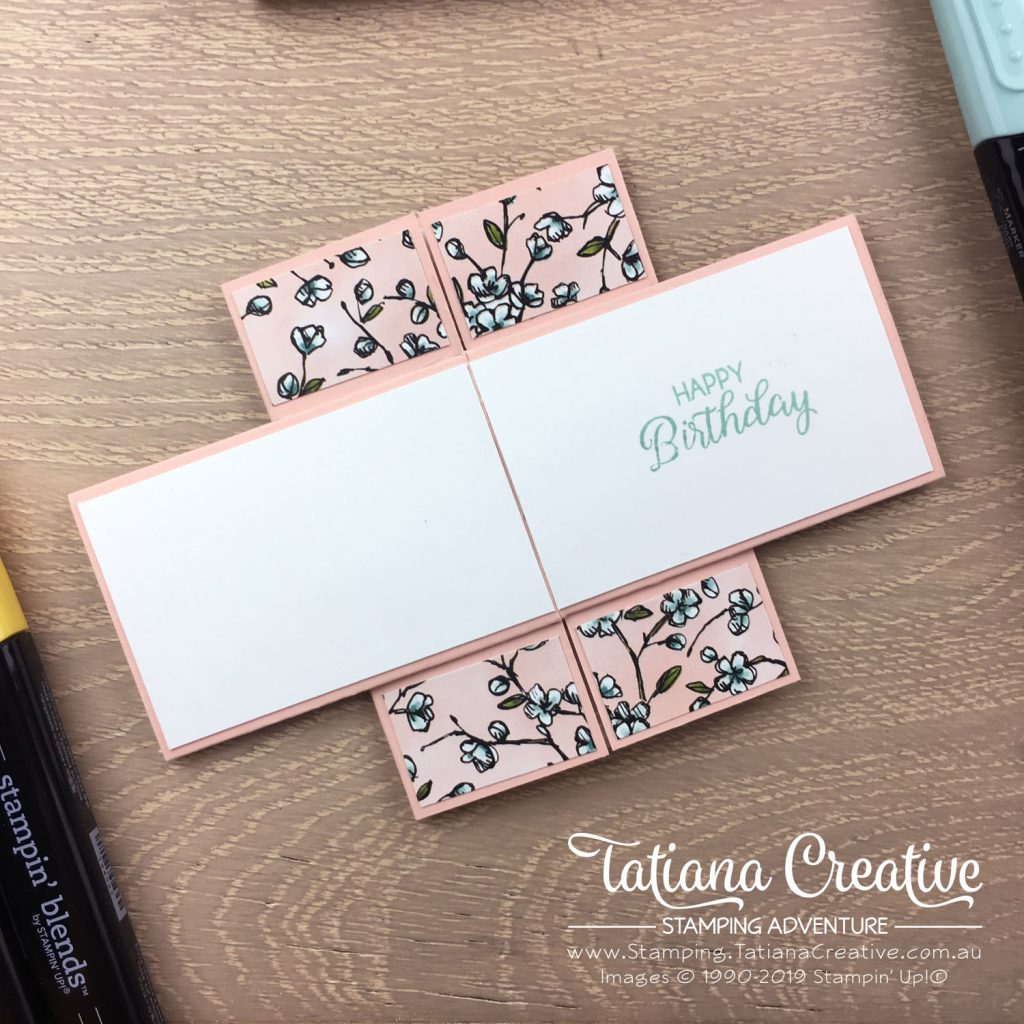
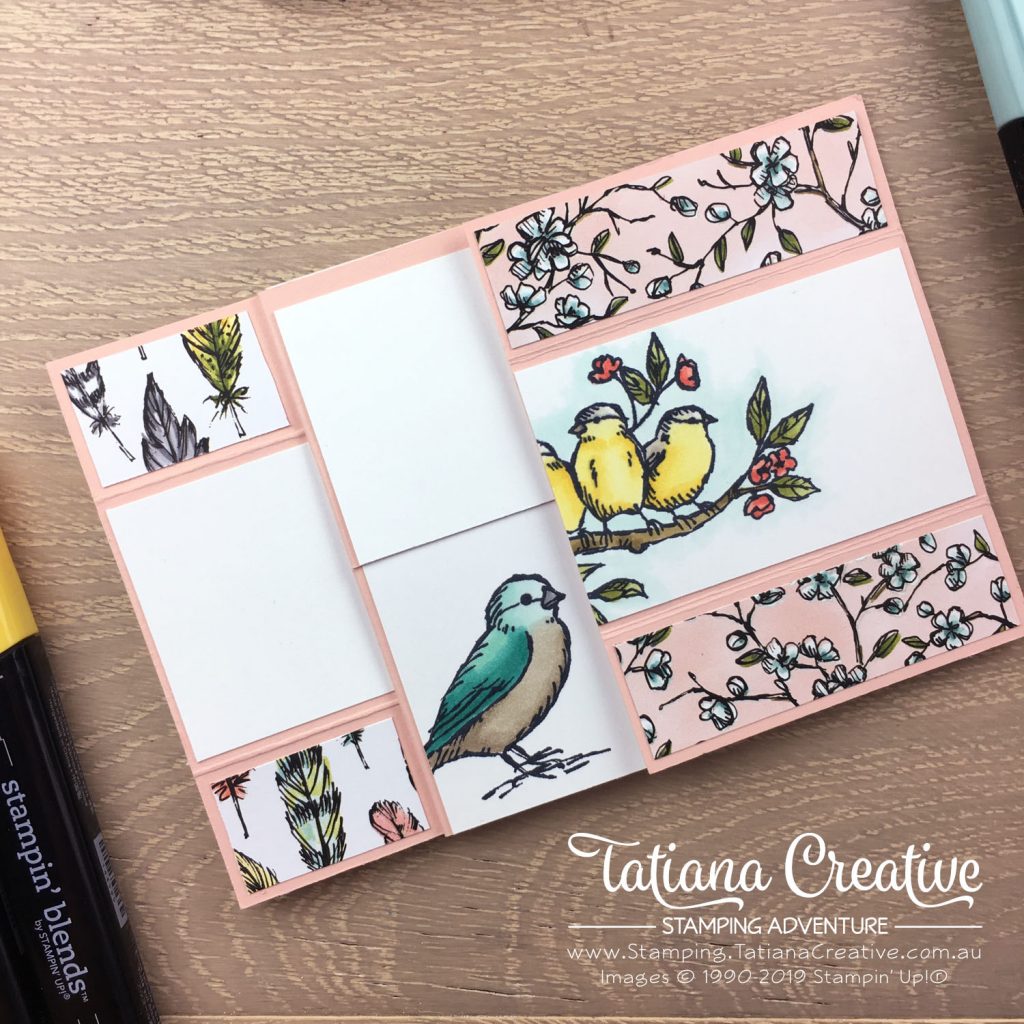
Here are the larger photos of each of other three faces of this card:
It’s really quite interesting to see the card in action. I’ve tried to capture this with these next photos with partial folding back:
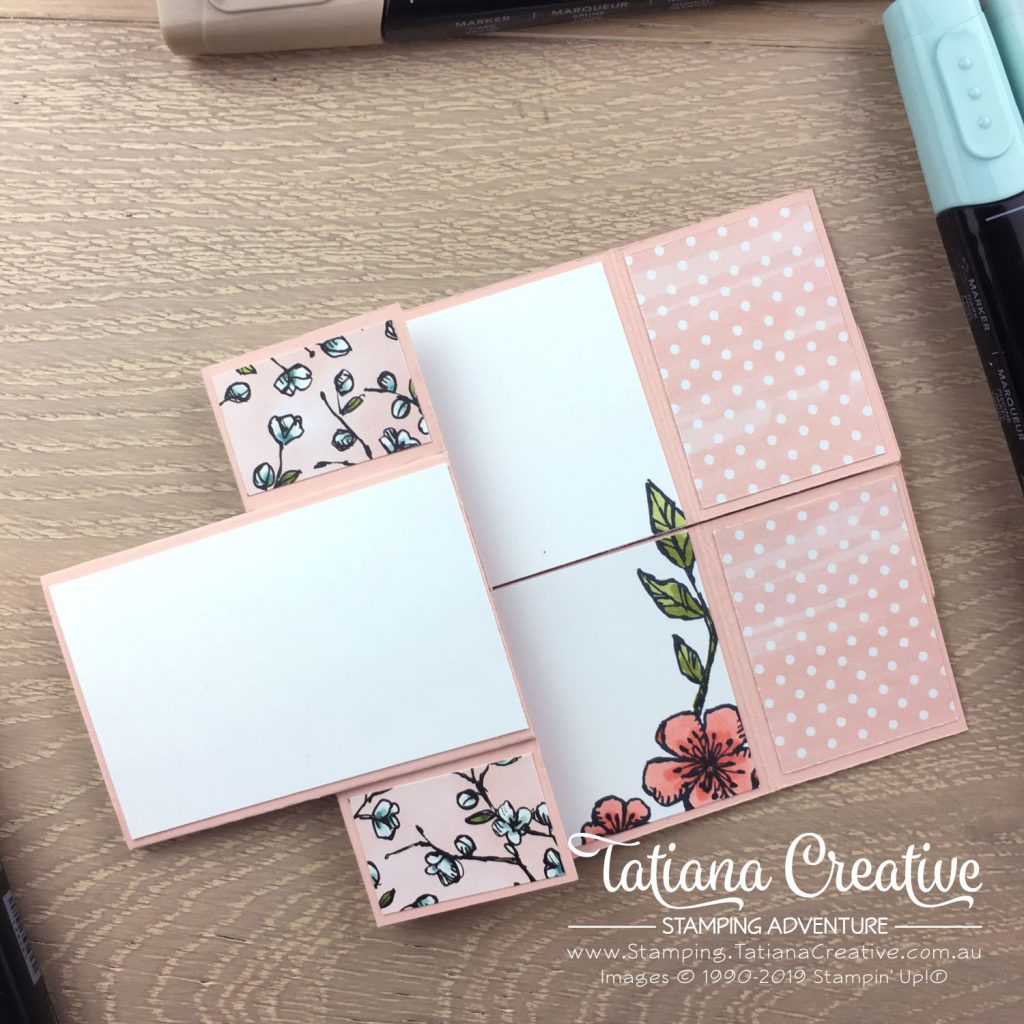
I’m really proud of how I’ve coloured the images too. I took colour combinations from the Bird Ballad DSP. This is really a great way to start when you’re not sure what colours to use on the Free As A Bird stamps.
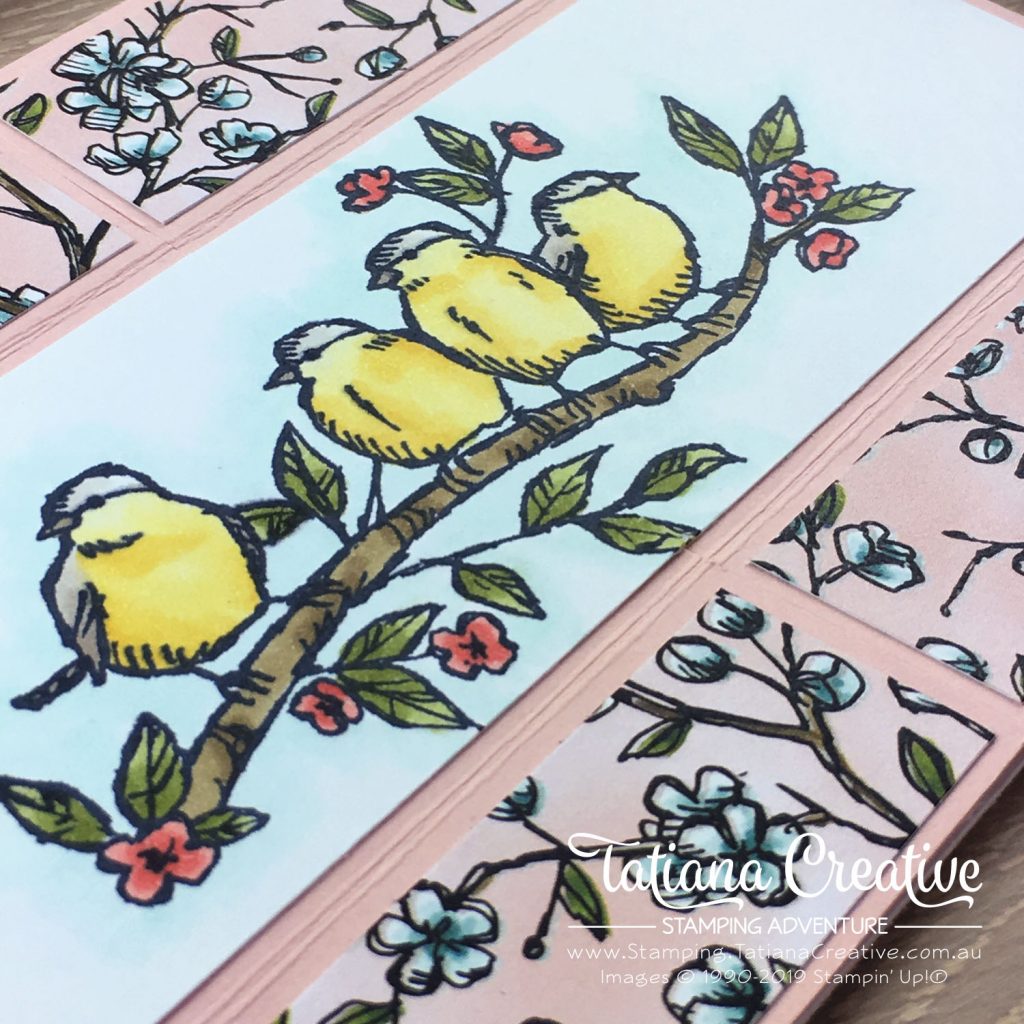
To get that “glow” look around the birds work in small areas at a time. First colour the area with the Stampin’ Blends Color Lifter marker, then go over using a light Stampin’ Blends marker (I used Light Pool Party). Then blend the edges with the Color Lifter. After it fully dries it creates the glow look. I would only recommend using soft light colours for this technique.
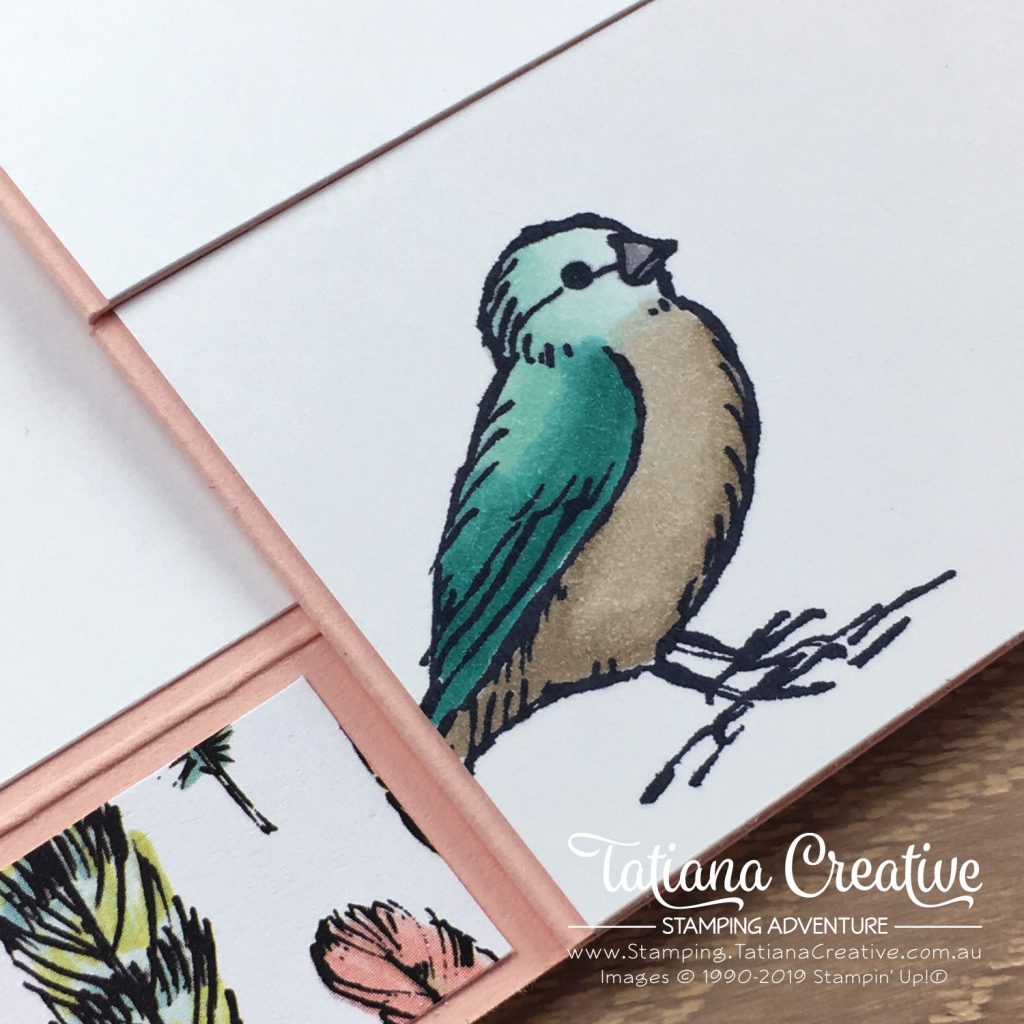
The wing on this bird was coloured using two combo markers (so four Stampin’ Blends markers). The Bermuda Bay Combo and the Pool Party Combo. I then blended the Light Pool Party into almost white with the Stampin’ Blend Color Lifter. A bit like the glow look above.
I will share a more in depth tutorial on the Never Ending Card later this year.
Thank you so much for visiting my blog! I hope today’s project has inspired you to get creative and try something new.
Until next time,
Tatiana
- Join Stampin’ Up!® to start getting your products at 20% discount: CLICK HERE
- Request a Catalogue to see what products you can purchase: CLICK HERE
- Subscribe to my newsletter to keep up to date with the latest news: CLICK HERE
- Follow me on Facebook for regular updates and inspiration: CLICK HERE
- Go SHOPPING for clearance items and specials: CLICK HERE
If you’re in Australia, you can shop Stampin’ Up!® products through my online store. I’d love to be your demonstrator and help you find the perfect supplies for your next creative project!
Supplies:
You can purchase the of the supplies I used in this project. Please click on the image below to purchase. Thank you for your support.


Do you have the measurements for your pieces? This card is fantastic!
Hi Kozzette! I’m thrilled you love my project. I will be sharing a detailed tutorial in the near future complete with measurements. If you follow me on
Facebook (@TatianaCreativeStampingAdventure) or Instagram (@TatianaCreative) you will see when I announce it
I would like the dimensions of your never ending card, but I do not have facebook or instagram
Hi Karen! Thanks for commenting on my blog. I’ll keep you in mind when I post the tutorial and send you an email.