Hello everyone, and thank you for visiting my blog! I’m Tatiana Tobin and I live in Sydney Australia. You may have come to my blog from Kylie Bertucci’s International Blog Highlight’s page for June 2018, welcome, welcome! This is my second time participating. I had so much fun last month I thought that I would do it all again.
For those who may not know, Kylie Bertucci is a fellow Stampin’ Up!® independent demonstrator and she organises this highlights as a way to get to know other demonstrators from all around the world. I have to say that I have made a wonderful new friend Danielle Kassing from the Netherlands as a result from last month’s highlights so its been amazing for me. Its also away to challenge using current Stampin’ Up!® products to a particular theme. This months’ theme is: Friendship.
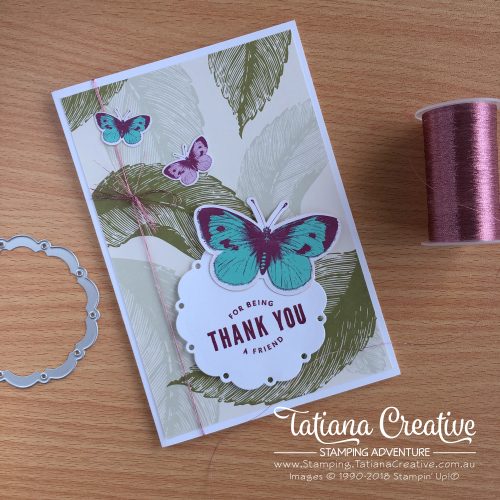
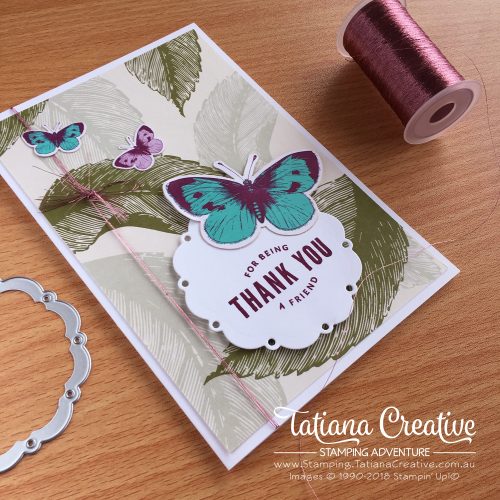
For me the sentiment “Thank You For being a friend” from the Lots of Happy Card Kit is perfect for this theme and for today’s card I have paired it with the BRAND new Memories & More Card Pack called Tea Room. It is a gorgeous new product freshly available this month.

Stampin’ Up!® have also created Note Cards & Envelopes for the Memories & More card packs which make card making super easy and stunning. In the Tea Room Memories & More Card Pack has 50 double sized cards in 4″x6″ (standard sized printed photo size) and 3″x4″ (half a standard sized printed photo) plus 6 single sided copper foil specialty cards and 4 sheets of stickers. This paired with the Memories & More Cards & Envelopes makes a LOT of cards that are SUPER easy.

To create this card:
- Select the card that you would like to use from the Tea Room Memories & More Card Pack. Optional: Wrap around the long side some Rose Metallic thread. To secure take a length of some more thread and fold over a few time and then tie onto the thread that is on the card. Trim ends. Adhere to the Card using Liquid Multipurpose glue.
- Using the Spot of Tea Framelits Cut a large circle from Whisper White card stock and stamp the sentiment in Rich Razzleberry. Adhere using Stampin’ Dimensionals to the card front.
- Take the butterfly stickers and add to your card. The big butterfly I have stilling on the sentiment circle and since it’s hanging off the edge I added some Stamping’ Dimensionals to the tips of the wings to help it stay raised.
If you like my card you can VOTE for my card. You may also visit the voting link to check out all the other wonderful projects. You can vote for your favourite 5!
Thank you for visiting with me!
Thank you so much for visiting my blog! I hope today’s project has inspired you to get creative and try something new.
Until next time,
Tatiana
- Join Stampin’ Up!® to start getting your products at 20% discount: CLICK HERE
- Request a Catalogue to see what products you can purchase: CLICK HERE
- Subscribe to my newsletter to keep up to date with the latest news: CLICK HERE
- Follow me on Facebook for regular updates and inspiration: CLICK HERE
- Go SHOPPING for clearance items and specials: CLICK HERE
If you’re in Australia, you can shop Stampin’ Up!® products through my online store. I’d love to be your demonstrator and help you find the perfect supplies for your next creative project!
Supplies:
You can purchase the of the supplies I used in this project. Please click on the image below to purchase. Thank you for your support.


Such a lovely card, Tania. These Memories & More cards are great for a quick project x
Thank you Anna! Yes I’m loving them for quick projects.