


Hello everybody!
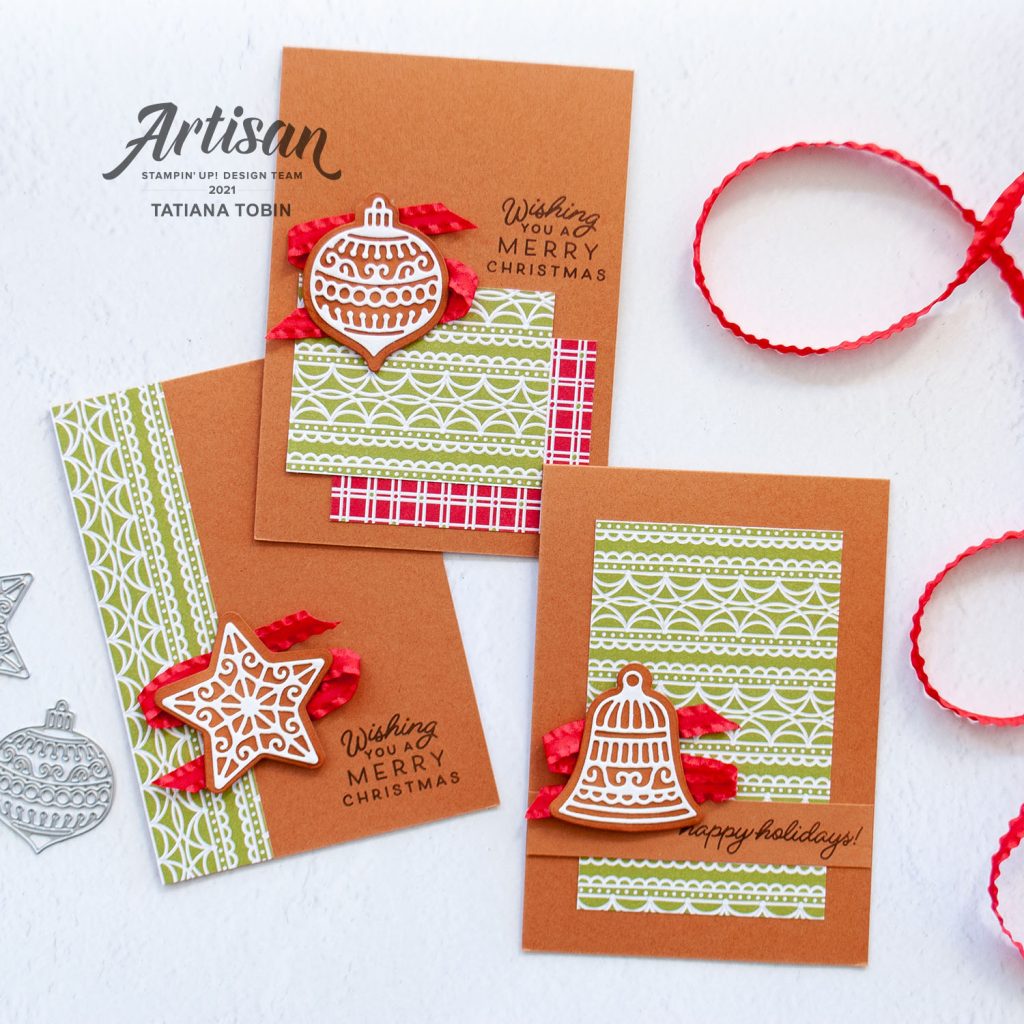
Welcome to my blog. Today I’m sharing with you Christmas cards that I made for my customers to include with their copies of the July – December Mini catalogue. I used the Gingerbread & Peppermint Suite as this is one of my favourites in the catalogue. I used the DSP in the suite and created a new One Sheet Wonder. This is a quick method to create lots of different cards. I used two different designs of the DSP (one which I used two sheets so that I could feature both sides.
[Want to recreate this project? You’ll find all the supplies I used at the end of this post, conveniently linked to my Stampin’ Up! online store. I’d love to be your demonstrator and appreciate your support—it means the world to me on this creative journey!]
Cutting Guide for One Sheet Wonder


- Cut across 11.8 cm from the bottom.
- Take the top piece and trim to be 14.8 cm wide. This is for card design 1. Discard the small piece on the end.
- Cut down 7.5cm from the left. This piece is for card design 2.
- Now cut in half the last piece. It is approximately 7.7 cm wide and cut to 5.9 cm high each. These two piece are for card design 3.
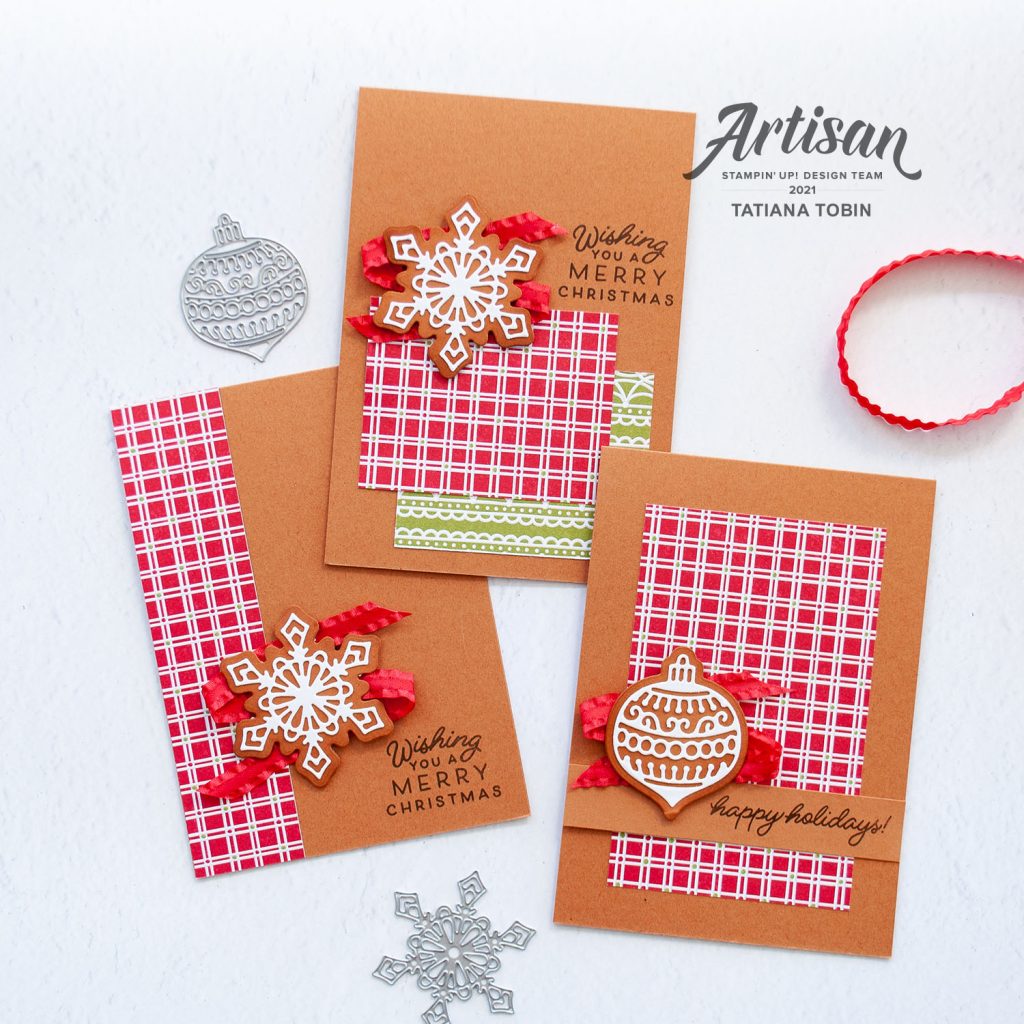
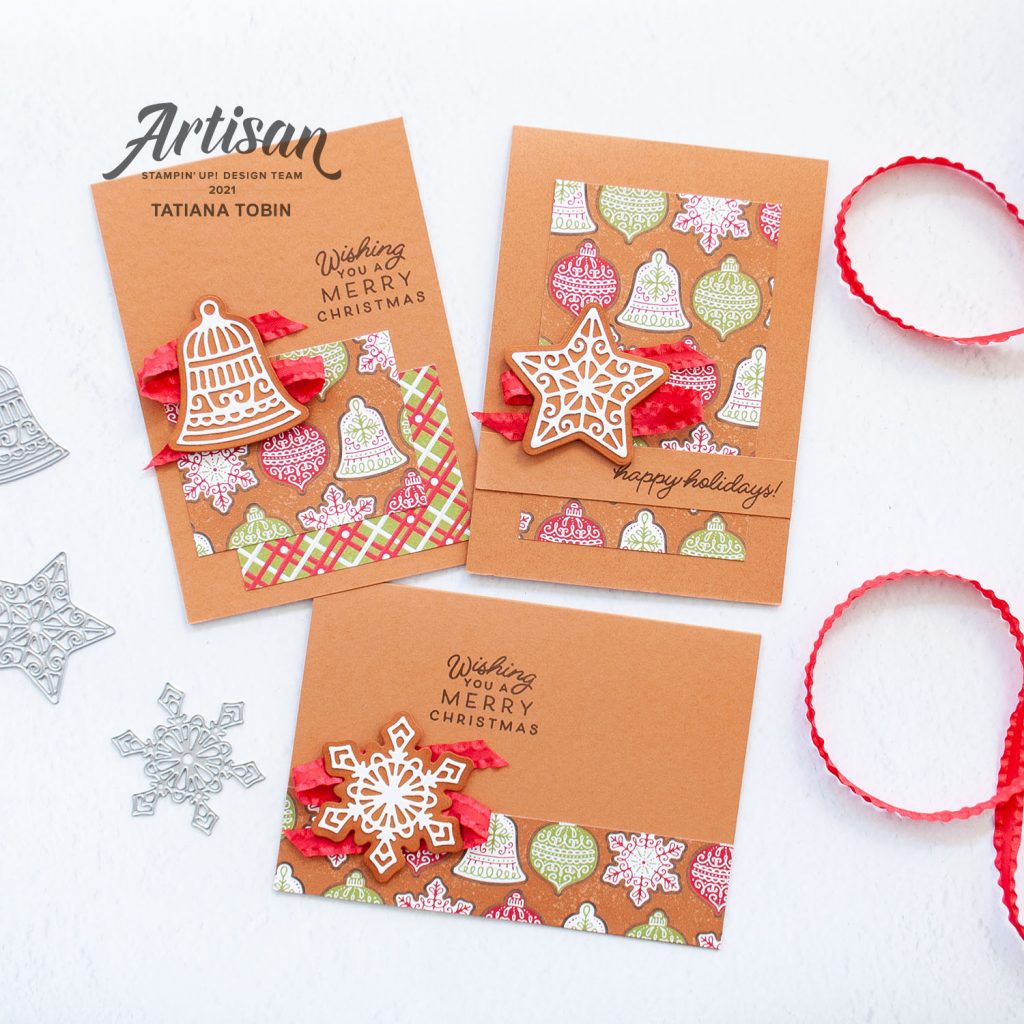
Card Design 1:
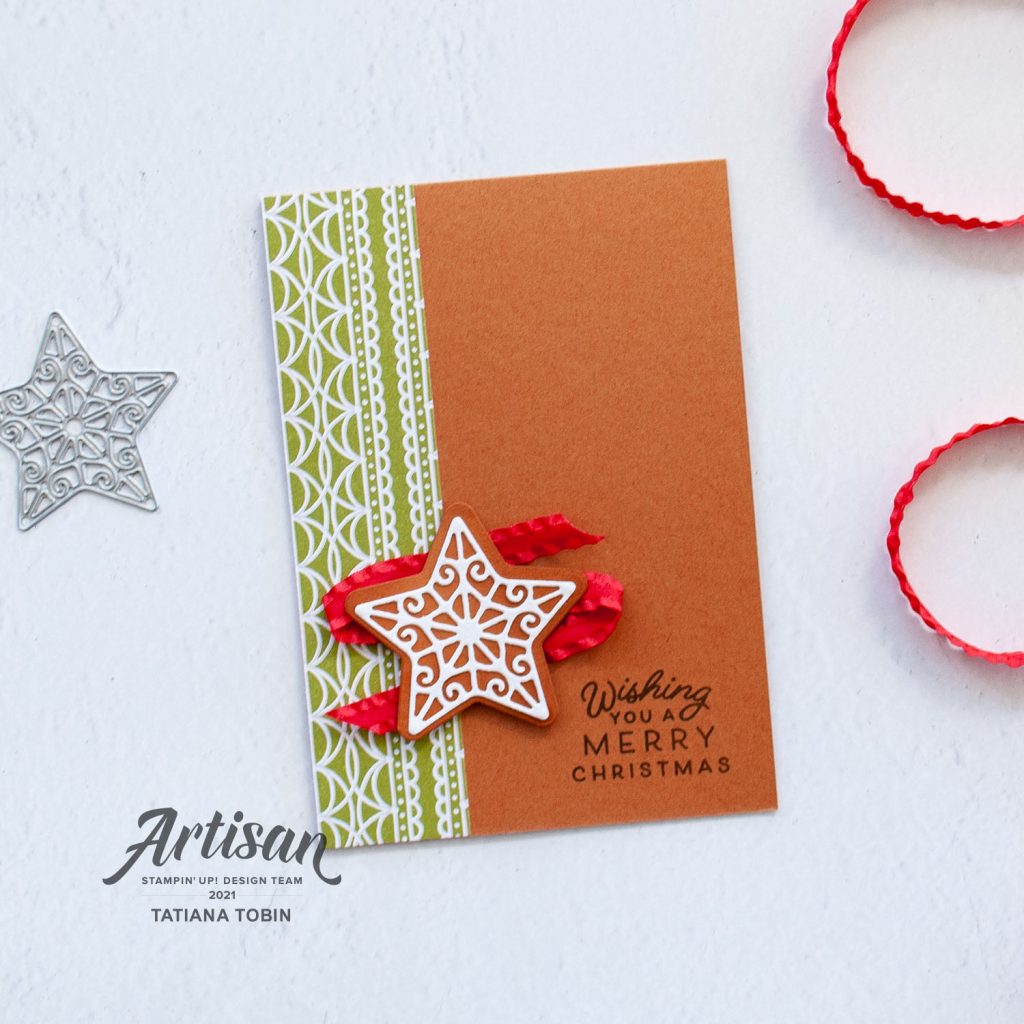
I took the piece for card design 1 and placed it on the left edge of a portrait card. You can also use this piece on a landscape card.
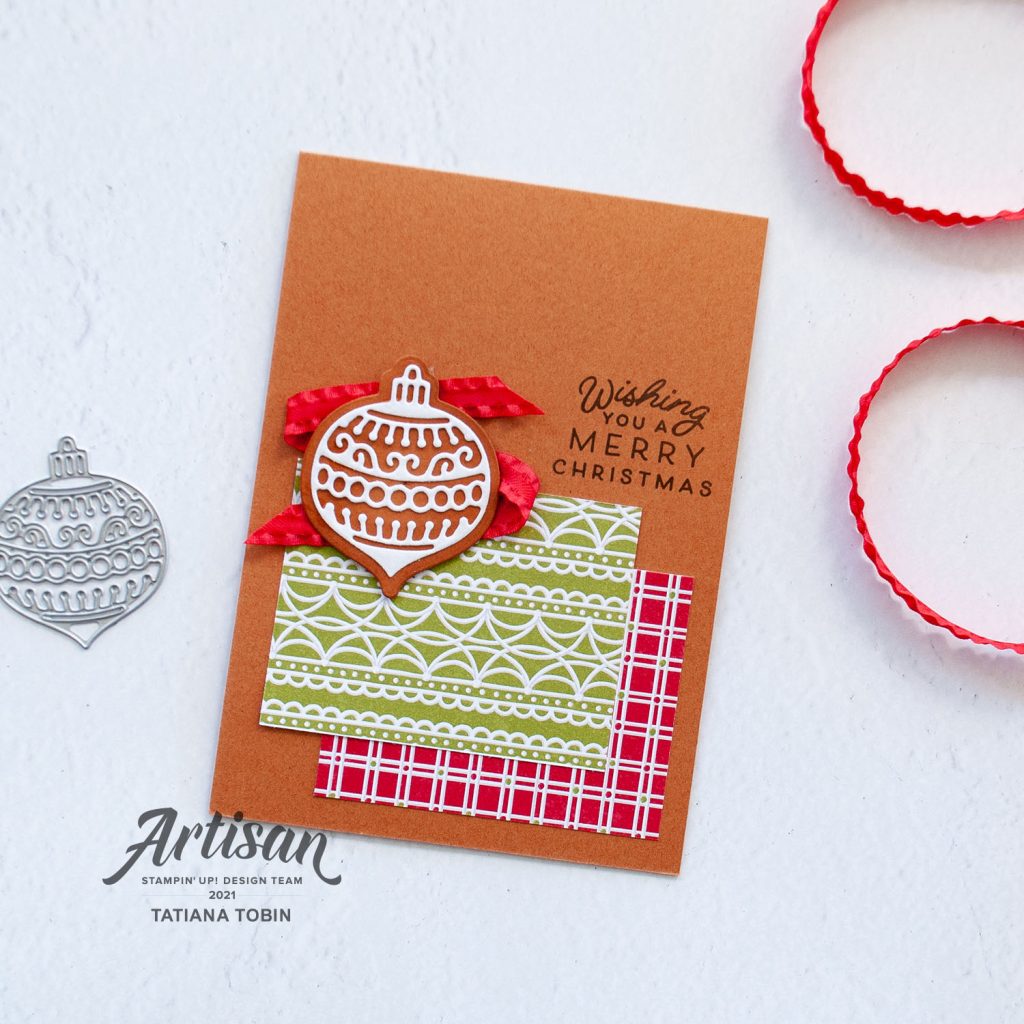
Card Design 2:
For this design I placed the DSP piece in the centre.
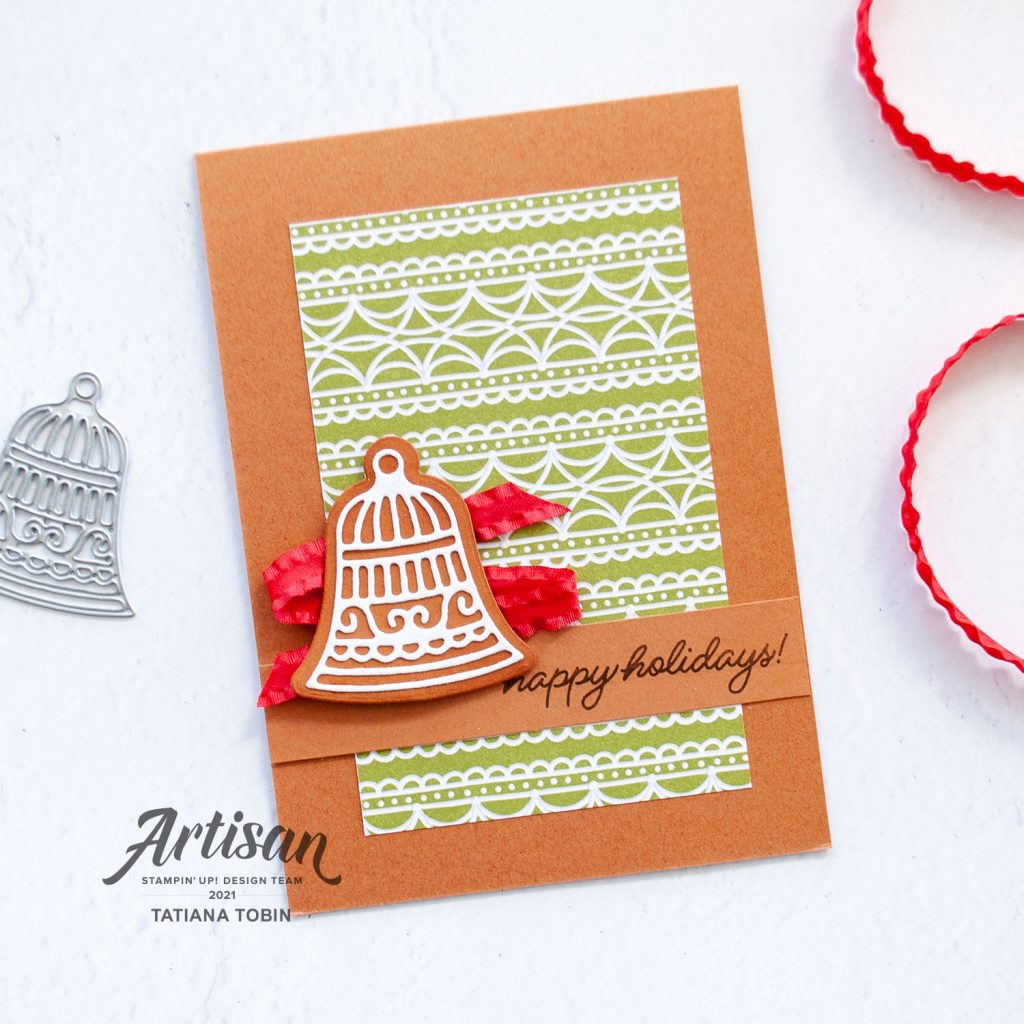
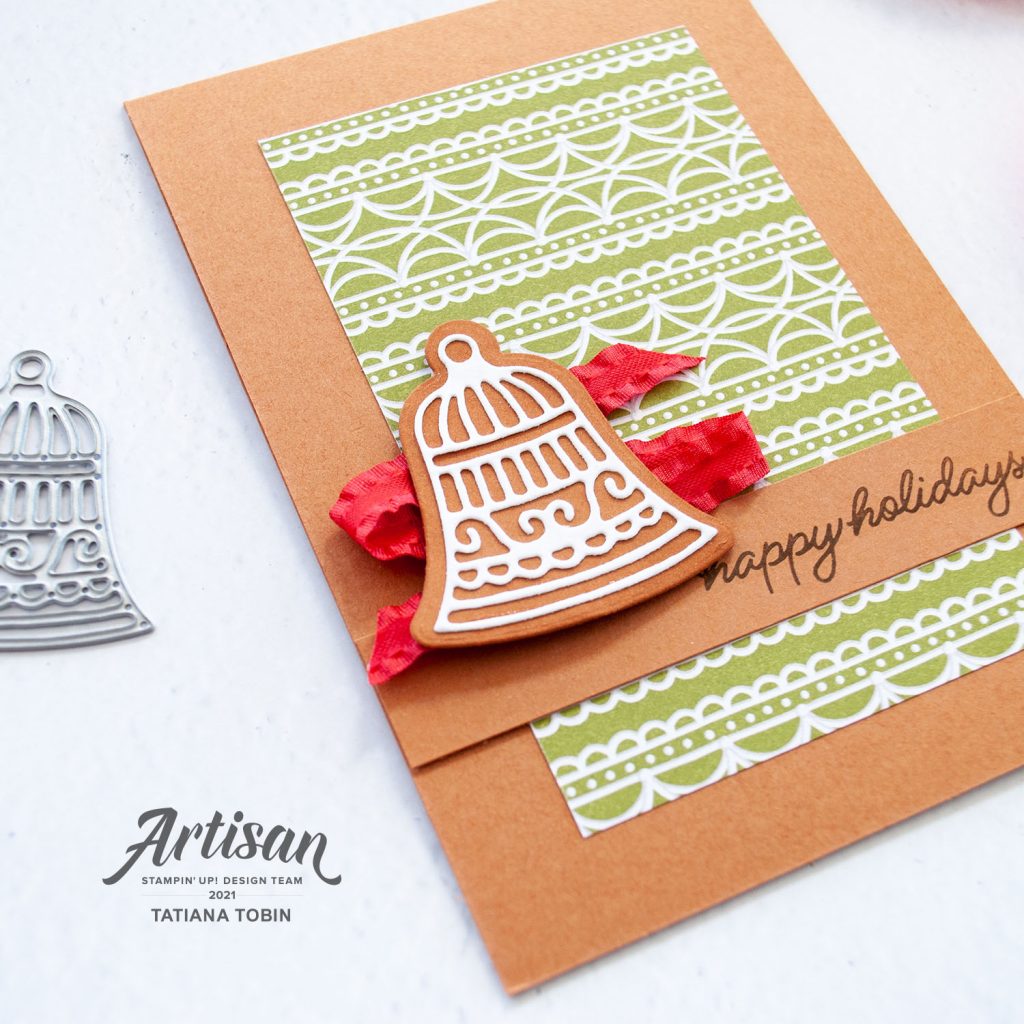
Card Design 3:
For this card design I flipped one of the pieces so that both sides of the DSP is featured on the card. I placed one piece on the bottom right corner and then the next piece overlapping it. You can place these in any corner of a card base that you’d like.
Card Details:
- Card Base: Cinnamon Cider
- Sentiment Label (card design 2): Cinnamon Cider (10.5 x 2 cm)
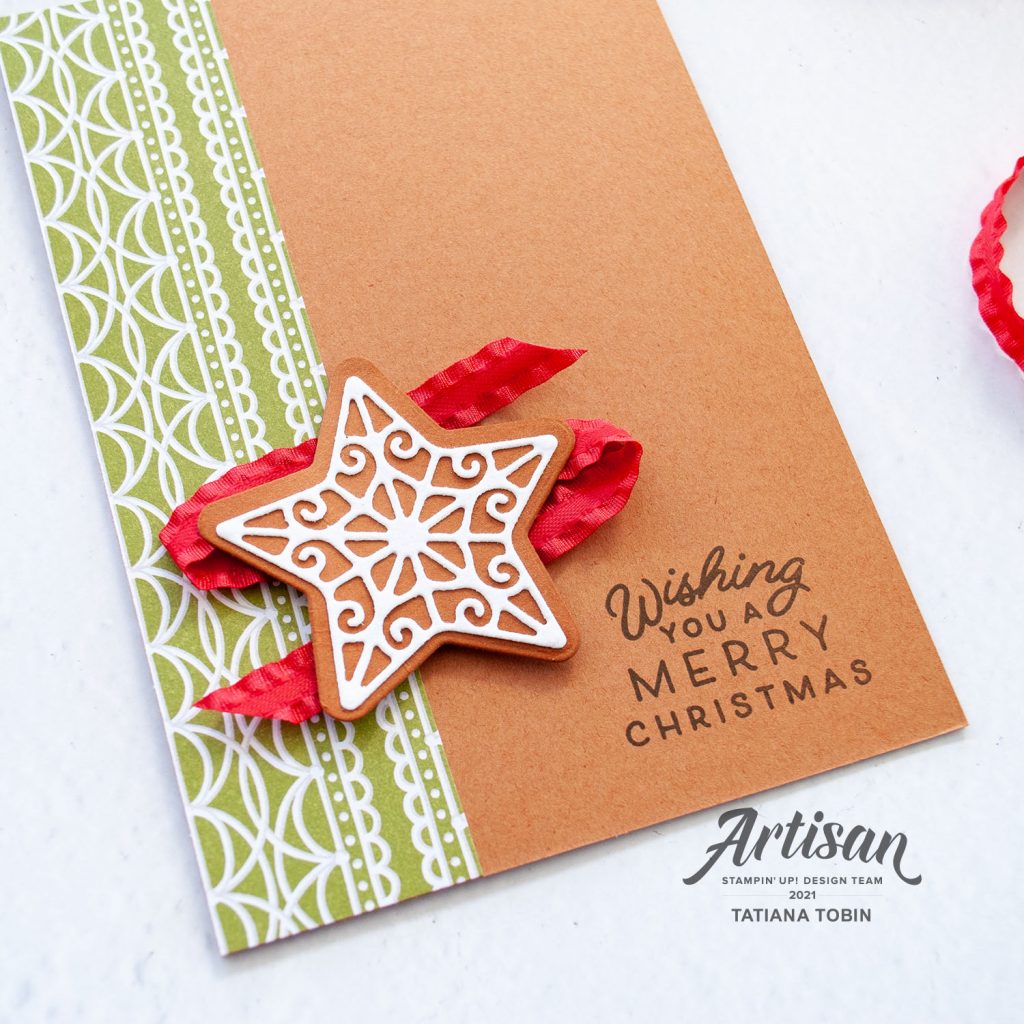
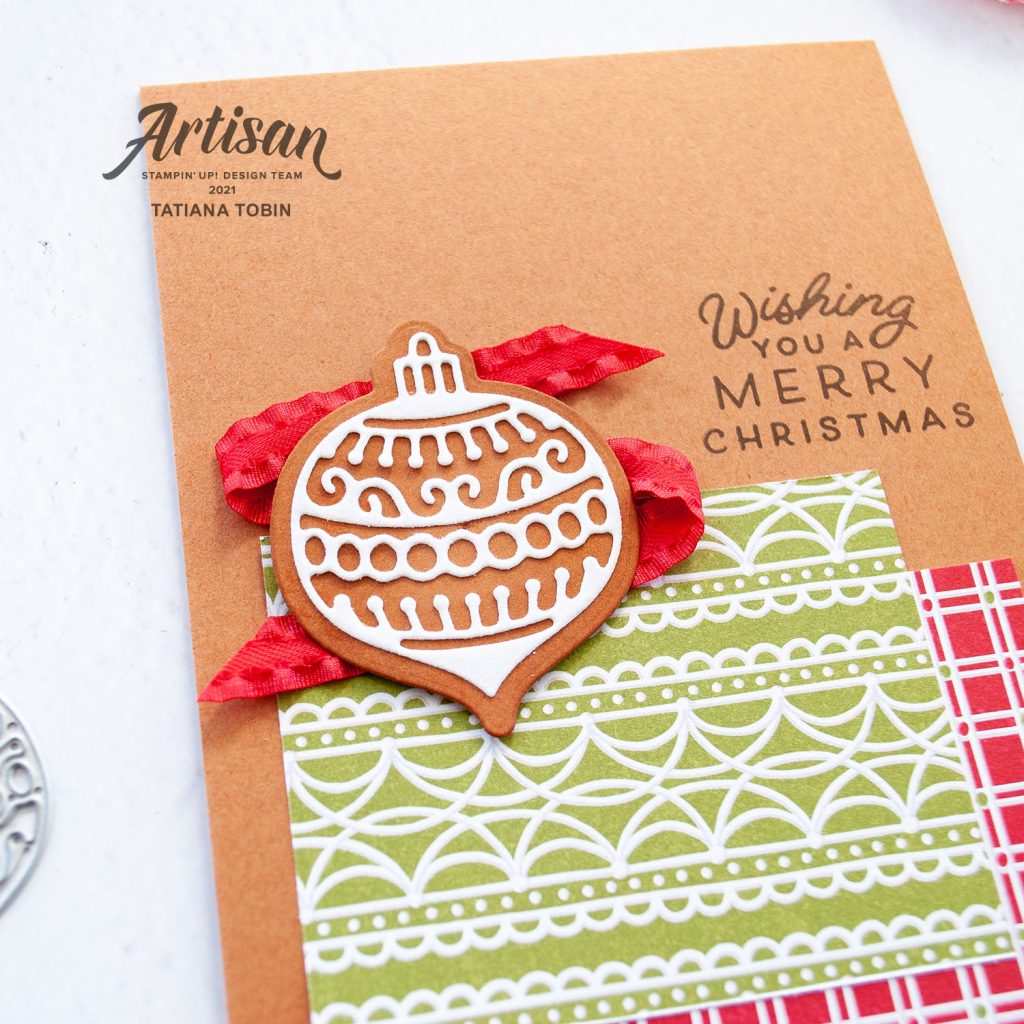
- For each of the cards I die cut out a Christmas shape using the Gingerbread Dies. To make the edges look more like cookies, I blended some Cinnamon Cider ink with Blending Brush.
- Die cut coordinating detail die for the icing for each cookie. I die cut these from the Snowy White Velvet Sheets. These are so much fun to work with! TIP: add some Adhesive Sheets to the back of the Velvet Sheets to make it easier to adhere to the cookie.
- The sentiments are stamped in Early Espresso.
- To decorate I added a zig zag of the Real Red Mini Ruffled Ribbon behind the cookie. TIP: add a strip of Tear & Tape to where you will place the cookie, add the ribbon and you can lift and move till you are happy with the position.
- Add the cookies to the card using Stampin’ Dimensionals
Card using different DSP designs:
Thank you so much for visiting my blog! I hope today’s project has inspired you to get creative and try something new.
Until next time,
Tatiana
- Join Stampin’ Up!® to start getting your products at 20% discount: CLICK HERE
- Request a Catalogue to see what products you can purchase: CLICK HERE
- Subscribe to my newsletter to keep up to date with the latest news: CLICK HERE
- Follow me on Facebook for regular updates and inspiration: CLICK HERE
- Go SHOPPING for clearance items and specials: CLICK HERE
If you’re in Australia, you can shop Stampin’ Up!® products through my online store. I’d love to be your demonstrator and help you find the perfect supplies for your next creative project!
Supplies:
You can purchase the of the supplies I used in this project. Please click on the image below to purchase. Thank you for your support.
")


 Designer Series Paper")
 Velvet Sheets")
 Mini Ruffled Ribbon")


