Hello everybody!
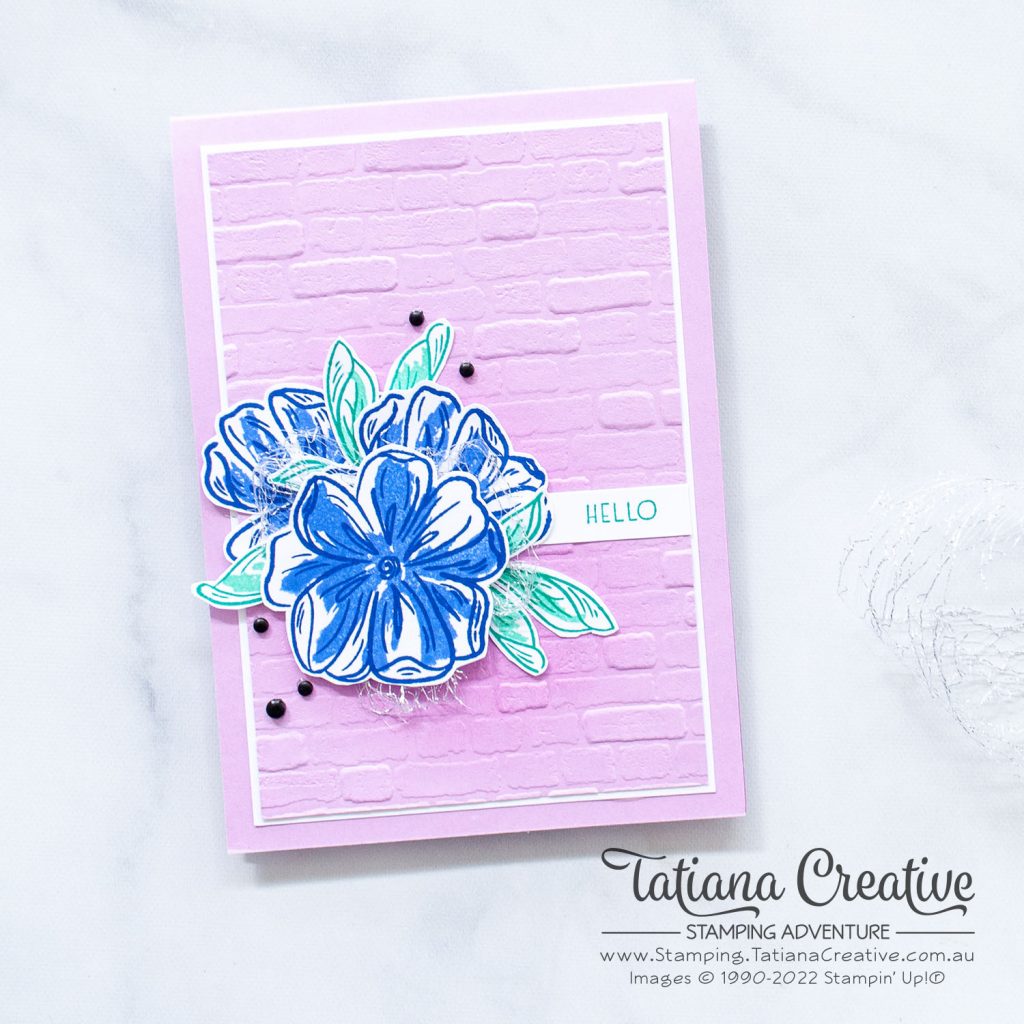
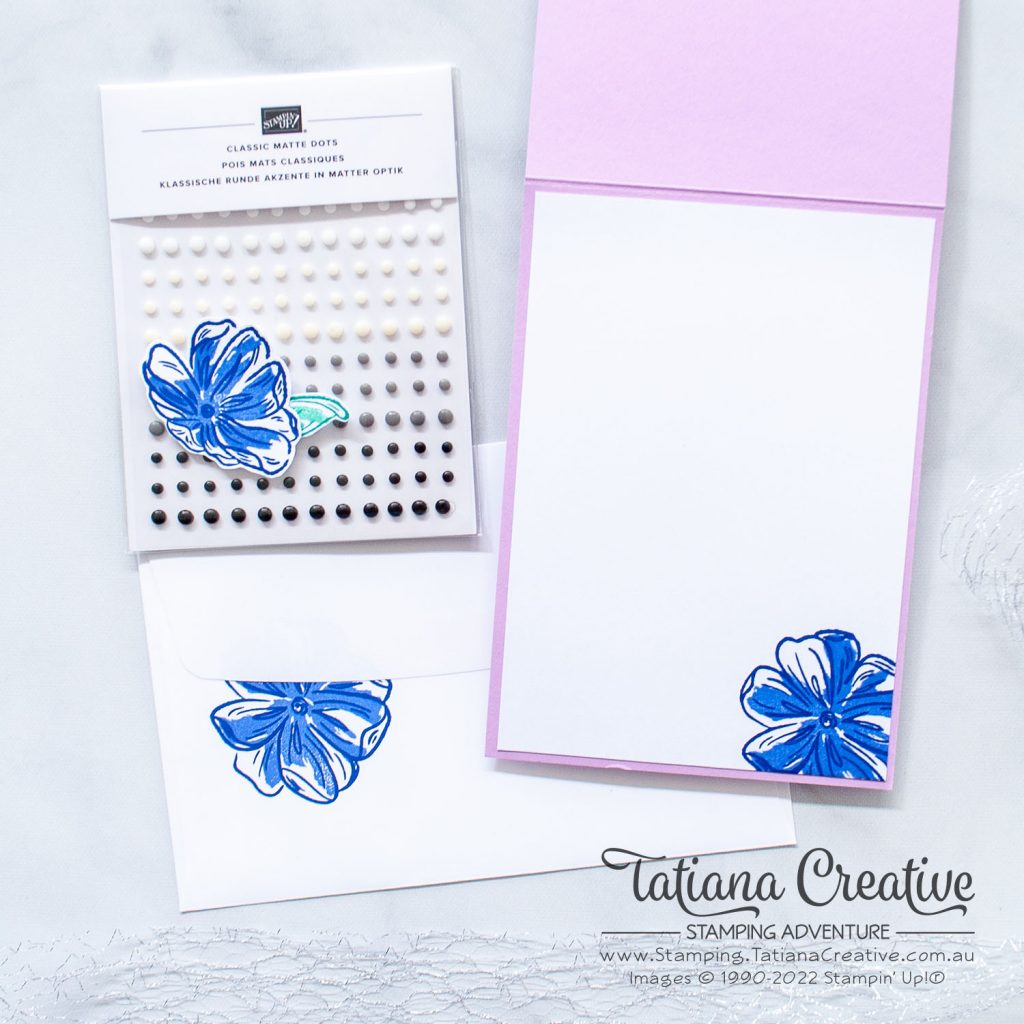
Welcome to my blog. Today I’m blog hopping with other Stampin’ Up!® demonstrators who are also taking Kylie and Bruno’s Demonstrator training. The theme is Thank You and I’m sharing cards that I sent out to my customers who placed orders with me in April 2022. I love showing my appreciation by sending them a hand made card and for order over $50 they also get a small gift from me. This month the gift was Classic Matte Dots. I like to decorate the gift to match the card, and I always try to incorporate the product into my project. I used the Stampin’ Up!® Host stamp set Garden Grandeur which you can get for FREE when you place an order of $250 or more OR if you gather your friends and family for private class and earn the stamp set as the host with sales from all your guests. Its’ a gorgeous floral stamp set that you can combine with any sentiment.

[Want to recreate this project? You’ll find all the supplies I used at the end of this post, conveniently linked to my Stampin’ Up! online store. I’d love to be your demonstrator and appreciate your support—it means the world to me on this creative journey!]
Card Details:
- Card Base: Fresh Freesia cardstock
- Card Front: Basic White cardstock (9.3 x 13.65 cm) and Fresh Freesia cardstock (9 x 13.35 cm)
- Sentiment Strip: Basic White cardstock (3.5 x 1 cm)
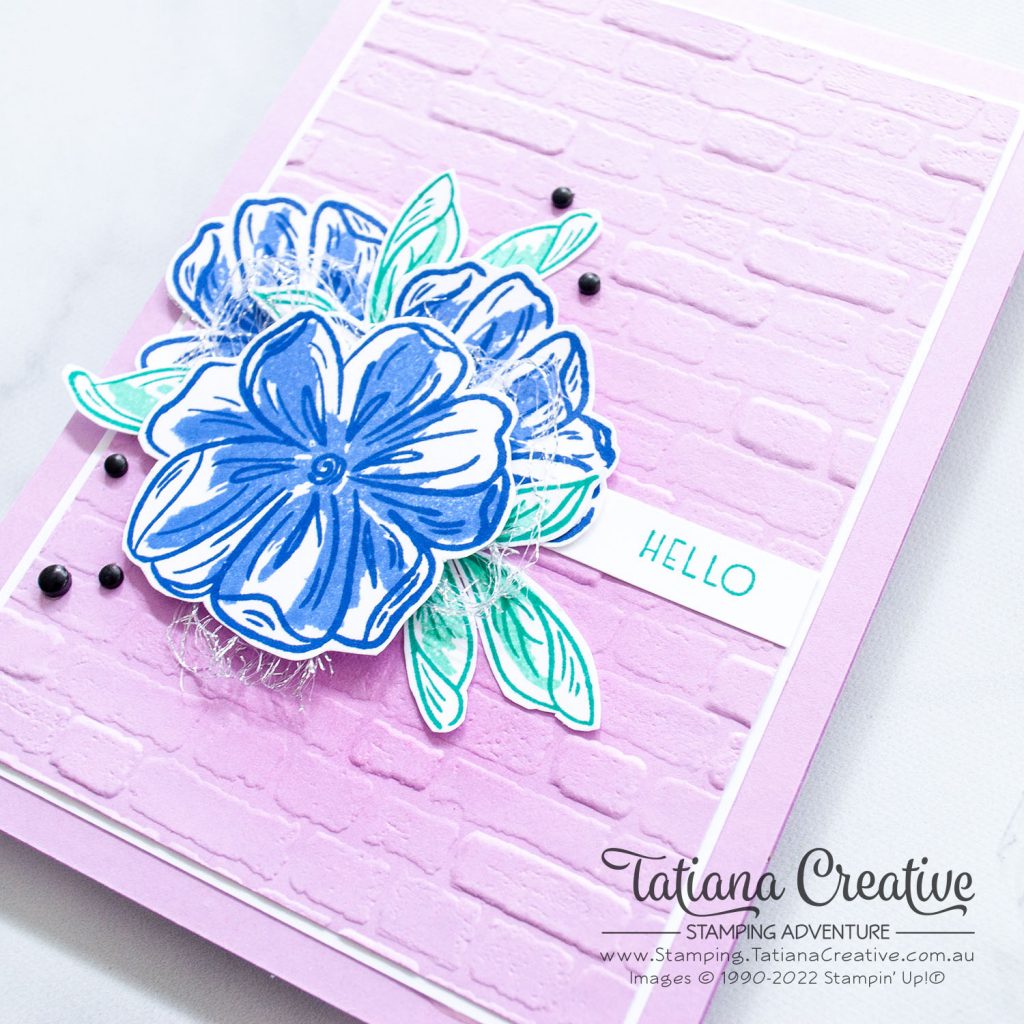
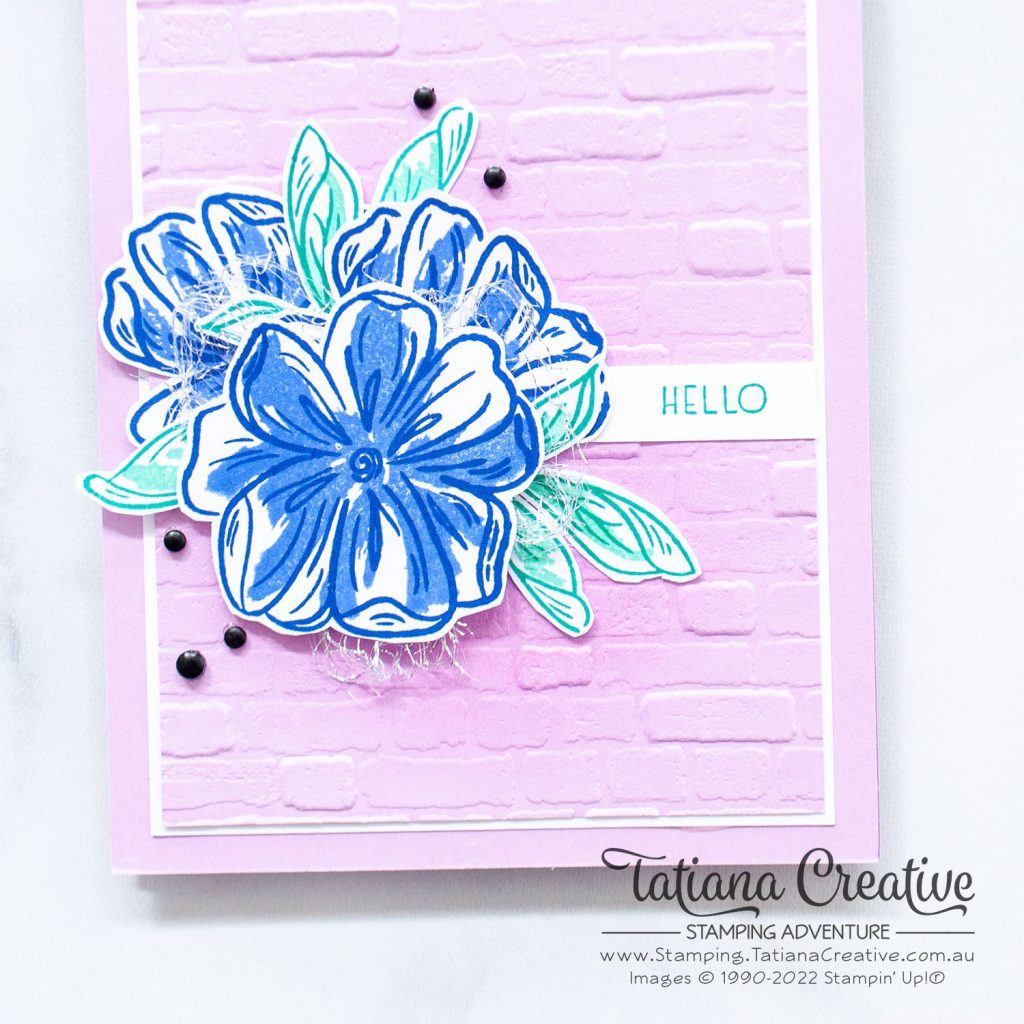
- On some scraps of Basic White cardstock stamp the flowers and leaves from the Garden Grandeur stamp set. I used Starry Sky for the flower outlines and Orchid Oasis for the filler colour. The outlines of the leaves were stamped in Bermuda Bay and Coastal Cabana for the filler. Fussy cut out the flowers and leaves
- Stamp the “Hello” sentiment from Inspired Thoughts stamp set in Bermuda Bay ink.
- Emboss the Fresh Freesia cardstock using the Brick & Mortar 3D Embossing Folder. Then using a Blending Brush, blend some Fresh Freesia ink onto the the cardstock over the area where the flowers will go.
- Assemble the card by layering the card front pieces and adhering them to the card base. Add the flowers – the biggest on top using Stampin’ Dimensionals with some Metallic Mesh Ribbon (cut in half) behind it.
- Slip in the leaves amongst the flowers.
- Add the sentiment
- Finish off using the black Classic Matte Dots.


To complete the card I stamped the large flower onto the envelope and inside the card. I also decorated the packs of Classic Matte Dots with a flower and a leaf.
Check out what my fellow demonstrators created as appreciation to either their customers or teams:
Thank you so much for visiting my blog! I hope today’s project has inspired you to get creative and try something new.
Until next time,
Tatiana
- Join Stampin’ Up!® to start getting your products at 20% discount: CLICK HERE
- Request a Catalogue to see what products you can purchase: CLICK HERE
- Subscribe to my newsletter to keep up to date with the latest news: CLICK HERE
- Follow me on Facebook for regular updates and inspiration: CLICK HERE
- Go SHOPPING for clearance items and specials: CLICK HERE
If you’re in Australia, you can shop Stampin’ Up!® products through my online store. I’d love to be your demonstrator and help you find the perfect supplies for your next creative project!
Supplies:
You can purchase the of the supplies I used in this project. Please click on the image below to purchase. Thank you for your support.


Love the contrast of colours Tatiana. Thank you for taking part in our Demonstrator Training Bog Hop this month!
Thank you Kylie!
Love the pretty colors.
Thank you!
Love the pop of colour! very pretty cards!
Thank you Rebecca!
So pretty! Great mix of colors.
Thank you!
Beautiful card! Love your colours!
Thank you Melva!
Beautiful Tatiana. The pop of colour on the flower is stunning.
Thank you Vicky!
Such a pretty card Tatiana, love your colour combo x
Thank you!
Very pretty card! love the colors!
Thank you!
A very pretty card Tatiana and I love your colour combination x
Thank you Angela!