


Hello everybody!
Welcome to my blog. I’m so thrilled to announce that I was asked to join the Colour INKspiration Challenge Crew!!! Every second and fourth Wednesday of the month at 7 pm (AES/DT) a new colour swatch is uploaded to the Colour INKspiration Facebook Group and the Colour INKspiration Crew will upload their projects into the Crew Album for your inspiration at the start of every challenge. Anyone can join the Colour INKspiration Challenge by uploading photos of their projects to the group. Challenge #CI137 is to use Polished Pink, Balmy Blue, Orchid Oasis, Evening Evergreen.
[Want to recreate this project? You’ll find all the supplies I used at the end of this post, conveniently linked to my Stampin’ Up! online store. I’d love to be your demonstrator and appreciate your support—it means the world to me on this creative journey!]
Card Details:
- Base: Balmy Blue cardstock
- Front: 2022-2024 In Color DSP and vellum (12 cm x 3″)
- Insert: Shimmery White cardstock (14.35 x 10 cm)
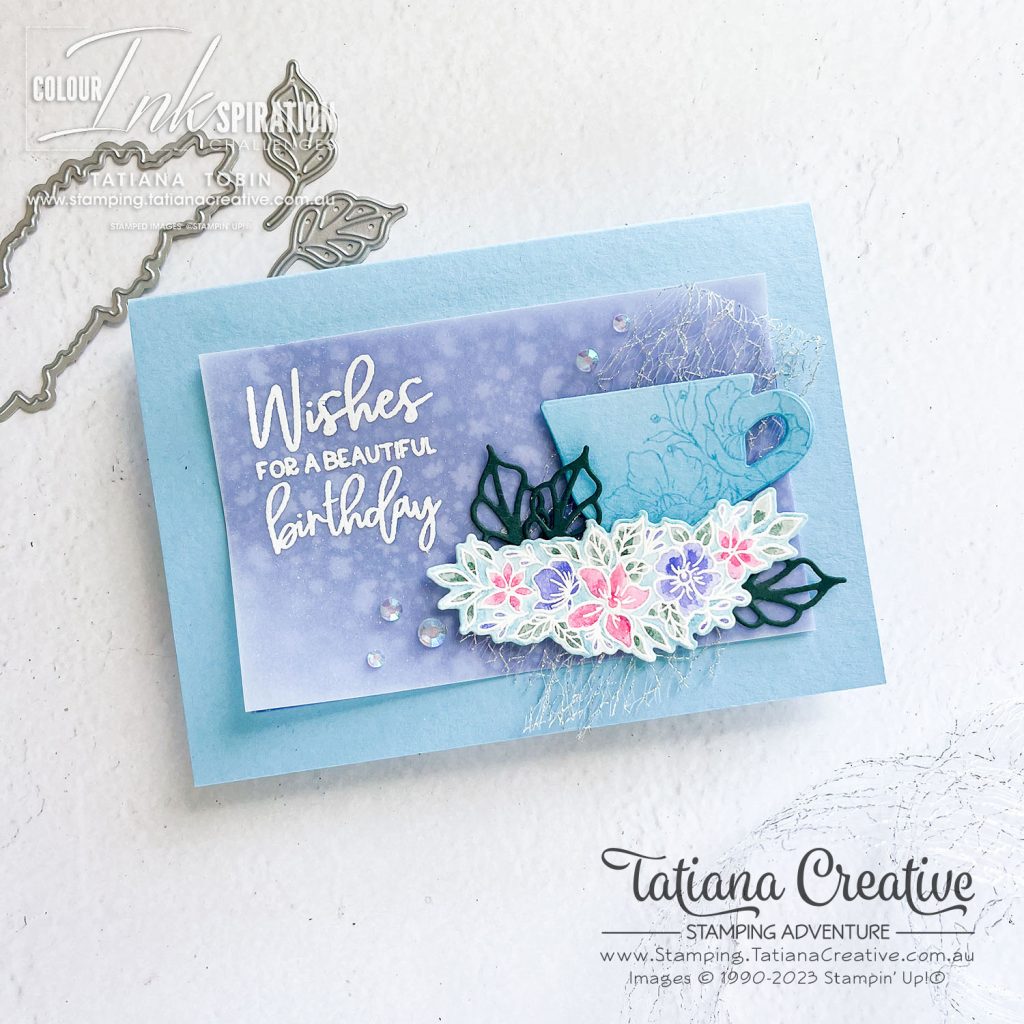
- White heat emboss the long floral image from Framed Florets stamp set onto Shimmery White cardstock. Water colour in the flowers and leaves. Then watercolour the background in Balmy Blue. Let dry and then die cut out with coordinating die from the Framed Florets Dies.
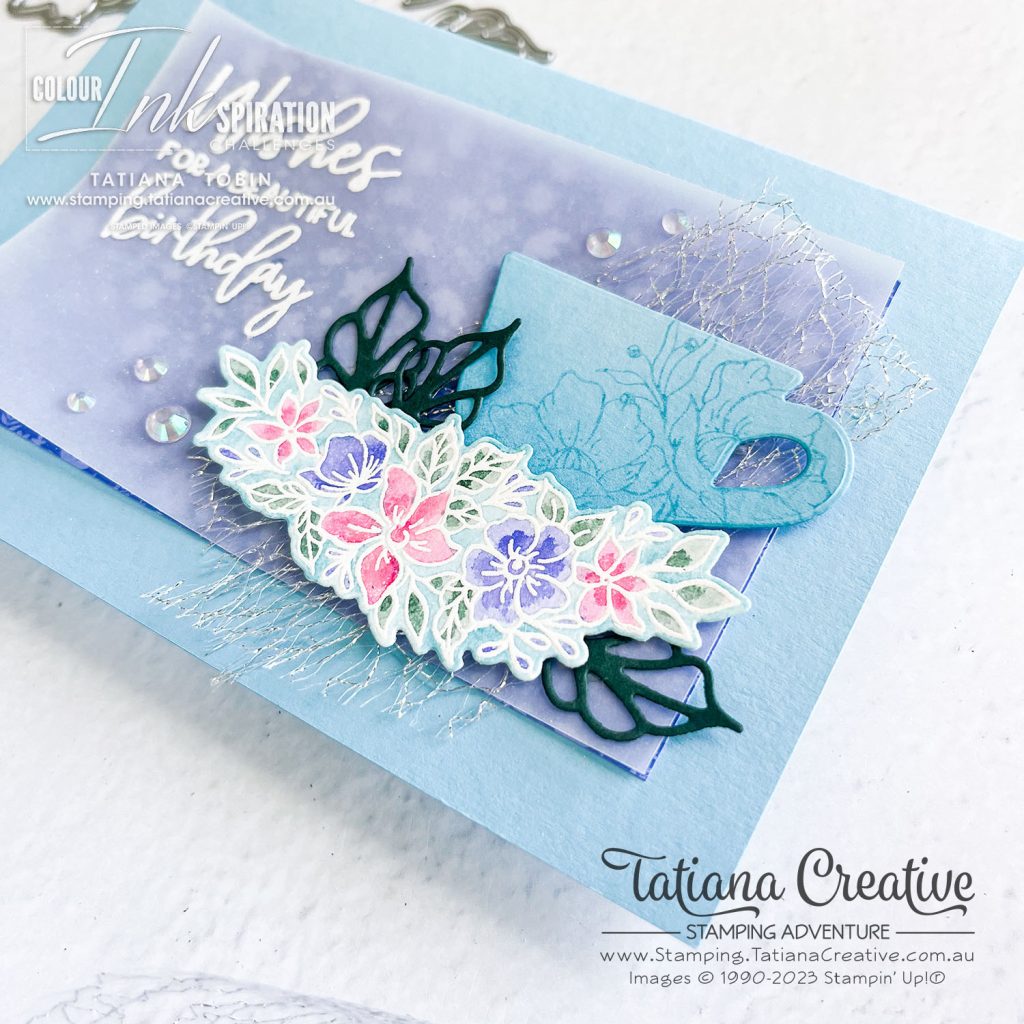
- Die cut out a tea cup using the Teacup Dies from Balmy Blue cardstock. Stamp the other flower image over 2/3 of the tea cup from the Framed Florets stamp set. I stamped off this image first. Then blend some Balmy Blue ink over the bottom and up the sides of the tea cup.
- Die cut some leaves from the Framed Florets Dies from Evening Evergreen cardstock.
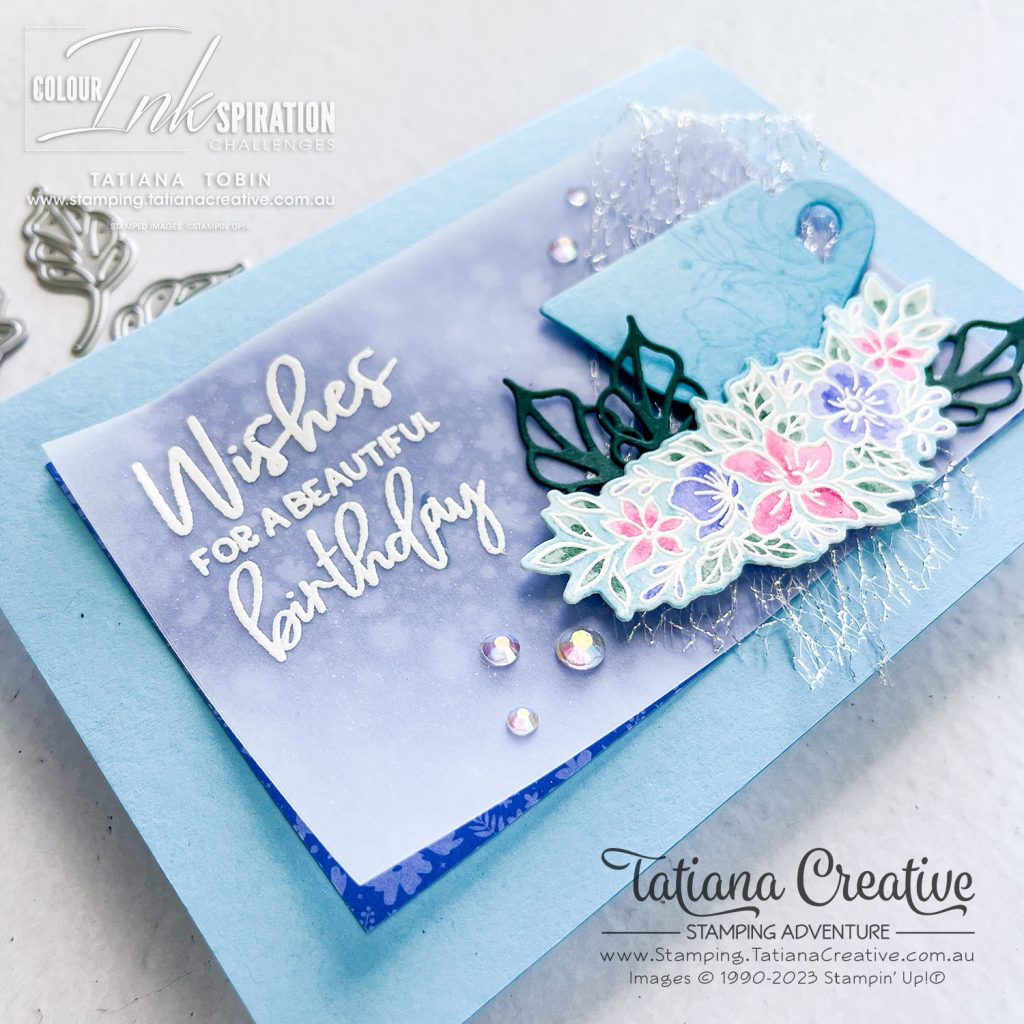
- Onto the the top left corner of the Vellum, White heat emboss the sentiment.
- To assemble the card add the DSP to the card front and then adhere the Velum over the top. This softens the DSP. TIP: add Mini Glue dots behind the sentiment by rolling and elongating them and then add more adhesive where the tea cup and flowers will go.
- Put some Tear & Tape adhesive where the teacup and flowers will go and then adhere the Metallic Mesh Ribbon.
- Adhere the flowers to the teacup with Multipurpose Liquid glue and then add Stampin’ Dimensionals to the back and add to the card front.
- Add the die cut leaves with Mini Glue Dots.
- Finish off by adding some Iridescent Rhinestones Basic Jewels.
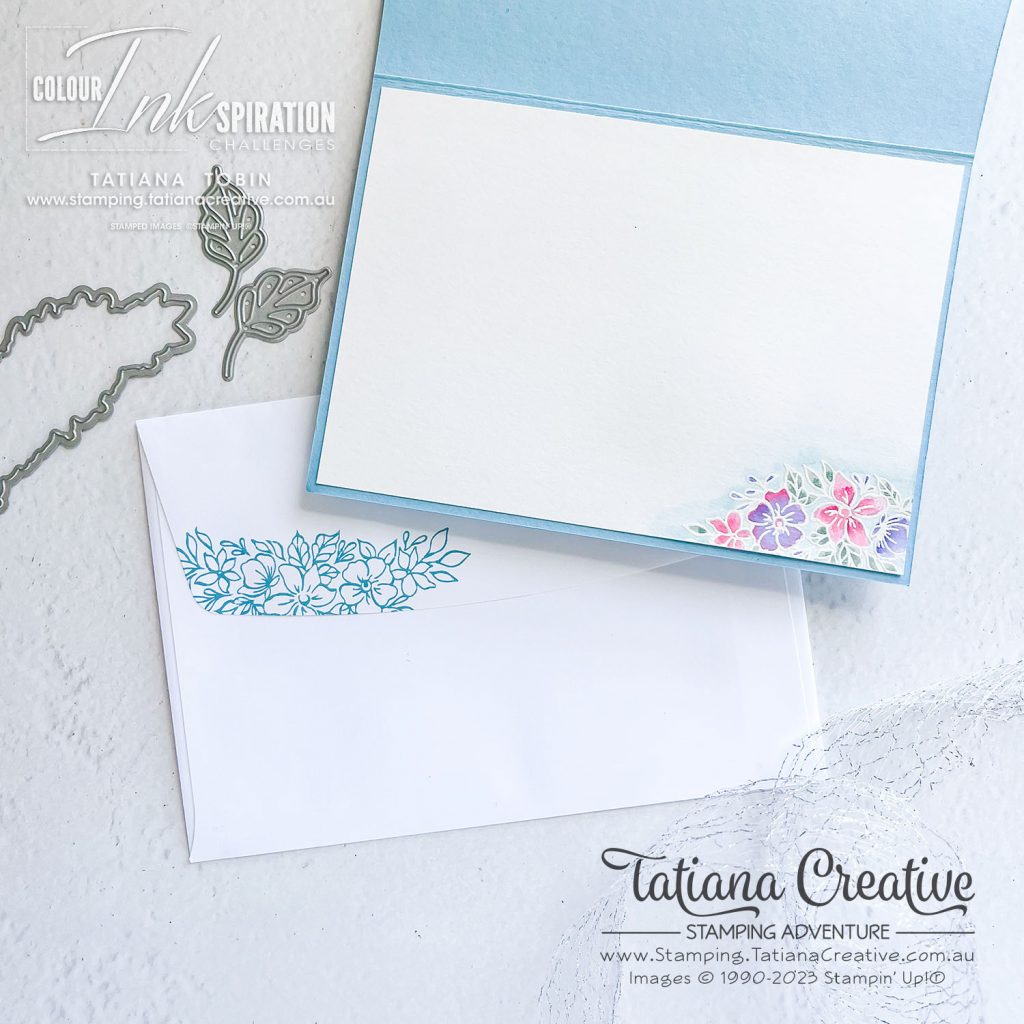
To complete the card I stamped the same flowers in Balmy Blue onto the envelope flap. I also heat embossed and watercolored some flowers onto the insert.
INKspired to join the challenge? It’s so easy. Firstly, get some INKspiration by checking out all of the creations of the Colour INKspiration Crew in the challenge album on our Facebook Group. Then you have 12 days from today to make and upload your creation to the Facebook Colour INKspiration Group. You don’t have to have a blog to participate but if you do you can link back to your post. Make sure you use all of the challenge colours. You can also use neutrals such as Basic White, Very Vanilla, Crumb Cake, Sahara Sand and Basic Black as well as Metallics.
Not a member of the Colour INKspiration Facebook group yet? Just click here and ask to join Colour INKspiration, add the group to your favourites and share it with your crafty friends so they can join in the fun too. We can’t wait to see what you create with these gorgeous colours.
Thank you so much for visiting my blog! I hope today’s project has inspired you to get creative and try something new.
Until next time,
Tatiana
- Join Stampin’ Up!® to start getting your products at 20% discount: CLICK HERE
- Request a Catalogue to see what products you can purchase: CLICK HERE
- Subscribe to my newsletter to keep up to date with the latest news: CLICK HERE
- Follow me on Facebook for regular updates and inspiration: CLICK HERE
- Go SHOPPING for clearance items and specials: CLICK HERE
If you’re in Australia, you can shop Stampin’ Up!® products through my online store. I’d love to be your demonstrator and help you find the perfect supplies for your next creative project!
Supplies:
You can purchase the of the supplies I used in this project. Please click on the image below to purchase. Thank you for your support.
")


 Designer Series Paper")


Basic Supplies:
I highly recommend the following basic supplies to make your paper crafting experience easier. I use this products in every project.


