


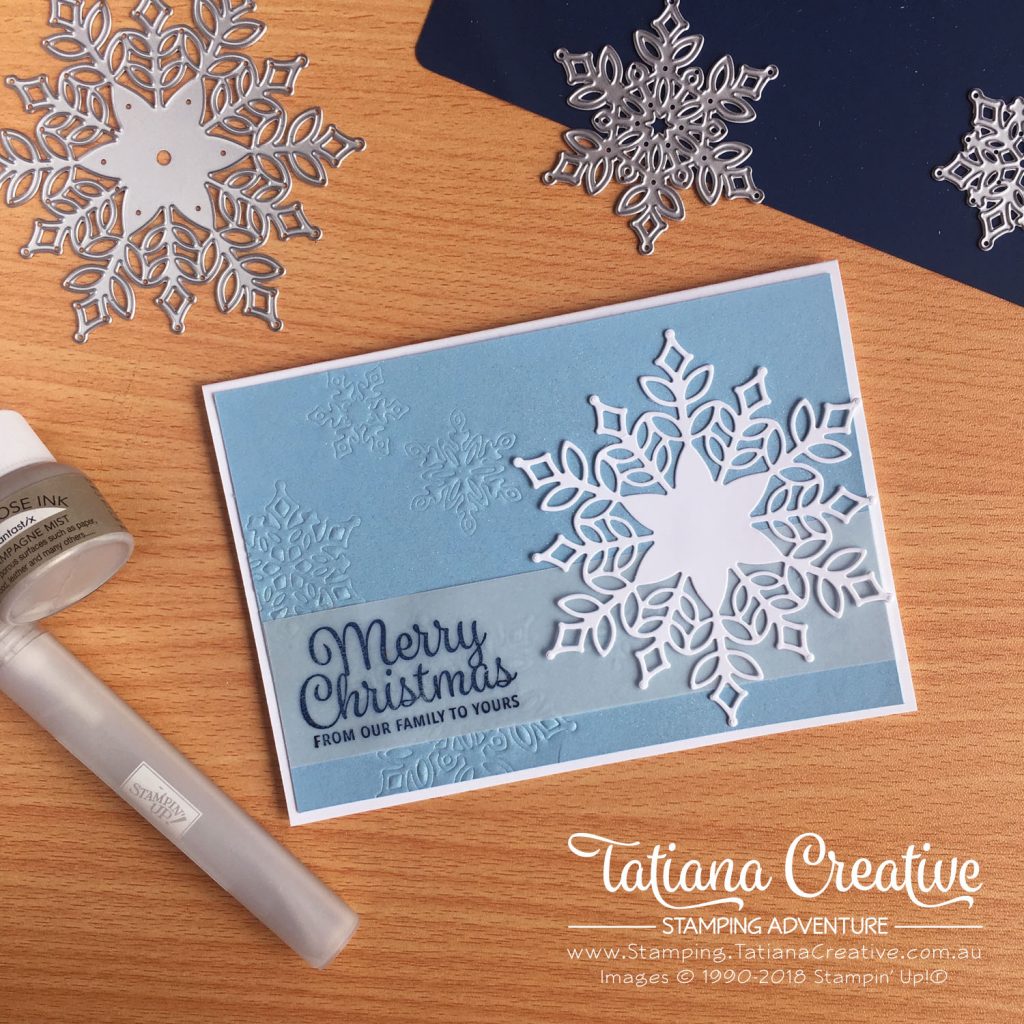
This week I am featuring the upcoming new Snowflake Showcase!!! It is only days away from being available to customers (1st November 2018). Today’s card focuses on the G.O.R.G.E.O.U.S. Snowfall Thinlits Dies. I am in love with the huge snowflake die! It would also look awesome as doilies!
All supplies used in this card are shown at the end of this post in the thumbnails. These are linked to my Stampin’ Up! online store.
To create this card:
- Card base: Whisper White Thick card stock
- Card front: Balmy Blue 143.5mm x 100mm & strip of Vellum 143.5mm x 35mm
- Die cut the largest snowflake using the Snowfall Thinlits from Whisper White card stock
- Using the Big Shot Embossing Mat (blue) emboss the smaller snowflakes onto the Balmy Blue cardstock (TIP: only emboss half as the other half will be covered by the big snowflake die).
- Spray the Balmy Blue card front using a mixture of Champagne Mist Shimmer Paint in a Stampin’ Spritzer mixed with rubbing alcohol. Allow to dry.
- Stamp the “Merry Christmas From Our Family to Yours” sentiment from Snowflake Sentiments stamp set onto the left hand side of the Vellum strip. (TIP: I stamped in Night of Navy but stamped off first to create a softer look). Allow to dry!!!! —> very important or you will smudge the ink.
- To Assemble:
- Adhere card front to card base
- Adhere the strip of vellum using the sponge method
- Adhere the large snowflake die.
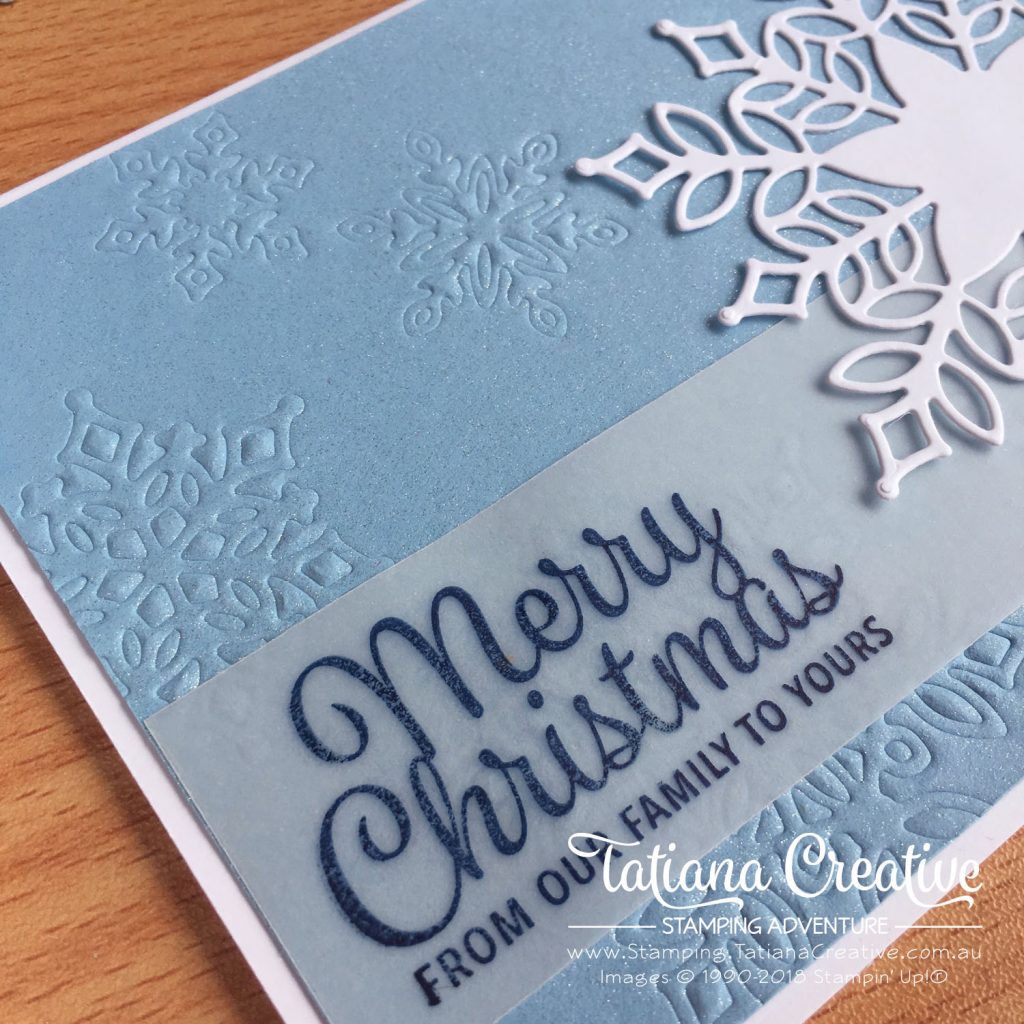
I really LOVE the embossing of the dies on this card and the shimmer. The photos just do not do the shimmer justice. It is really shimmery! In the photo above you can see dots of glitter. Add some sunshine to the mix and it is sparkly! I’m a little bit obsessed with creating spritzer shimmer! I love that I can make any cardstock shimmer!
Thank you so much for visiting my blog! I hope today’s project has inspired you to get creative and try something new.
Until next time,
Tatiana
- Join Stampin’ Up!® to start getting your products at 20% discount: CLICK HERE
- Request a Catalogue to see what products you can purchase: CLICK HERE
- Subscribe to my newsletter to keep up to date with the latest news: CLICK HERE
- Follow me on Facebook for regular updates and inspiration: CLICK HERE
- Go SHOPPING for clearance items and specials: CLICK HERE
If you’re in Australia, you can shop Stampin’ Up!® products through my online store. I’d love to be your demonstrator and help you find the perfect supplies for your next creative project!
Supplies:
You can purchase the of the supplies I used in this project. Please click on the image below to purchase. Thank you for your support.


Love this. May I CASE firmly class?
Of course you may Karen! What an honour!