Hello everybody! Welcome to my blog!
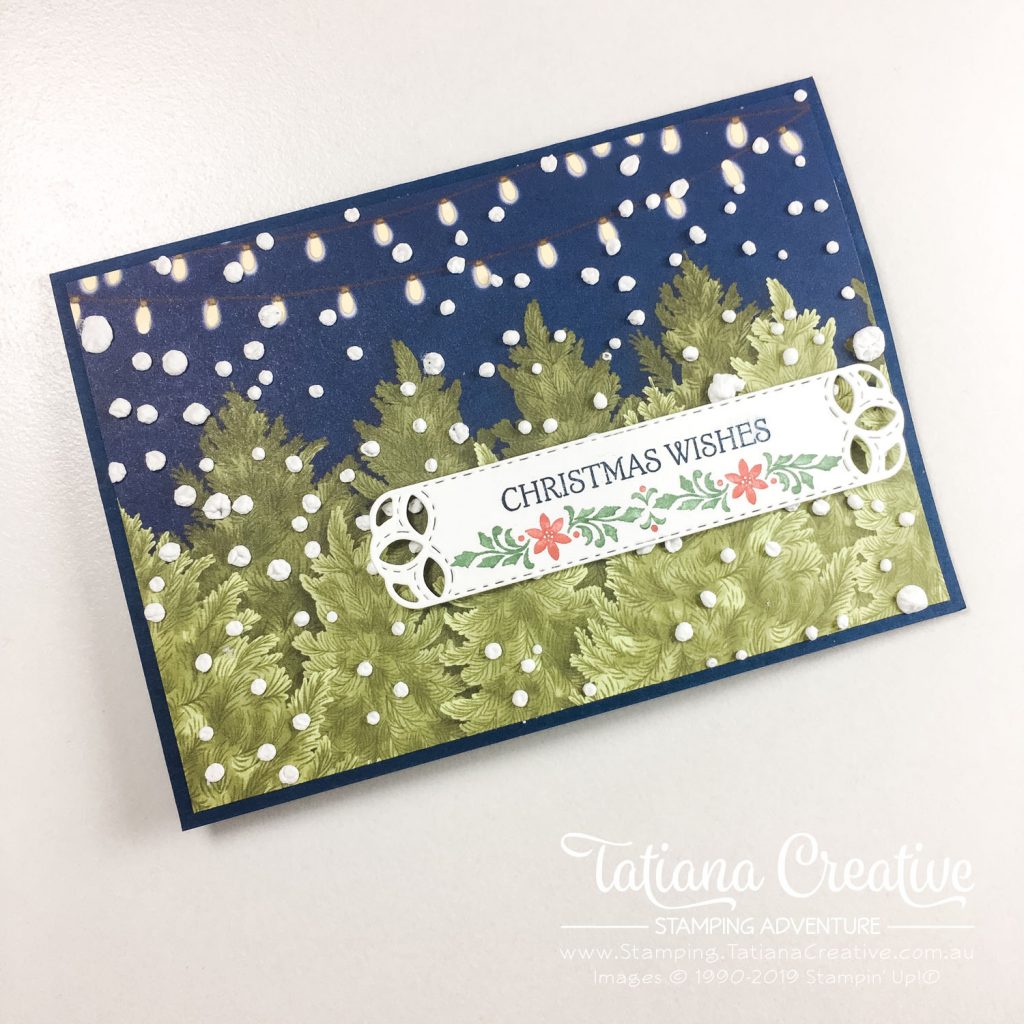
Today I’m showing you a super easy Christmas Card which I enhanced with the Snowfall Accents Puff Paint. The card front is from the Night Before Christmas Designer Series Paper from Stampin’ Up!® so all I needed to do was to add the puff paint and a sentiment to finish it all off! Super easy.

[Want to recreate this project? You’ll find all the supplies I used at the end of this post, conveniently linked to my Stampin’ Up! online store. I’d love to be your demonstrator and appreciate your support—it means the world to me on this creative journey!]
Card Details
- Card Base: Night Of Navy (landscape with top fold)
- Card Front: Night Before Christmas DSP (14.3 x 10 cm). I added dots of Snowfall Accents Puff Paint onto the snow drops that were printed on the DSP. Heat up with Heat Tool to make the paint puff.
- Card Insert: Whisper White (14.3 x 10 cm)
- Sentiment Label: Whisper White cut using Stitched Labels Dies. TIP: I did a partial die cut and then moved the die to make it longer and ran through the other half through a die cutting machine.
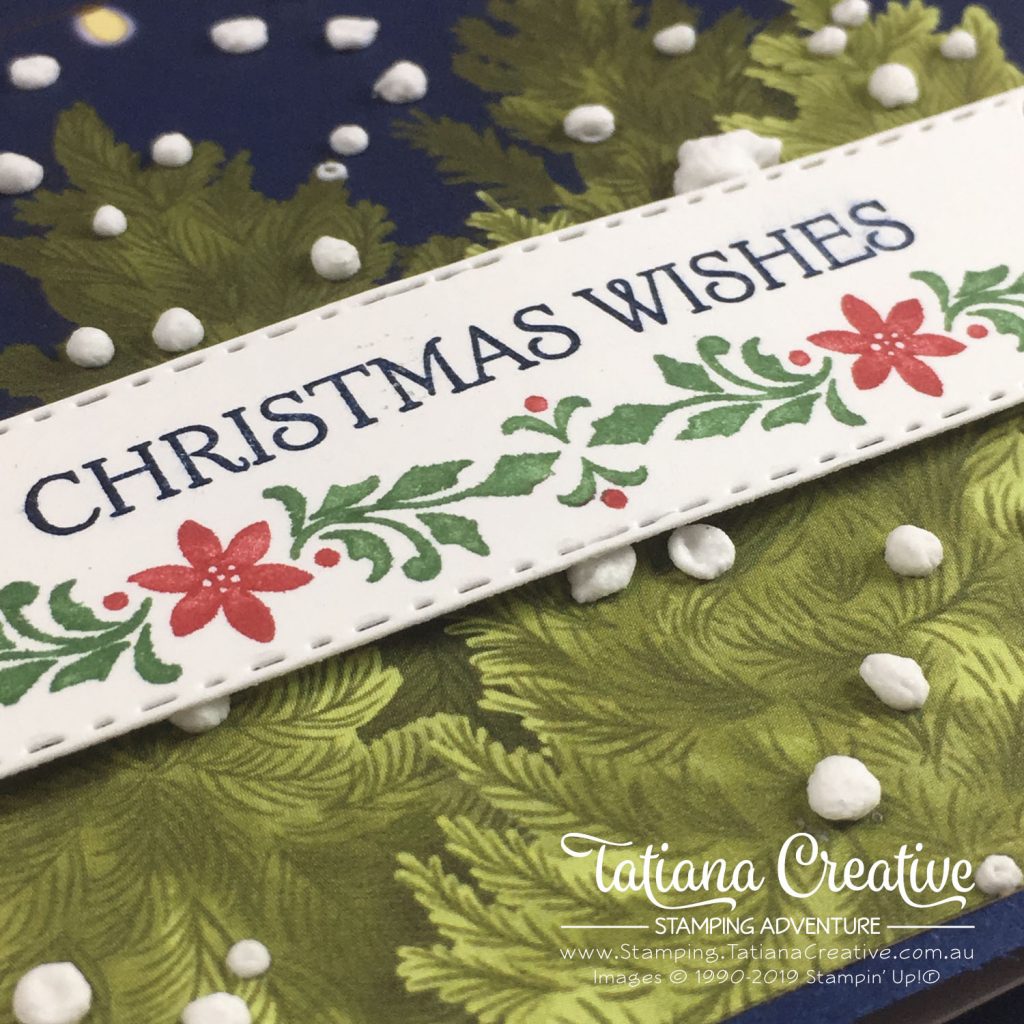
- Stamp the floral element from the Dashing Deer stamp set onto the Stitched Label Die. TIP: I used Stampin’ Write Markers (Cherry Cobbler & Garden Green) to “ink up” the stamp and then gave it a puff of breath before stamping. The puff of breath is important because as you colour in the stamp the ink dries, the breath brings moisture back to the surface and will allow the colour to stamp.
- Add the “Christmas Wishes” from the Dashing Deer stamp set in Night Of Navy ink. TIP: mask the word “Happiest” when inking the sentiment so only get the “Christmas Wishes”.
- Adhere the sentiment to the card front using Stampin’ Dimensionals.

I’m in love with how the floral element turned out on the sentiment. So much fun to colour the stamp in with the Stampin’ Write Markers. The Snowfall Accents Puff Paint give the card a fun element.

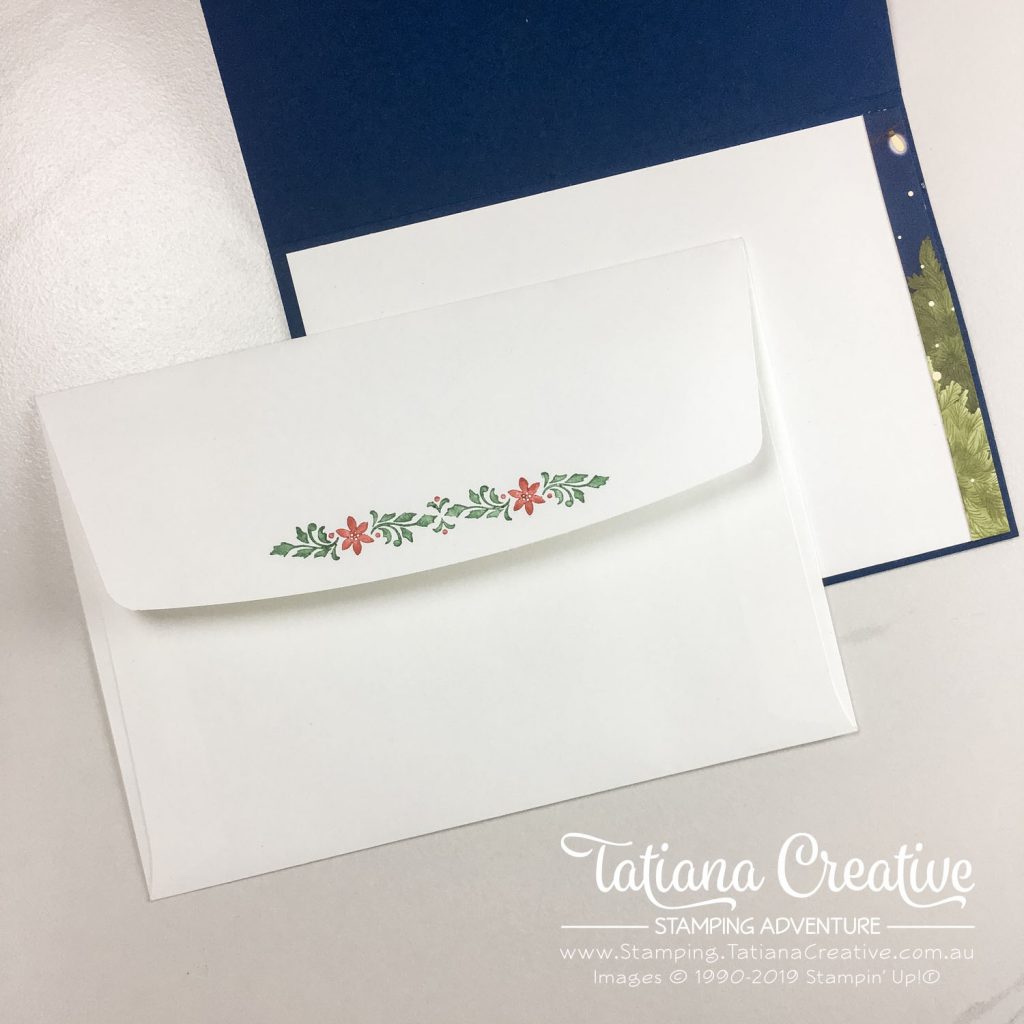
I decorated the envelope flap with the same floral element from the sentiment label. For the inside the I adhered a strip of the same DSP that was left over from the trimming process. Means I’m left with very little scraps and it looks so cute on the inside.
Thank you so much for visiting my blog! I hope today’s project has inspired you to get creative and try something new.
Until next time,
Tatiana
- Join Stampin’ Up!® to start getting your products at 20% discount: CLICK HERE
- Request a Catalogue to see what products you can purchase: CLICK HERE
- Subscribe to my newsletter to keep up to date with the latest news: CLICK HERE
- Follow me on Facebook for regular updates and inspiration: CLICK HERE
- Go SHOPPING for clearance items and specials: CLICK HERE
If you’re in Australia, you can shop Stampin’ Up!® products through my online store. I’d love to be your demonstrator and help you find the perfect supplies for your next creative project!
Supplies:
You can purchase the of the supplies I used in this project. Please click on the image below to purchase. Thank you for your support.


