


Hello Everybody! Welcome to my blog.
You are visiting Tatiana in Australia. I am a member of Kylie’s Demonstrator Training Program. It is a year long training program for Stampin’ Up!® Demonstrators around the world. This is my third year in participating in the training and I’ve learnt so much about running a Stampin’ Up!® business from the training, but the best part has been the friendships I’ve made. Many of these friends are blog hopping with me today!
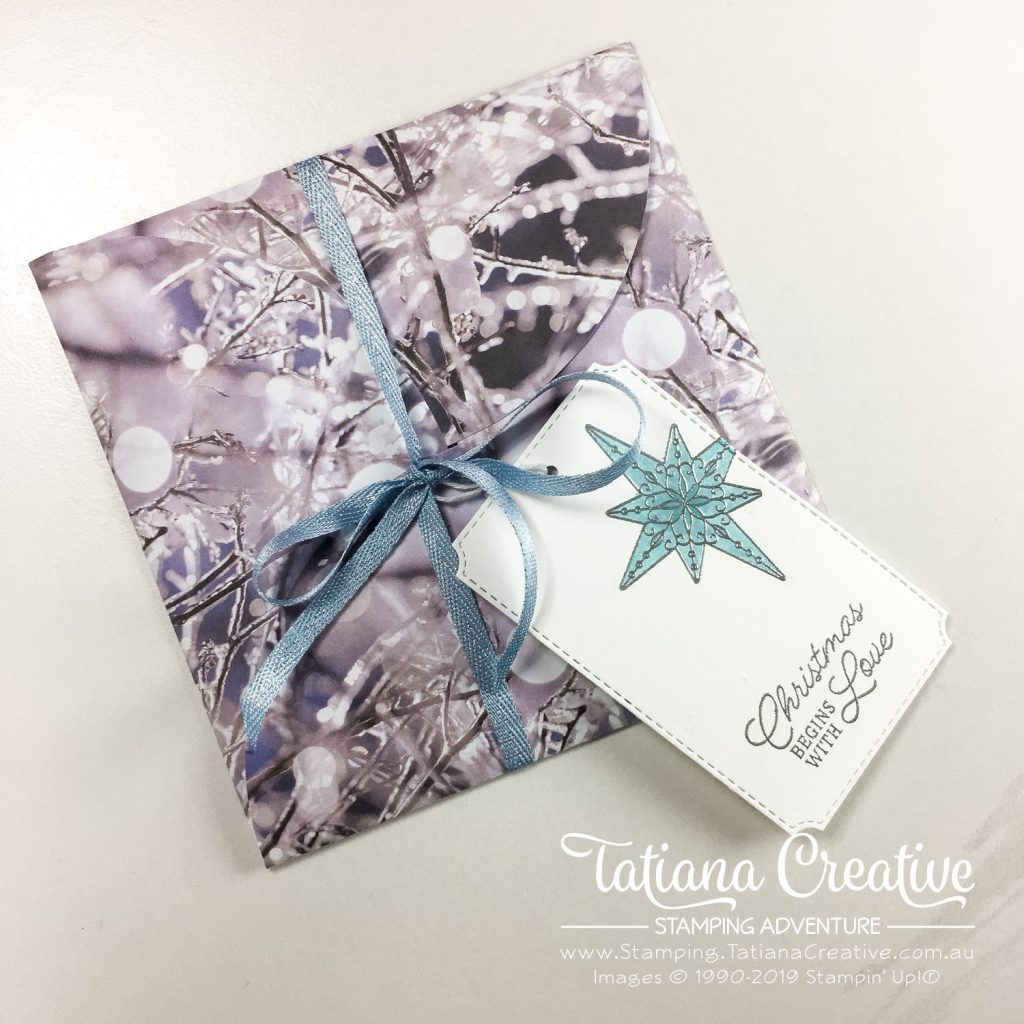
The project I’m sharing with you today is a bit of an envelope, card, gift packaging combination. I used the Feels Like Frost Specialty DSP from Stampin’ Up!® to create an envelope and then made the card to be inside, and added a pocket to add a gift card.
[Want to recreate this project? You’ll find all the supplies I used at the end of this post, conveniently linked to my Stampin’ Up! online store. I’d love to be your demonstrator and appreciate your support—it means the world to me on this creative journey!]

Details of this project:
- Envelope Base: Feels Like Frost Specialty DSP four of the same sheets, cut to a circle, my circle 148mm in diameter.
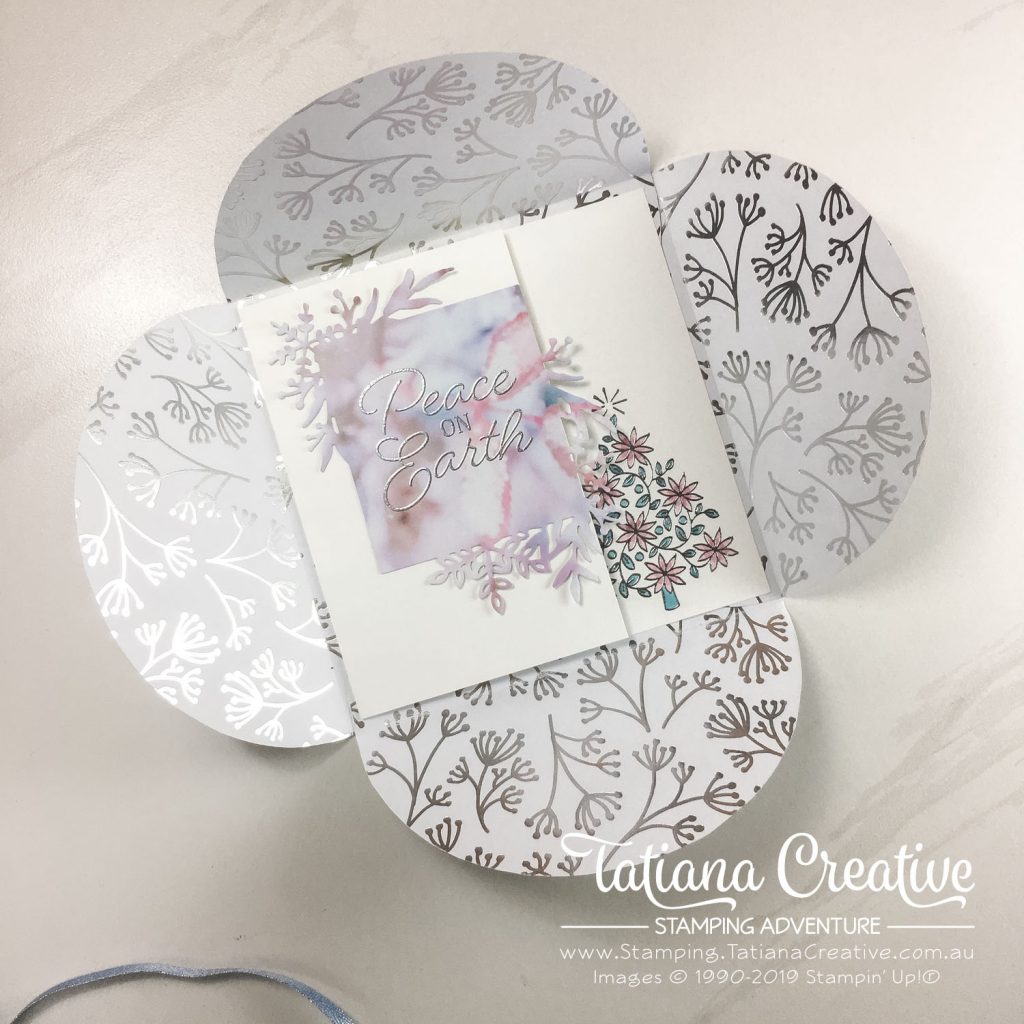
- Fold each circle in half and then create the envelope by placing two circles into each other to create a corner, then keep going to complete the square. Use Tear & Tape Adhesive to secure.
- Card Inside: Whisper White Cardstock (230 x 143mm) score at 90mm to create a card fold.
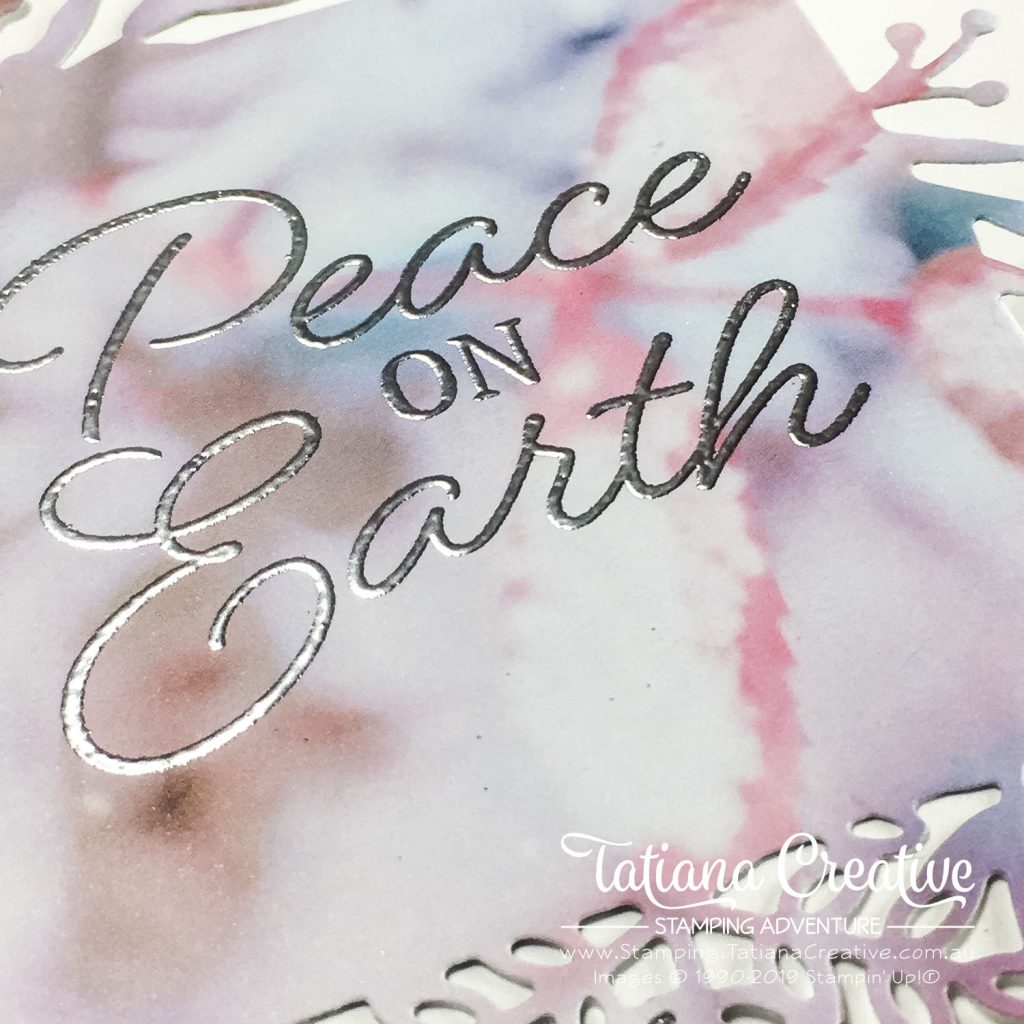
- Die cut a piece of Feels Like Frost Specialty DSP using the Frosted Frames Dies and then heat emboss in silver the Peace on Earth sentiment from the Shine Bright stamp set.
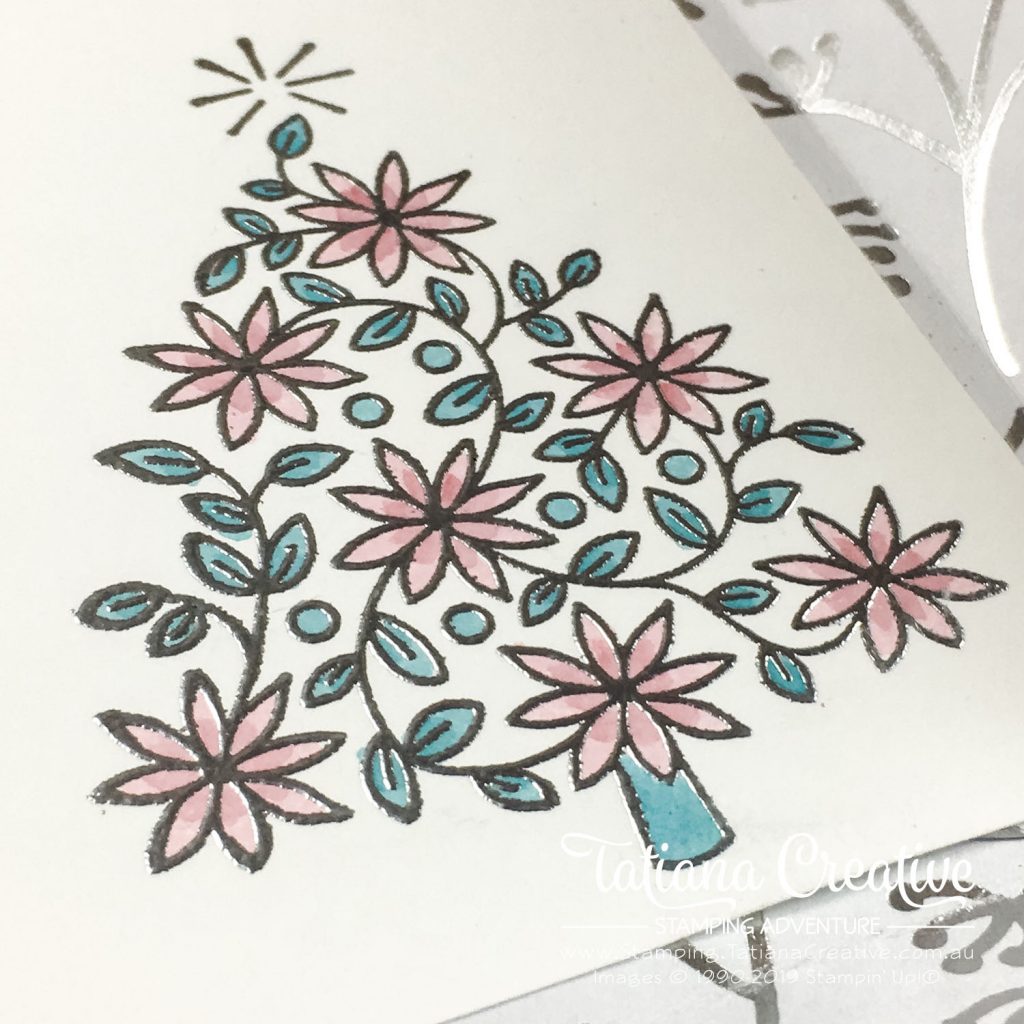
- Heat emboss the Christmas Tree on the inside in silver and add some colour using an Aqua Painter.
- Adhere the card to the middle of the circle envelope using Tear & Tape Adhesive.
- To the back of the card flap add a piece of DSP (90 x 50mm) to create a pocket for a gift card. Adhere with Tear & Tape. TIP: adhere the Tear & Tape to three edges of the DSP but have it over hang so that only half the width of the tape is on the DSP. Remove backing and fold in half before adhering to the card.
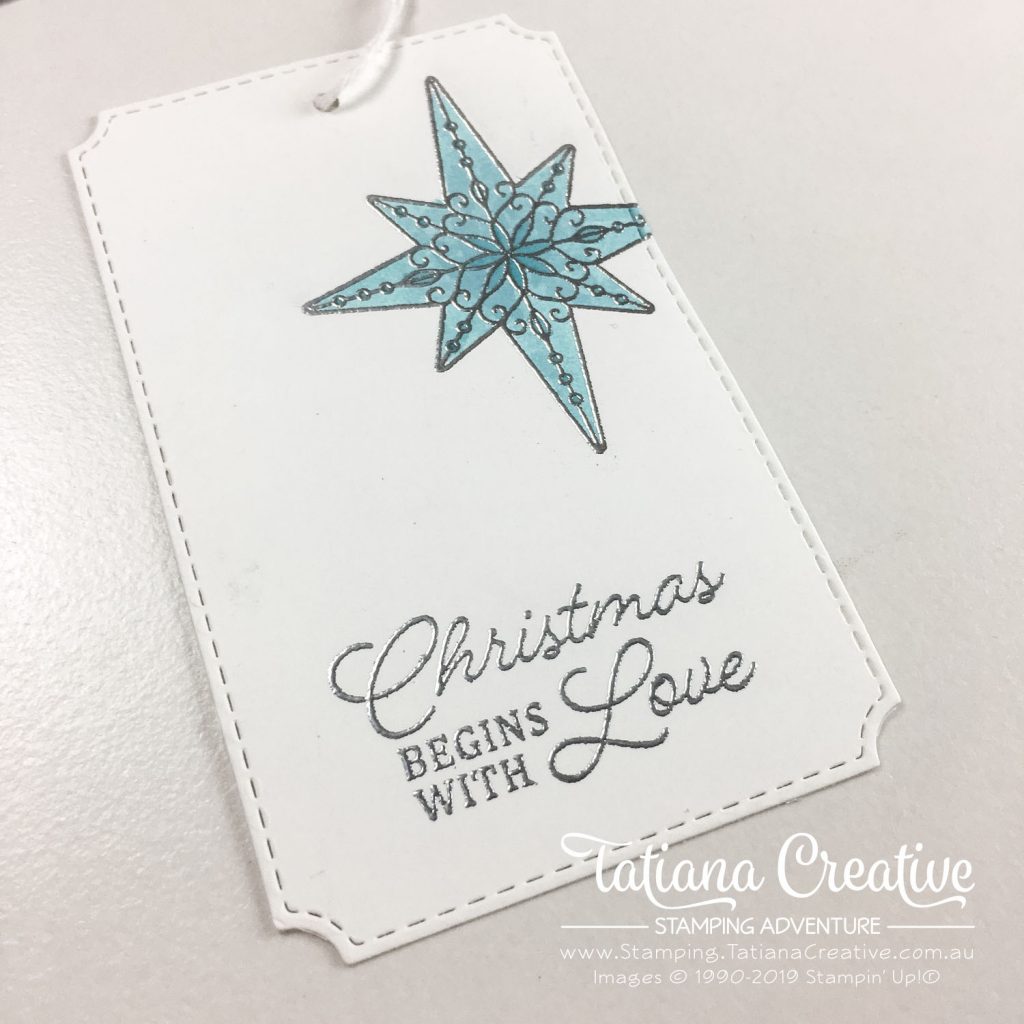
- To create the gift tag, die cut the stitched frame from the Frosted Frames Dies but extend it. Heat emboss the star and sentiment from the Shine Bright stamp set.
That’s all from me! You’ve been visiting Tatiana in Australia. Please visit the blogs below to get lots more wonderful inspiration!
Thank you so much for visiting my blog! I hope today’s project has inspired you to get creative and try something new.
Until next time,
Tatiana
- Join Stampin’ Up!® to start getting your products at 20% discount: CLICK HERE
- Request a Catalogue to see what products you can purchase: CLICK HERE
- Subscribe to my newsletter to keep up to date with the latest news: CLICK HERE
- Follow me on Facebook for regular updates and inspiration: CLICK HERE
- Go SHOPPING for clearance items and specials: CLICK HERE
If you’re in Australia, you can shop Stampin’ Up!® products through my online store. I’d love to be your demonstrator and help you find the perfect supplies for your next creative project!
Supplies:
You can purchase the of the supplies I used in this project. Please click on the image below to purchase. Thank you for your support.
 Designer Series Paper")
")


 Cardstock")


 Metallic Ribbon")


Fabulous Tatiana So lovely to be hopping with you today.
Thanks Melinda! Lovely hopping with you too
what a lovely idea
Thank you Michele!
Love your creation.
Awe! Thank you Cathy!
Just lovely! Thanks for sharing!
Thank you Laurie!
A beautiful project. Your photography is stunning too Tatiana. TFS.
Thank you Sarah! Love to share
I love your project, Tatiana! It’s gorgeous and so creative. I can see where this could be used for almost any occasion. Happy to be blog hopping with you.
Thank you Jo! Yes it can be used for any occasion. Lovely blog hopping with you too.
Wow this is wonderful. Thanks for sharing
Thank you Diane! Love to share
Tania, your little packets/envelopes are just gorgeous. Heat embossing is always a winner in my book…especially when it’s silver!
Thank you Karen! Heat Embossing is the best. Love it.
What a lovely idea Tatiana! I love the DSP too!
Thank you Deb! One of my favourite DSPs this catalogue.
Tatiana, this is a beautiful project! I love how you used the DSP.
Thank you very much Rhonda!
WOW! I l love the heat emboss and then colouring you did.
Thank you Gillian! The InColors are amazing.
So beautiful Tania! I MUST get this paper! Thanks for the inspiration. Lovely to hop with you.x
Yes you must Kate! Is is gorgeous. Lovely to hop with you too x
Wow, this is special. I love it, Tatiana. Thanks for sharing
Thank you Libby!!
Stunning project Tatiana, TFS
Thank you Rebecca-Jo!