


Hello Everybody! Welcome to my blog!
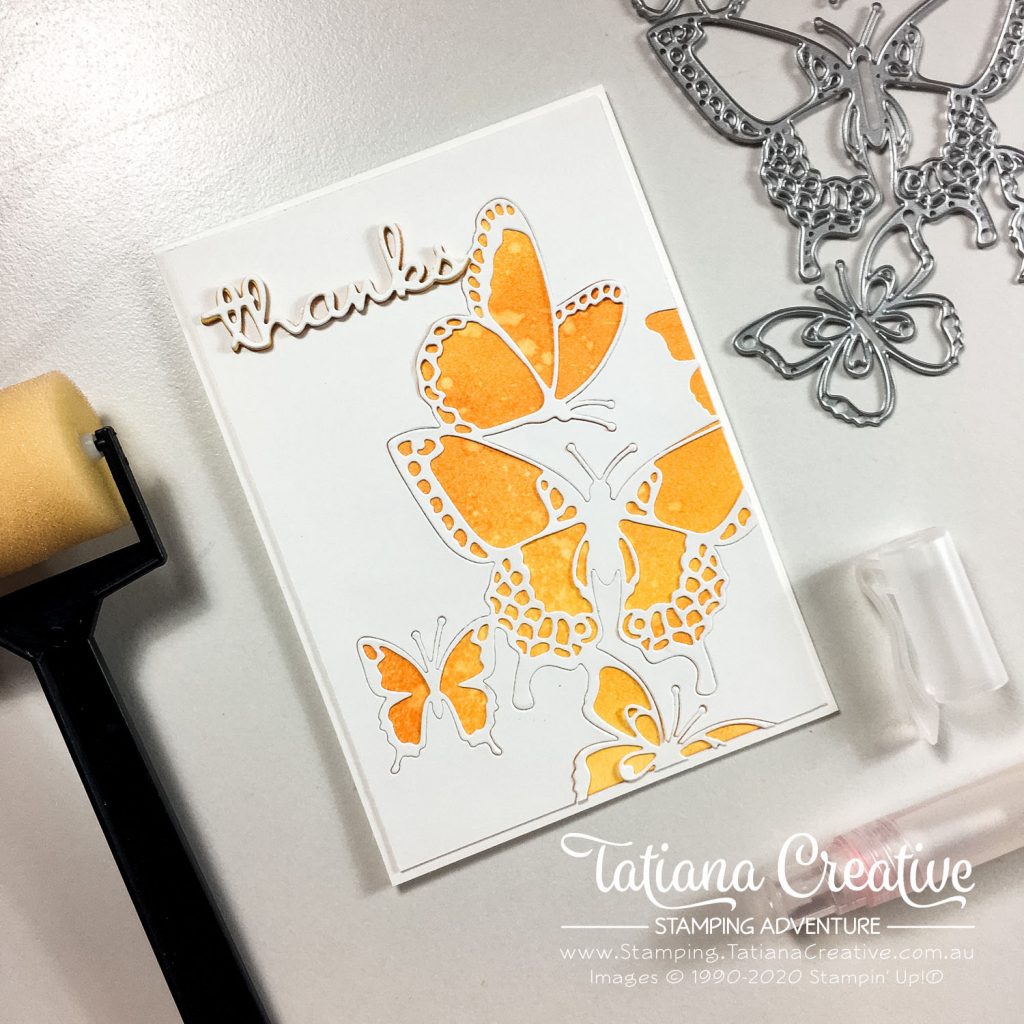
Today I’m blog hopping with demonstrators from all around the world who are participants in Kylie’s Demonstrator Training Program. Together we are learning how to be better demonstrators and how to help our customers. Today I’m sharing an inlay card which I hope will make you smile.
[Want to recreate this project? You’ll find all the supplies I used at the end of this post, conveniently linked to my Stampin’ Up! online store. I’d love to be your demonstrator and appreciate your support—it means the world to me on this creative journey!]
Card Details:
- Card Base: Whisper White Thick
- Card Front: 10cm x 14.5cm in Shimmery White and Whisper White
- Card Insert: Pumpkin Pie (10cm x 14.8cm) and Whisper White (9.7cm x 14.2cm)
- Create the background: Using the Shimmery White card stock and a sponge brayer colour it in Daffodil Delight, Mango Melody and Pumpkin Pie. I started with the lighter colour and added colours here and then blended them in. It is easier to do this on an A4 piece of card stock and then cut it down to size (and you can make multiples of this card). Once happy with the blend add some water using a Stampin’ Spritzer to your fingers and splash the paper. Blot the water with a paper towel. The quicker you blog the less obvious the splats will the be. The longer you take to blot the lighter the splats will be.
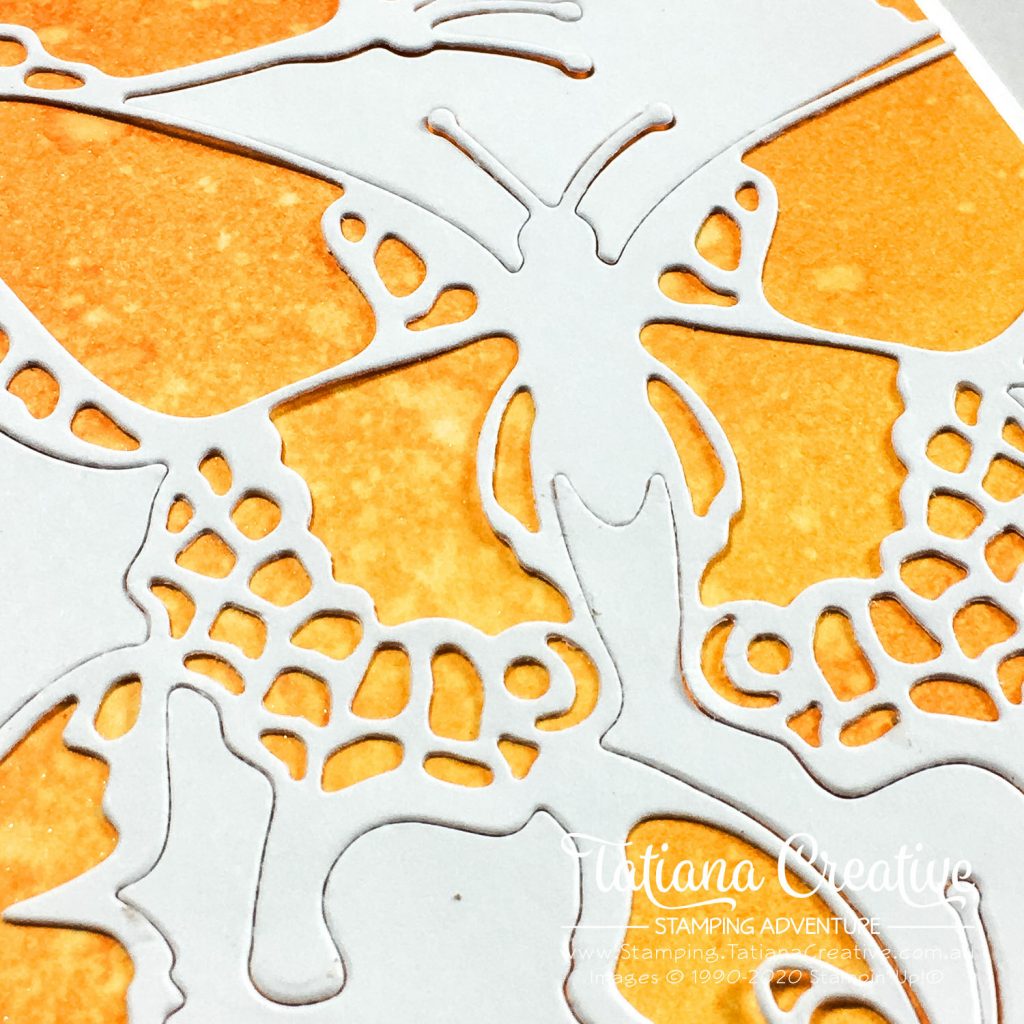
- From the Whisper White card from die cut the butterflies and have them coming off the edge for some visual interest. Do not through away the pieces of card stock. You need them. You don’t need the pieces from inside the butterflies just the butterfly outlines.
- Adhere the two card fronts together using Multipurpose glue, lining up the corners. Then inlay the buttery fly die into it. You will see your butterflies as orange.
- Adhere to the front.
- Sentiment: I wanted to do something different. Die cut the word thanks from the Well Written Dies from Whisper White, Daffodil Delight, Mango Melody and Pumpkin Pie card stocks. This is a great change to use up scraps. Stack them together starting with the darkest colour and finishing with the Whisper White on top. TIP: add tiny dots of glue to the back and then let is dry a bit. This makes adhering together very easy.
- Adhere to card front. Adhere card front to card base.
- Inside the card I wanted to add a touch of orange – I mounted a piece of Whisper White on a piece of Pumpkin Pie.
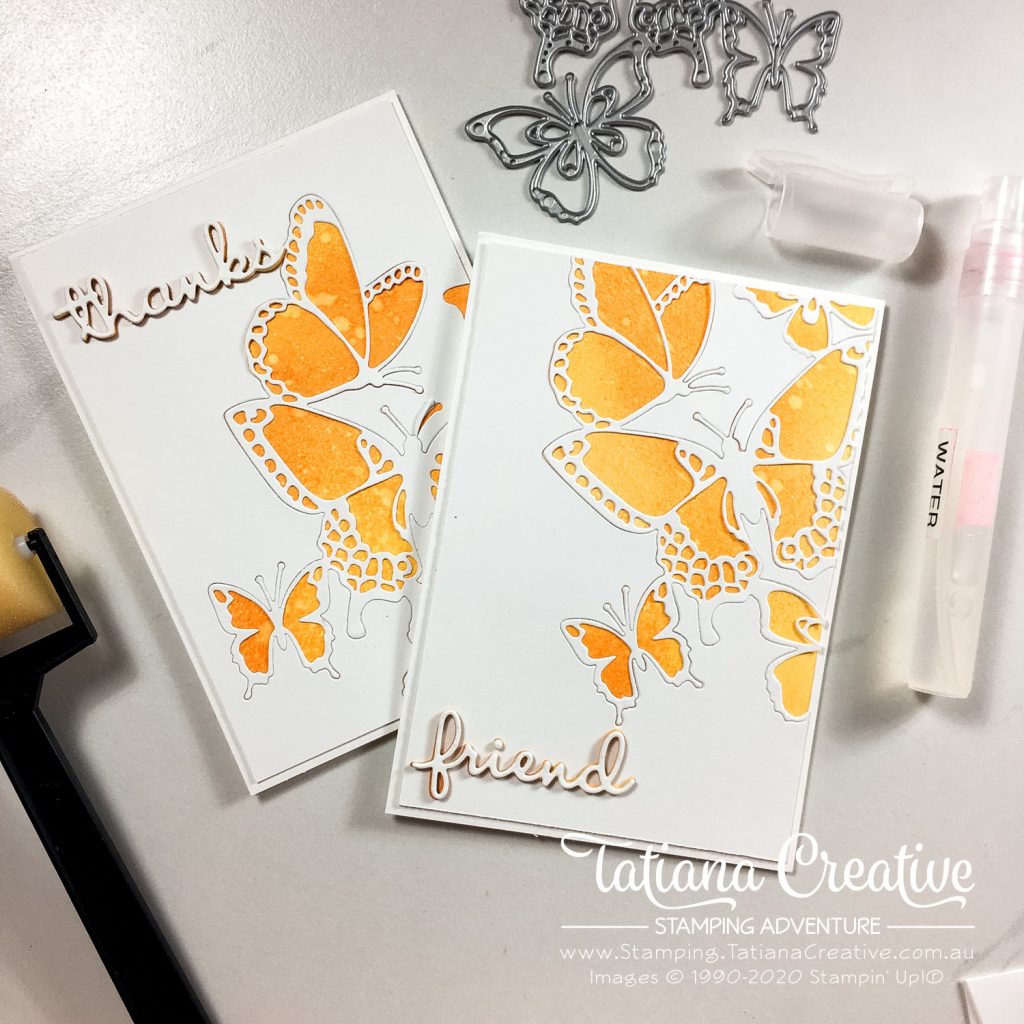
So easy to make multiples of this card!
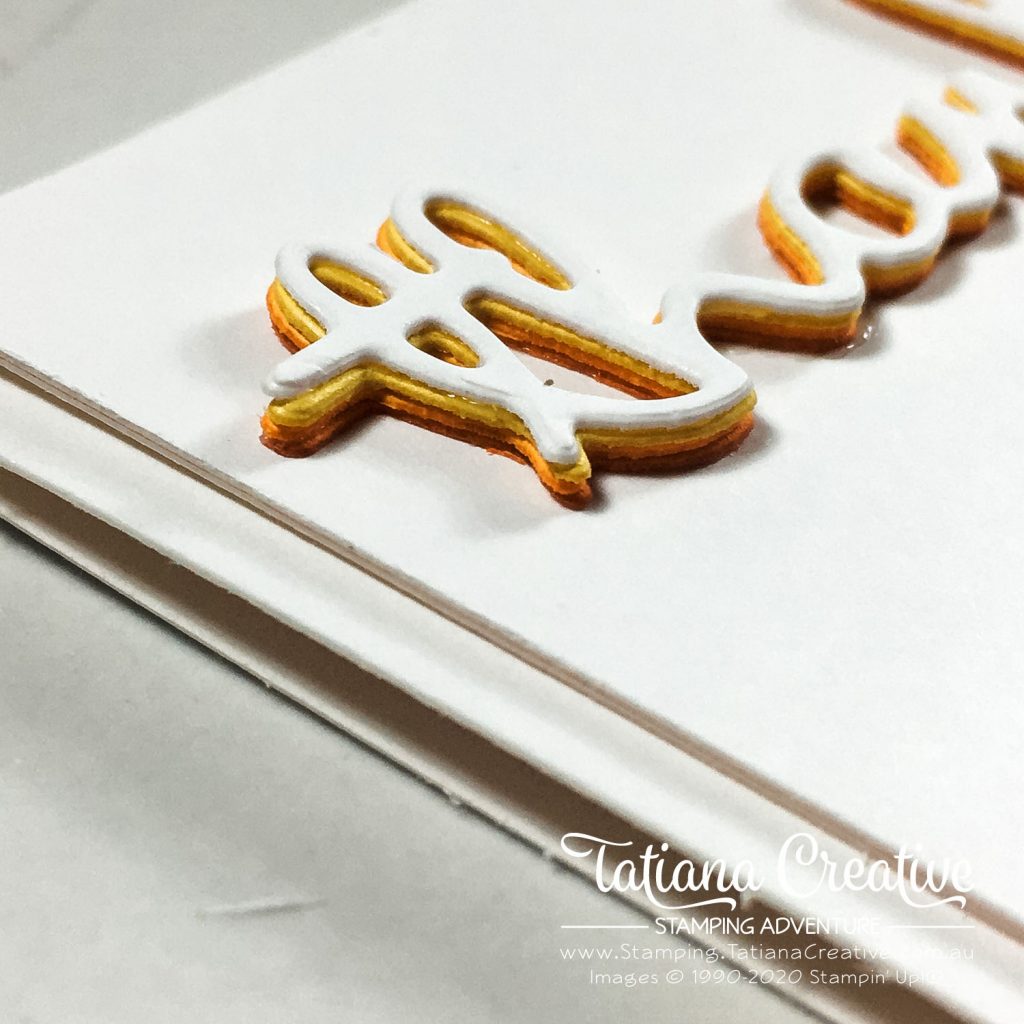
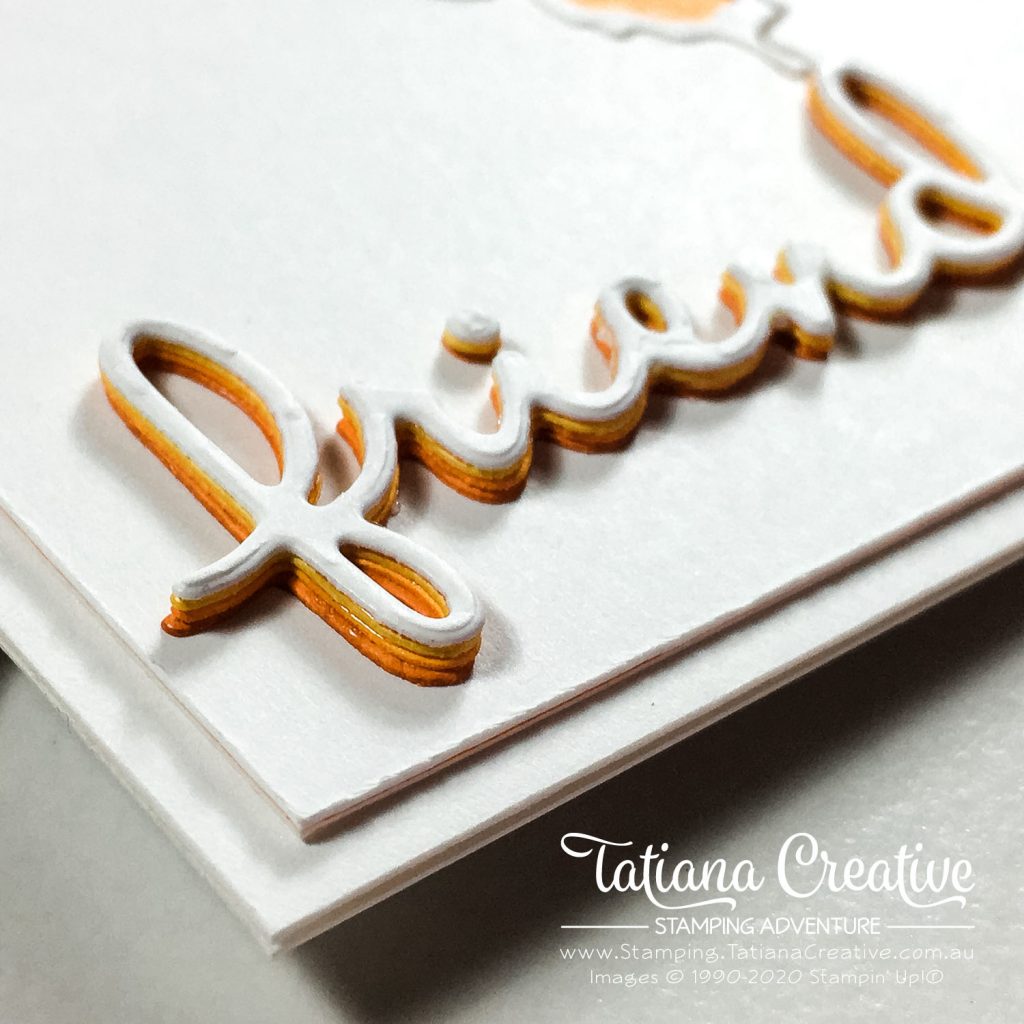
I really love the ombre look of the sentiment. It makes the card more special.
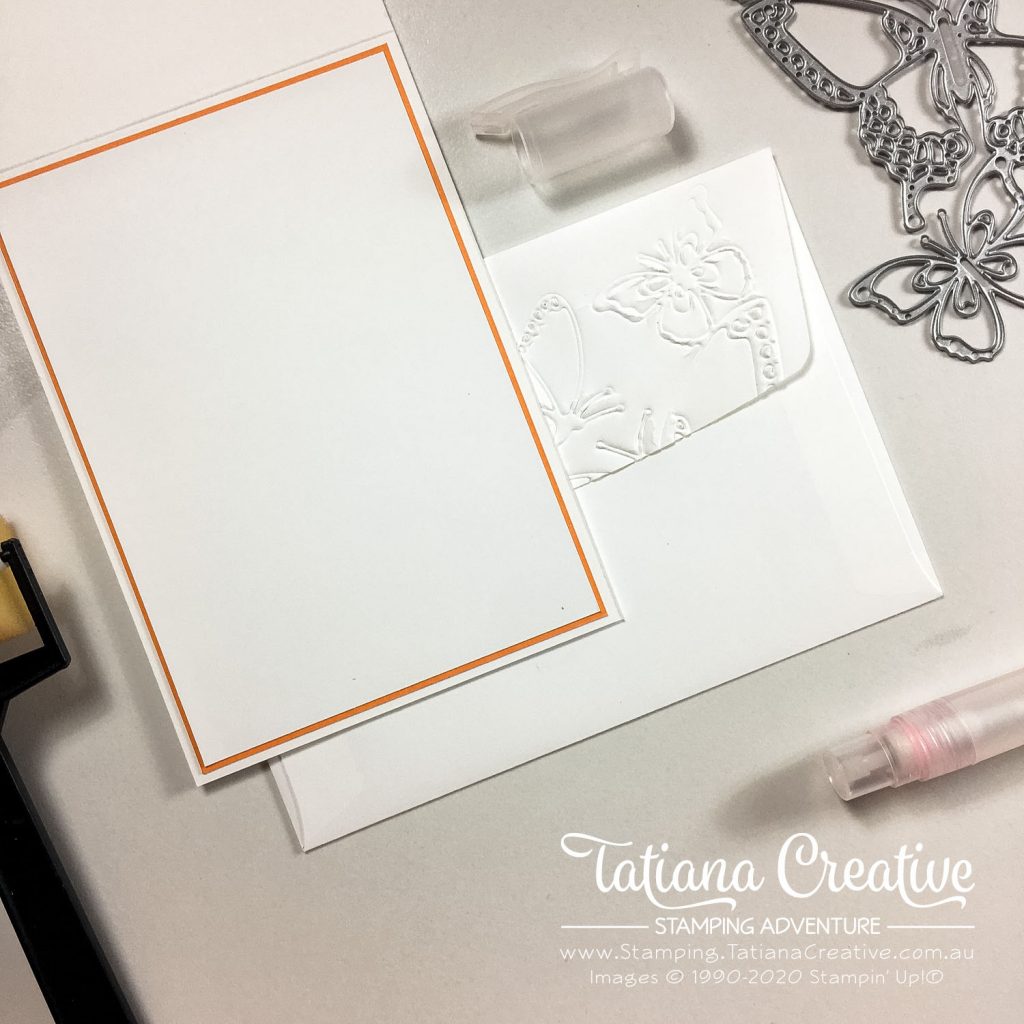
To finish off the project I ran the envelope flap though my die cutting machine on the Silicone Craft Sheet to make the die emboss the envelope.
Join me in hopping around the world (particularly since we cannot travel at the moment) and be inspired to creative:
Thank you so much for visiting my blog! I hope today’s project has inspired you to get creative and try something new.
Until next time,
Tatiana
- Join Stampin’ Up!® to start getting your products at 20% discount: CLICK HERE
- Request a Catalogue to see what products you can purchase: CLICK HERE
- Subscribe to my newsletter to keep up to date with the latest news: CLICK HERE
- Follow me on Facebook for regular updates and inspiration: CLICK HERE
- Go SHOPPING for clearance items and specials: CLICK HERE
If you’re in Australia, you can shop Stampin’ Up!® products through my online store. I’d love to be your demonstrator and help you find the perfect supplies for your next creative project!
Supplies:
You can purchase the of the supplies I used in this project. Please click on the image below to purchase. Thank you for your support.


Such cheerful colours Tatiana! Love the stacked greeting too!
Thank you Deb!
Beautiful Tania x
Thank you Shelly!
Gorgeous card, Tatiana! I love the embossing on the envelope too.
Thank you Kylie! Embossing envelopes is great!
beautiful card Tania!!! loved the background as well as the tip for the letters!! i have to give it a try! thanks for sharing – Allie
Thank you Alejandra! It’s fun adding colour to die cut works! Love to see what you create!
Great idea. I love how you used the dies and put the paper behind it like that. Very beautiful.
Thank you Bess. Can’t take the credit – inspired by Jennifer McGuire
Love your butterflies! Very pretty!
Thank you Diane!
Great card! I think you have way more stamping patience than I do! Love it though!
There’s no much stamping in this card


What a great card
Thank you Helen!
Beautiful card, Tatiana!
Thank you Bonnie!
Love your card Tatiana. I like how you made the sentiment. What a great idea!
Thank you Jill! Inspired from Jennifer McGuire! It’s so cute!
Wonderful card design. Love all the detail and dimension.
Thank you Tricia!!
Fab cards – especially the layers on the word dies and the embossing on the envelope
Thank you Karen!
Very beautiful card. I love the details!
Thank you Theresa!