


Hello Everybody! Welcome to my blog!
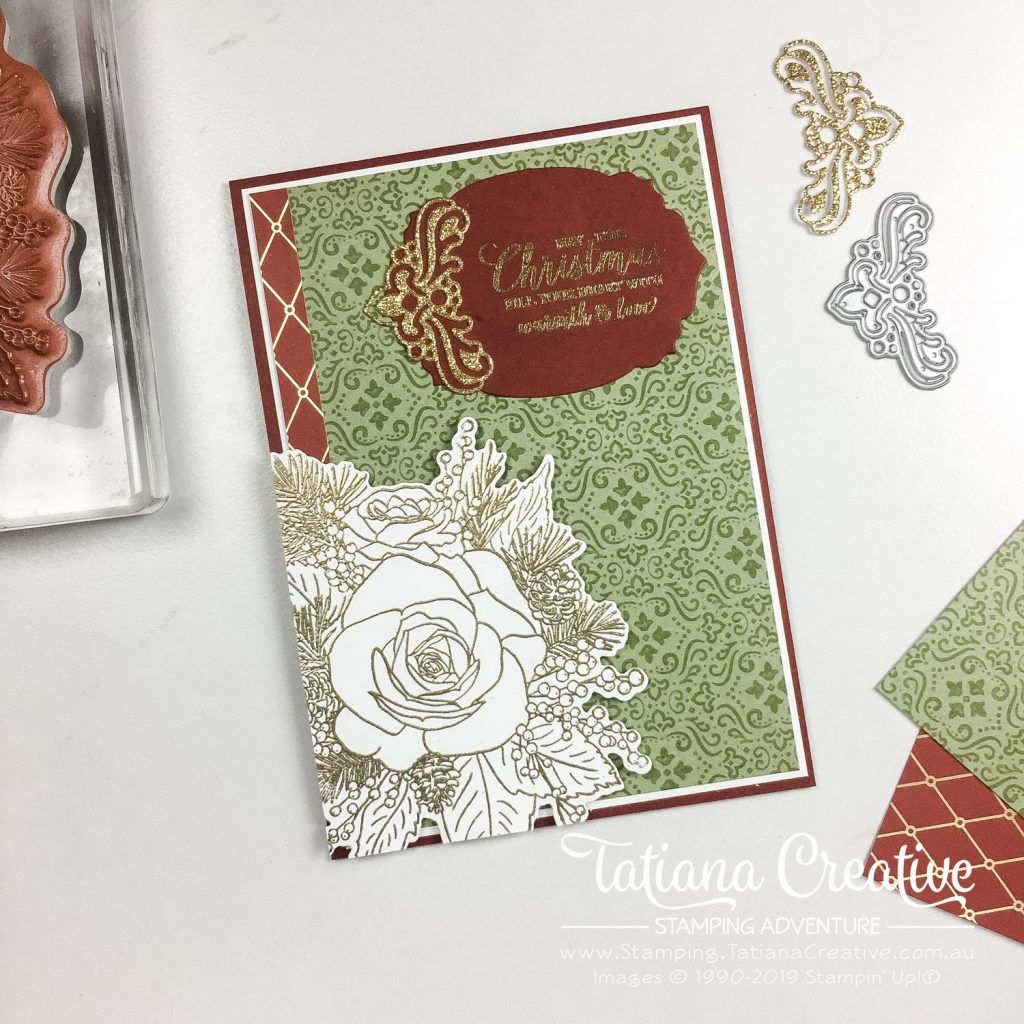
Today’s project I’m sharing has the stunning Christmastime Is Here Specialty DSP as the main feature. This paper is just gorgeous and makes quick and beautiful cards. I’ve paired it with simple Gold Heat Embossed Christmas Rose stamp set.
[Want to recreate this project? You’ll find all the supplies I used at the end of this post, conveniently linked to my Stampin’ Up! online store. I’d love to be your demonstrator and appreciate your support—it means the world to me on this creative journey!]
Card Details:
- Card Base: Cherry Cobbler
- Card Front: Whisper White (10 x 14.3cm) and green DSP (9 x 13.8cm) plus red (1 x 13.8cm)
- Stamp the big Christmas Rose stamp in the middle of the Whisper White card front. I used Versamark Ink and then Heat Embossed it in Gold. Die cut this out.
- Adhere the DSP to the Whisper White card front – this will cover the hole from the rose die cut.
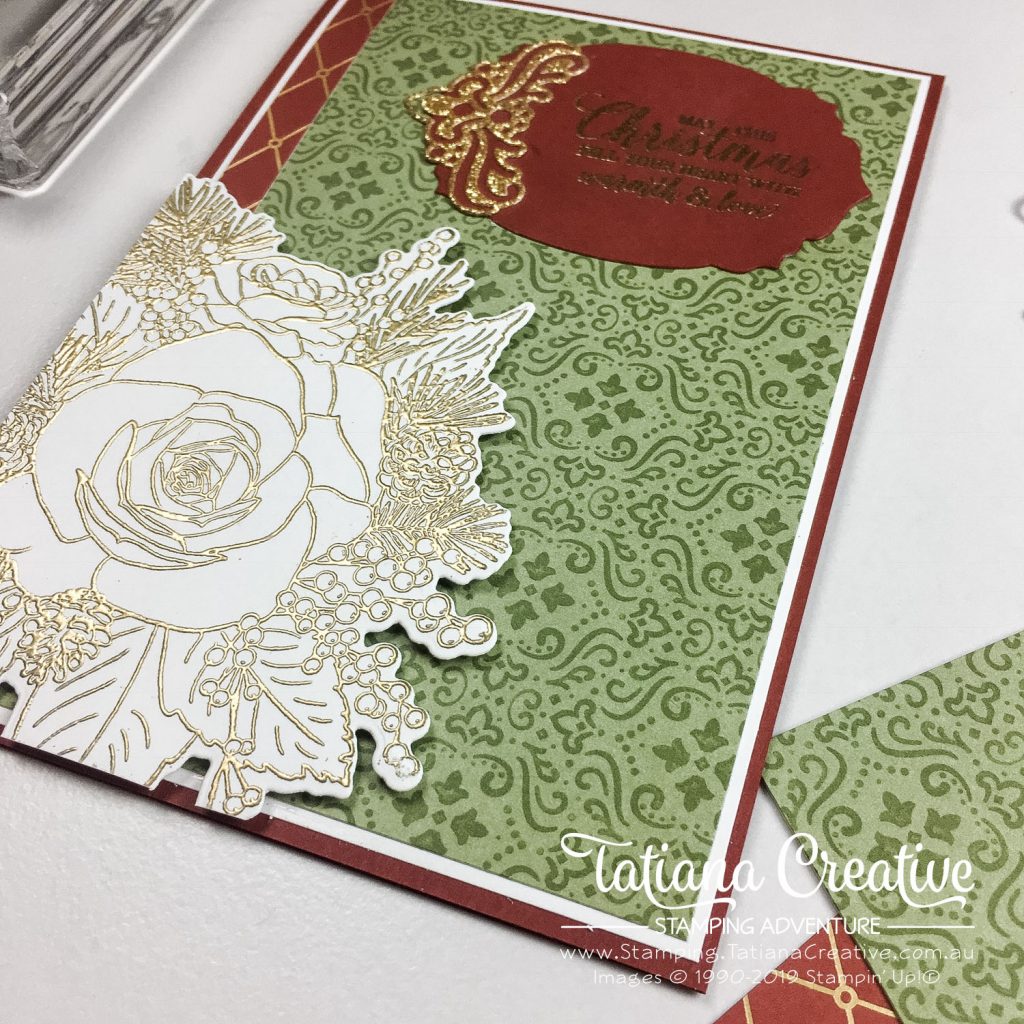
- Die cut the large label from Cherry Cobbler and the decorative piece from Gold Glimmer Paper.
- Gold heat emboss your chosen sentiment onto the Cherry Cobbler die cut piece. TIP first add the Gold Glimmer Paper decorative die cut so that the sentiment is placed correctly onto the die cut.
- To assemble the card, attache the card front to the card base, then add the rose with Stampin’ Dimensionals, having the edges come off and then trim with scissors. Add the sentiment.
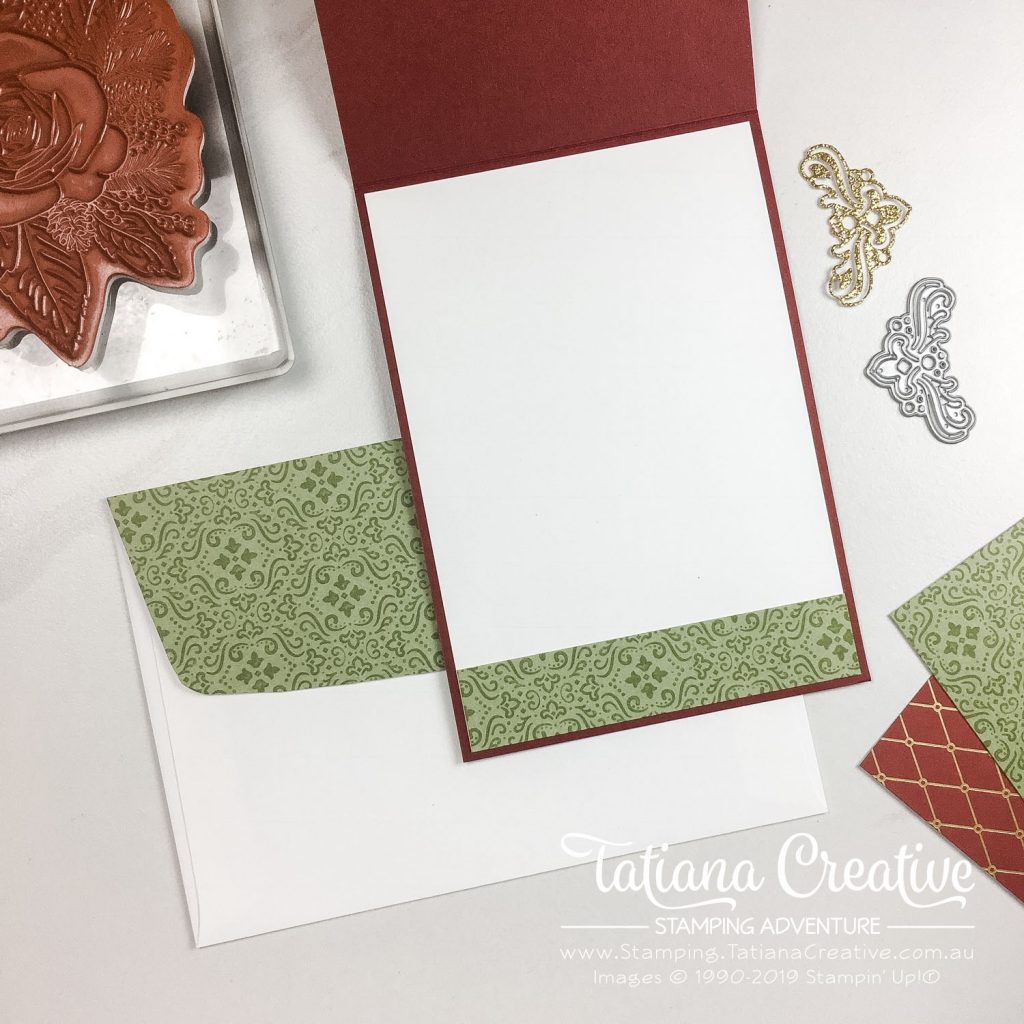
I decorated the inside of the card with a strip of DSP along the bottom, and added this to the envelope flap too:
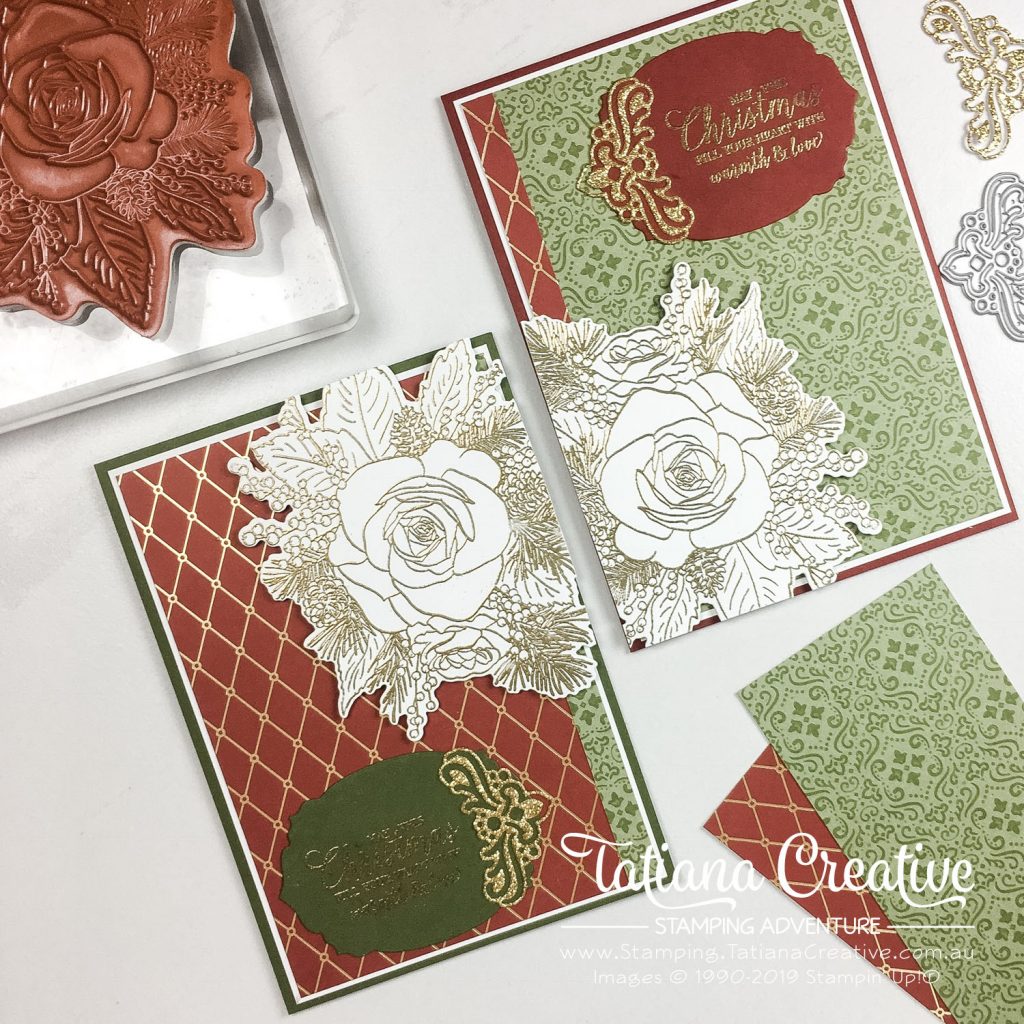
To be honest, I couldn’t decide on the DSP combination so I created two. The second I reversed the use of DSP and used Mossy Meadow for the card base and sentiment label. Which on do you prefer?
Thank you so much for visiting my blog! I hope today’s project has inspired you to get creative and try something new.
Until next time,
Tatiana
- Join Stampin’ Up!® to start getting your products at 20% discount: CLICK HERE
- Request a Catalogue to see what products you can purchase: CLICK HERE
- Subscribe to my newsletter to keep up to date with the latest news: CLICK HERE
- Follow me on Facebook for regular updates and inspiration: CLICK HERE
- Go SHOPPING for clearance items and specials: CLICK HERE
If you’re in Australia, you can shop Stampin’ Up!® products through my online store. I’d love to be your demonstrator and help you find the perfect supplies for your next creative project!
Supplies:
You can purchase the of the supplies I used in this project. Please click on the image below to purchase. Thank you for your support.
")


