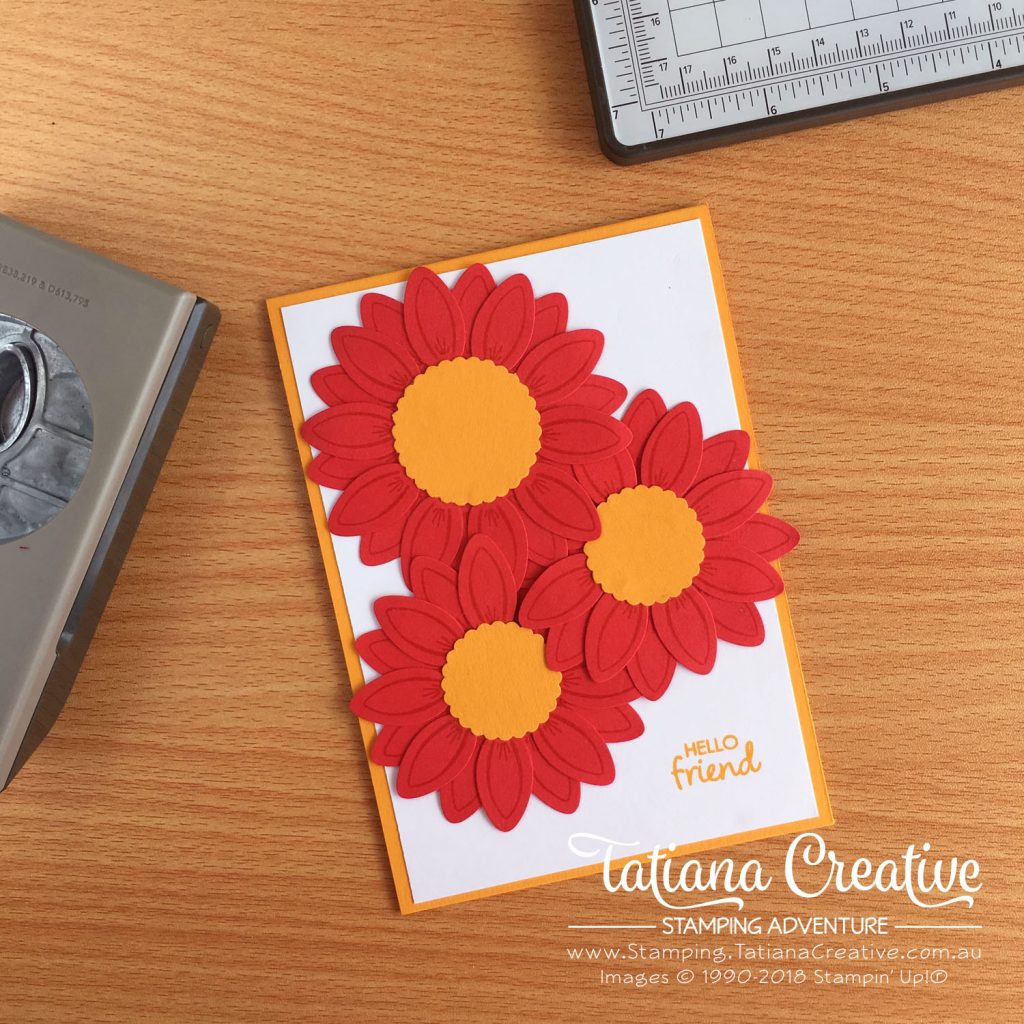
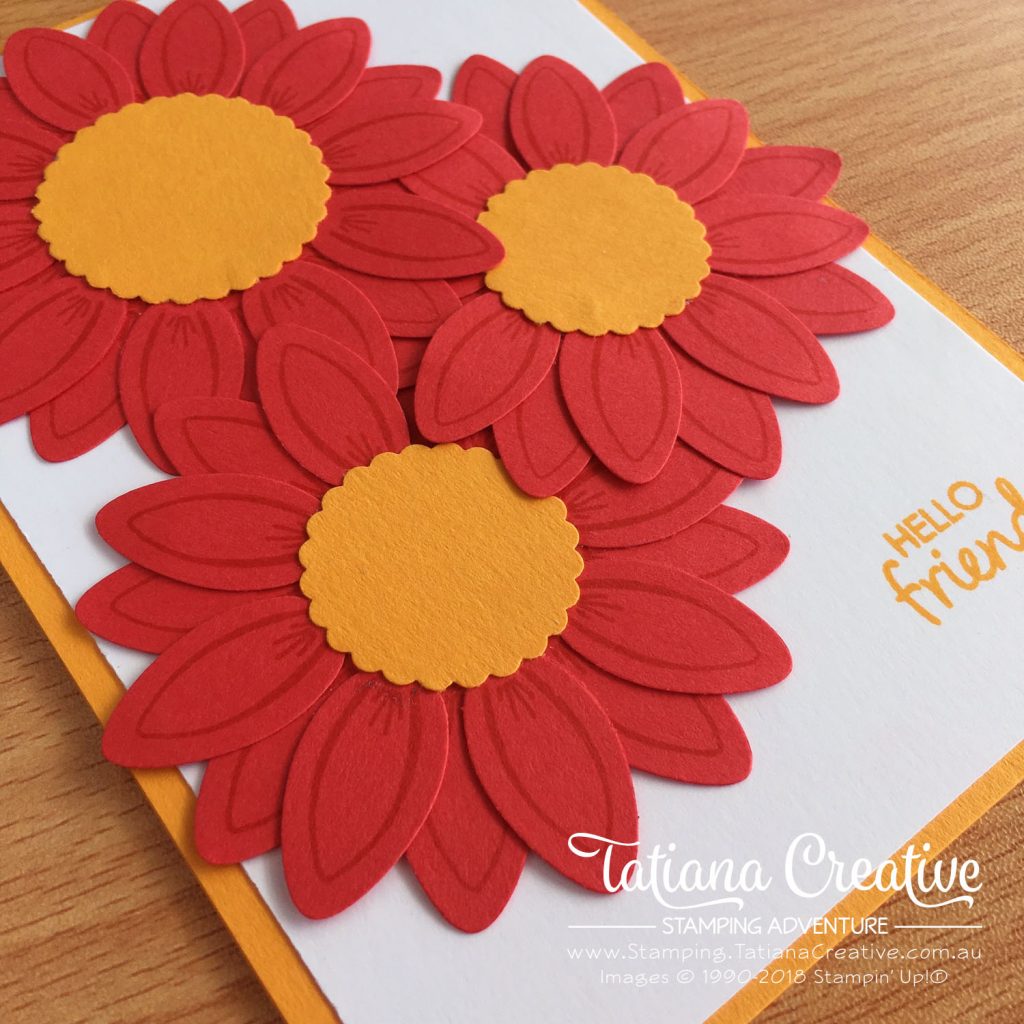
I will have to admit, when I saw the Making Every Day Bright stamp set and the floral card example in the catalogue I was pretty much sold on this set. I did have to make it my own and for me that creating my own gerbera flowers by having two rows of petals on each flower! May sound over the top but with the stamparatus it really wasn’t that hard to make! Gerbera’s remind me of a time that my husband took me to a florist (when we were dating) to choose some flower to cheer me up. I chose three gerberas as I thought they were such happy flowers.

All supplies used in this card are shown at the end of this post in the thumbnails. These are linked to my Stampin’ Up! online store.

To create this card:
Card Base: Mango Melody cardstock
Card Front: Whisper White 100mm x 143.5mm
- Punch out the number of flower petals required using the Christmas Bulb Builder Punch. I used 20 petals on the larger flower (the top one) and 16 petals on each of the smaller flowers. I used Poppy Parade cardstock.
- Using your Stamparatus and the negative of the punch line up the petal stamp correctly into negative (do this by stamping and placing the negative in the correct position). Now stamp all of your petals. By stamping after you punch out you don’t have to try to line up the punch accurately each time. It also means that you can punch out the pieces with better economy of cardstock. I stamped my petals in Poppy Parade – same as the cardstock.
- Punch out two 3.5cm Scallop Circle and four 2.9cm Scallop Circles from Mango Melody cardstock.
- To assemble the flowers:
- Put some SNAIL Adhesive to the tab end of the bulb punch out and then stick facing down onto the scallop circle.
- Place 10 of the petals evenly spaced around the 3.5cm Scallop Circle or 8 petals round the 2.9cm Scallop Circle.
- Repeat with the second row, but placing each petal between the first row of petals.
- Attach the second scallop circle at the back to make sure all the petals stay in place.
- Stamp onto the card front a sentiment (optional). I used the “Hello Friend” sentiment from the Happiness Surround stamp set in Mango Melody ink.
- To assemble:
- Adhere the card front to the card base.
- Attach the flowers as you would like them.

This card to me is just bright and happy and makes me think of a lovely memory of my husband! I just love the petal stamp in the Making Every Day Bright stamp set!!! Its just adorable.
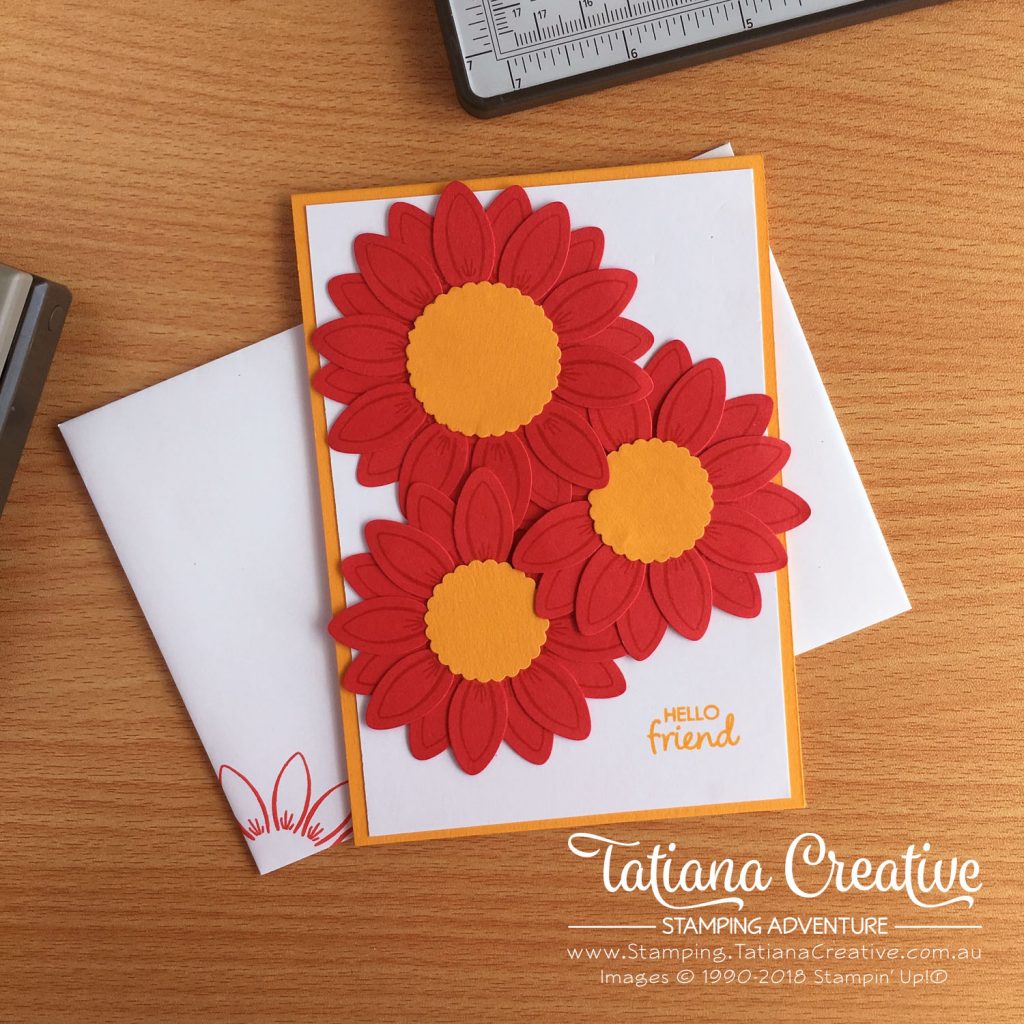
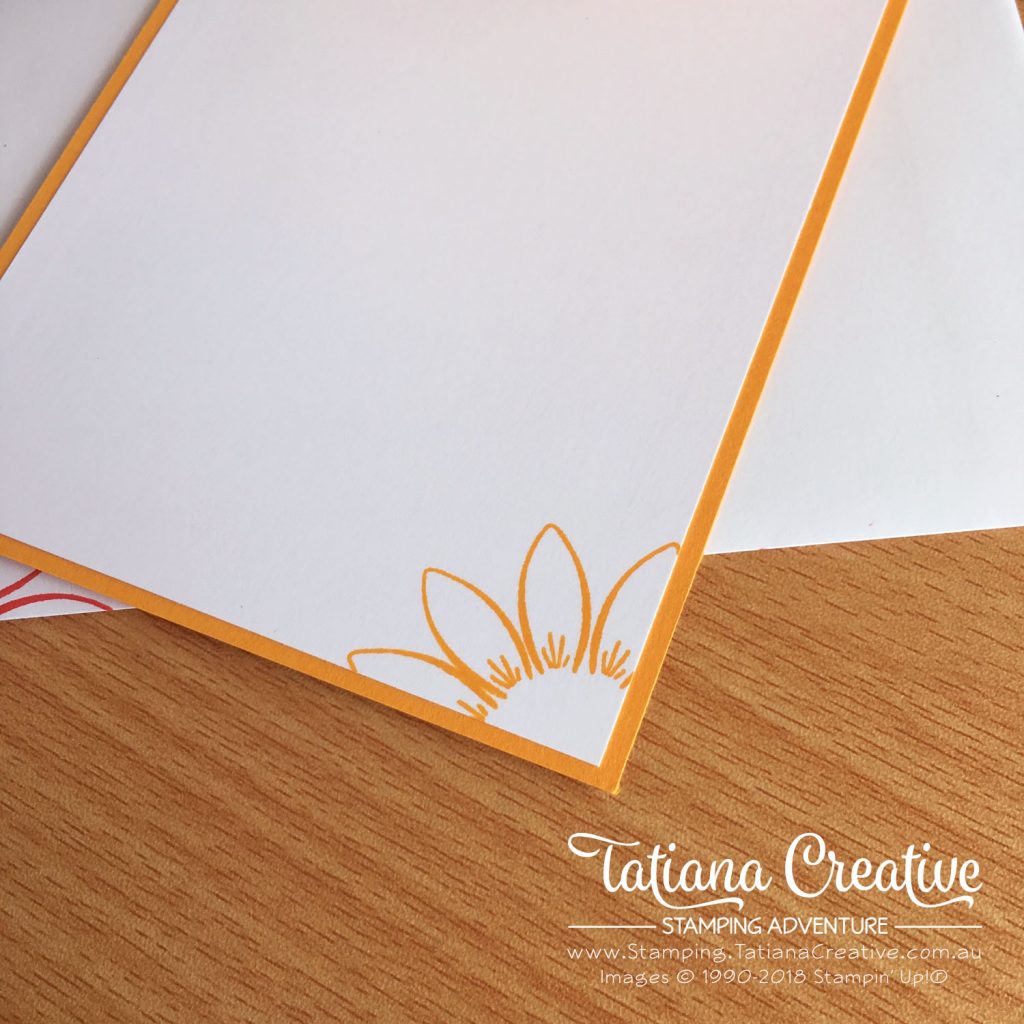
I did also create a matching envelope and coordinated the inside of the card by stamping the petals into a flower shape in Mango Melody ink:


You could make the flowers smaller by using a smaller circle punch for the centres and using less petals. That’s what so fantastic about this stamp and punch, you have so much creative freedom!
Thank you so much for visiting my blog! I hope today’s project has inspired you to get creative and try something new.
Until next time,
Tatiana
- Join Stampin’ Up!® to start getting your products at 20% discount: CLICK HERE
- Request a Catalogue to see what products you can purchase: CLICK HERE
- Subscribe to my newsletter to keep up to date with the latest news: CLICK HERE
- Follow me on Facebook for regular updates and inspiration: CLICK HERE
- Go SHOPPING for clearance items and specials: CLICK HERE
If you’re in Australia, you can shop Stampin’ Up!® products through my online store. I’d love to be your demonstrator and help you find the perfect supplies for your next creative project!
Supplies:
You can purchase the of the supplies I used in this project. Please click on the image below to purchase. Thank you for your support.


