Hello Everybody!
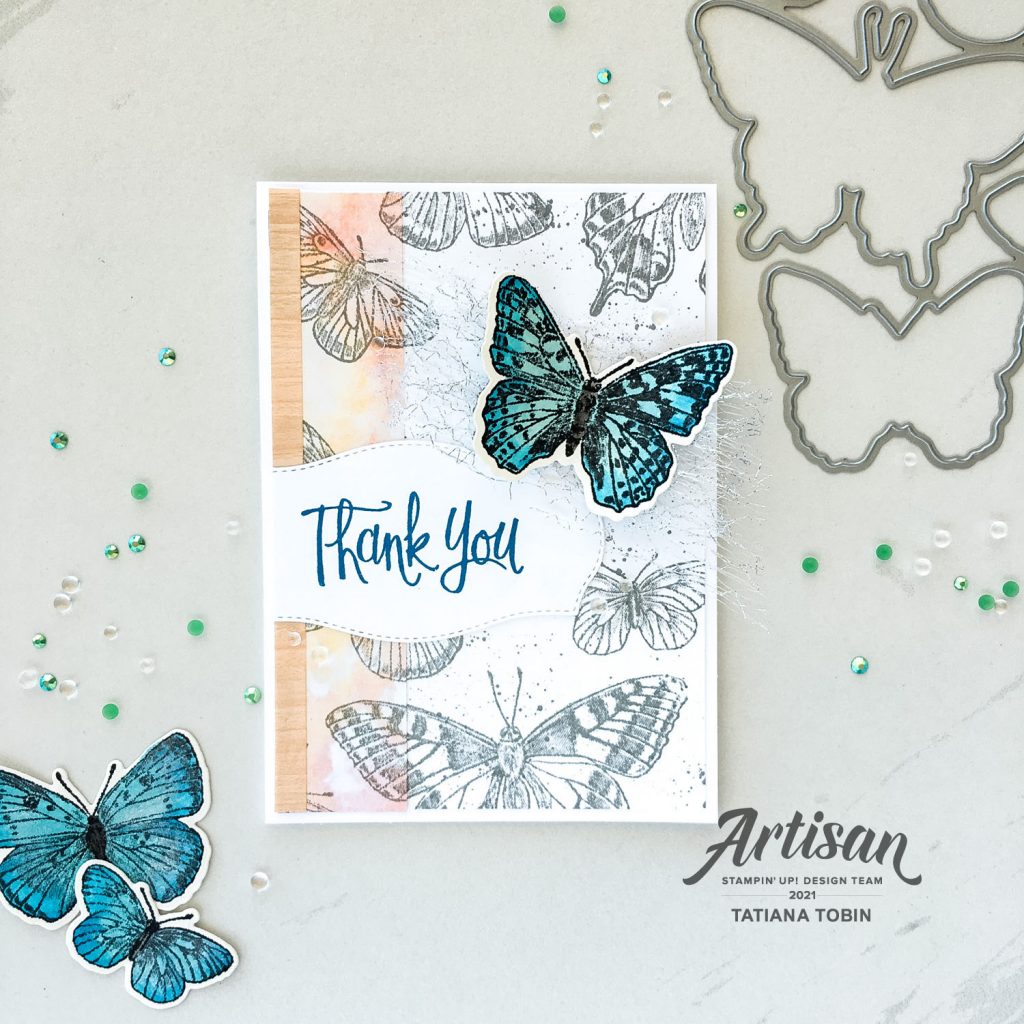
Welcome to my blog. Last month we, the Artisan Design Team, shared projects using the brand new collection “Butterfly Bouquet”. This month we are sharing again. We were asked to create a second project that coordinated with our first. This fabulous collection of products are so beautiful and full of so many possibilities. I created this card to coordinate with the Mini Paper Pumpkin Box I decorated and shared last month.
[Want to recreate this project? You’ll find all the supplies I used at the end of this post, conveniently linked to my Stampin’ Up! online store. I’d love to be your demonstrator and appreciate your support—it means the world to me on this creative journey!]
Card Details:
- Card Base: Basic White Thick
- Card Front: Basic White (10 x 14.3 cm) ButterflyBijou DSP (3 x 14.3 cm) and Natural Touch Specialty Paper (0.8 x 14.3 cm)
- Sentiment Label: Basic White die cut with Tasteful Labels Dies
- To stamp the background I lined up the Basic White card front on my Stamparatus and stamped in Smoky Slate. Then lined up the piece of Butterfly Bijou DSP and stamped again. This makes the butterfly look seamless between the two.
- I added some splattering by flicking the brush tip of the Smoky Slate Stampin’ Write Marker.
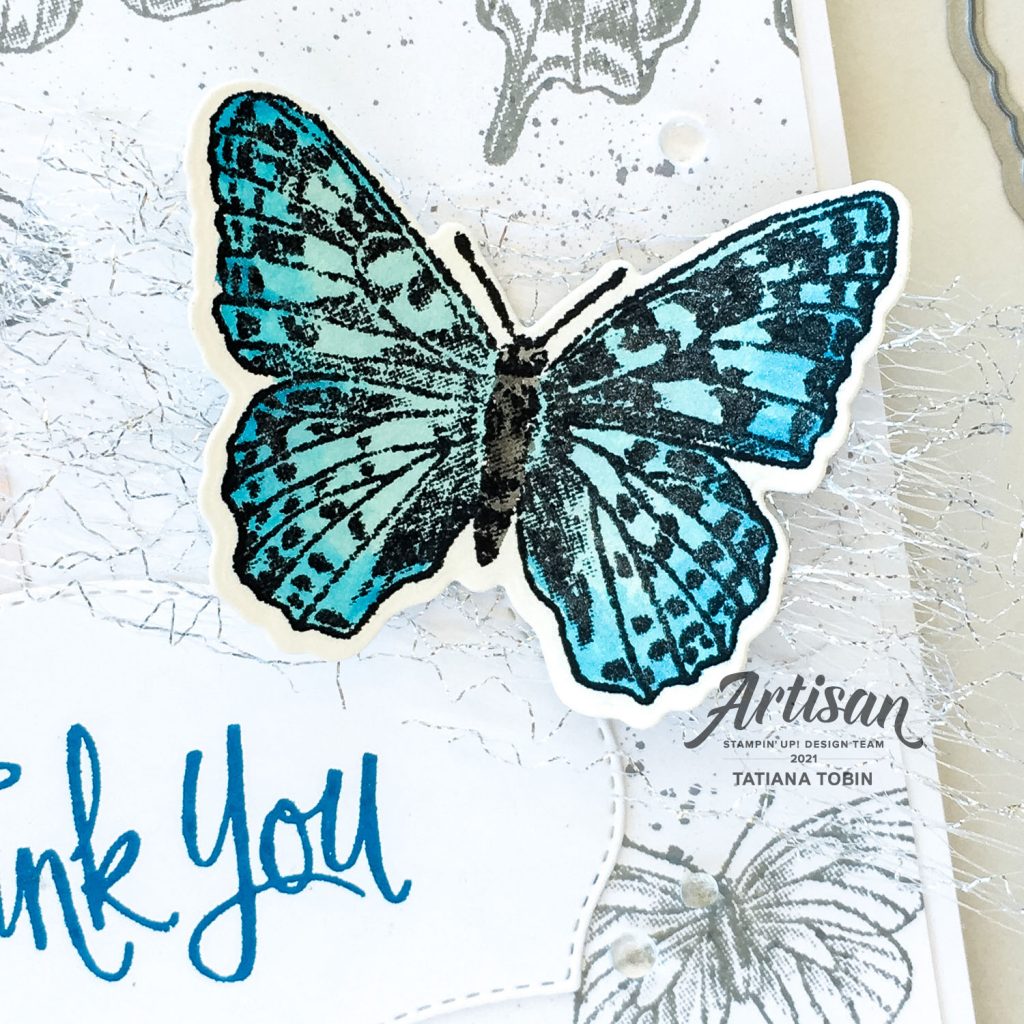
- To create the blue butterfly stamp the Butterfly Brilliance stamp onto Fluid 100 Watercolor Paper using Stazon Ink. I highly recommend you use the Stamparatus to do this and have the paper in the corner so that you can reposition it.
- Paint the butterflies in Balmy Blue and Pacific Point. Use a Water Painter that has no water inside. I mixed both inks with some Frost White Shimmer Paint to create a sparkle to the butterfly wings. I used Balmy Blue closer to the body of the butterfly and then Pacific Point toward the tips of the wings. TIP: make sure the two blues blend together where they join. I painted all of the butterflies so that I can use the others later.
- Paint the body of the butterflies in Basic Gray ink.
- Let the butterflies dry then position back into the Stamparatus and stamp over in the Stazon Ink again. The Shimmer paint covered the stamped details, but stamping again you get the detail back.
- Die cut them out and choose which butterfly you’d like for the card.
- Stamp the sentiment in Pacific Point on the sentiment label.
- Assemble the card by add the strips of DSP, then the sentiment label and add the butterfly with some Metallic Mesh Ribbon behind it.
- To finish off add some of the clear gems from Flowers For Every Season Gems.
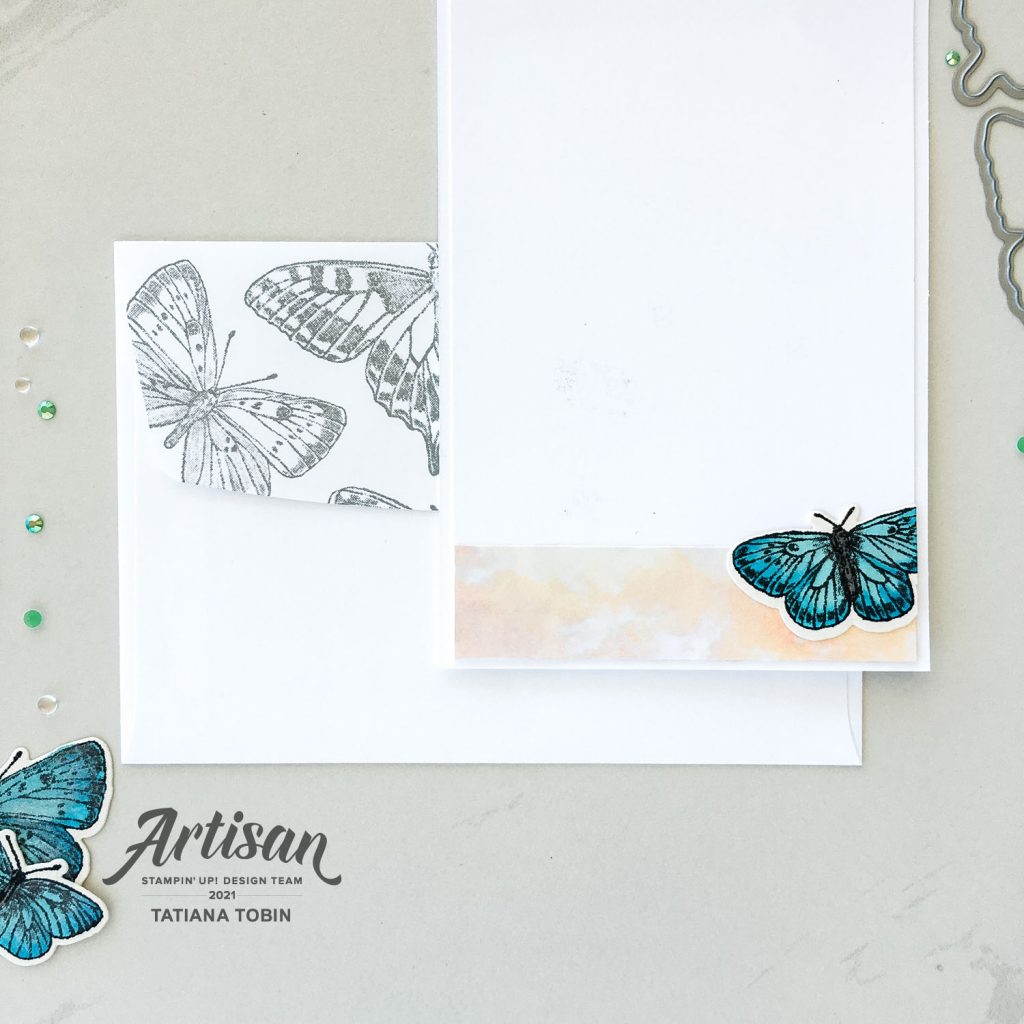
To complete the card I like to decorate the envelope and the inside. I stamped the butterflies on the envelope flap in Smoky Slate. Inside the card I added some of that gorgeous DSP and blue small butterfly.
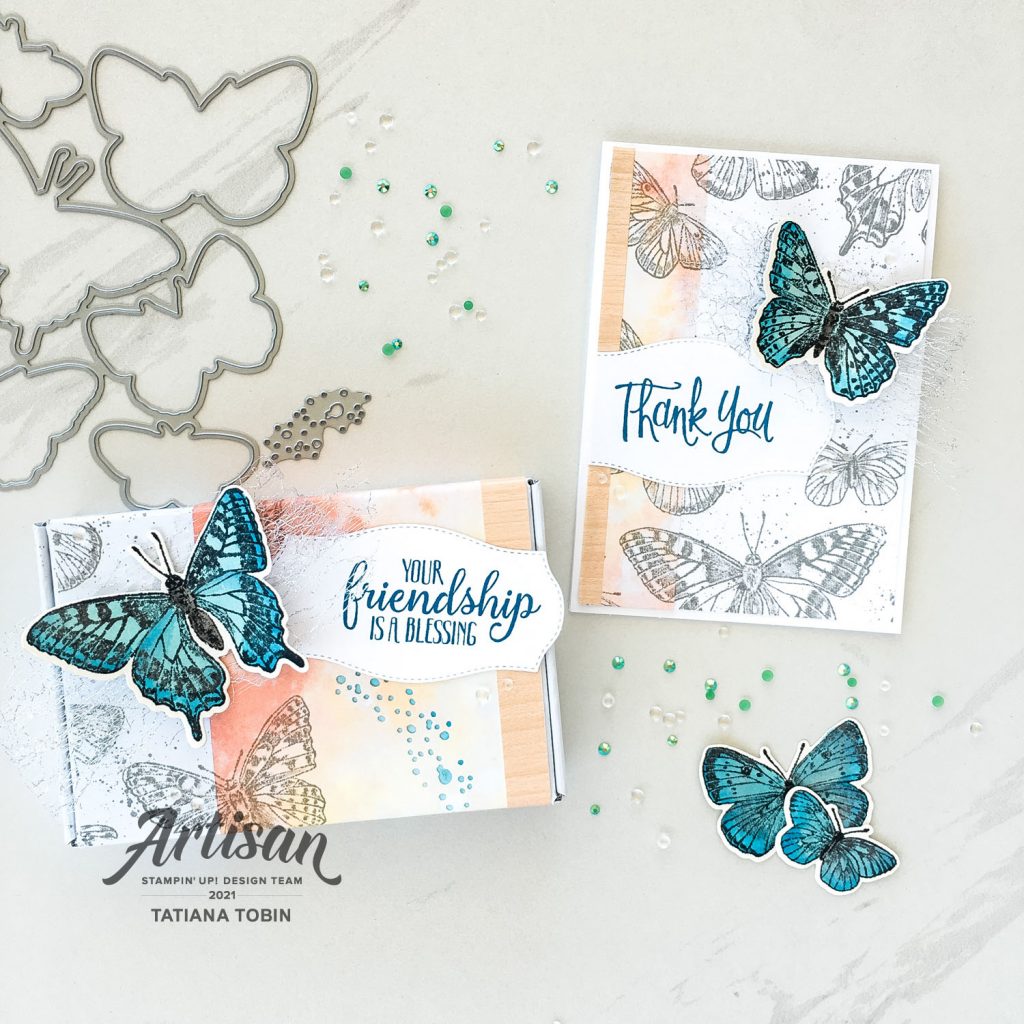
I made the card coordinate with the previous project I shared – using the Mini Paper Pumpkin Box.
Thank you so much for visiting my blog! I hope today’s project has inspired you to get creative and try something new.
Until next time,
Tatiana
- Join Stampin’ Up!® to start getting your products at 20% discount: CLICK HERE
- Request a Catalogue to see what products you can purchase: CLICK HERE
- Subscribe to my newsletter to keep up to date with the latest news: CLICK HERE
- Follow me on Facebook for regular updates and inspiration: CLICK HERE
- Go SHOPPING for clearance items and specials: CLICK HERE
If you’re in Australia, you can shop Stampin’ Up!® products through my online store. I’d love to be your demonstrator and help you find the perfect supplies for your next creative project!
Supplies:
You can purchase the of the supplies I used in this project. Please click on the image below to purchase. Thank you for your support.


