


Hello everybody!
Welcome to my blog! I’m so excited to share this card. My friend Pam shared with me how to create the alcohol ink look on cards using supplies I already had at home! Well I had to buy the alcohol but that was easy! All you need is a piece of White Vellum, Stampin’ Blends markers, and isopropyl alcohol – this isn’t the rubbing type you get from the supermarket. It’s the 100% isopropanol and you can get it from Bunnings or BigW.
[Want to recreate this project? You’ll find all the supplies I used at the end of this post, conveniently linked to my Stampin’ Up! online store. I’d love to be your demonstrator and appreciate your support—it means the world to me on this creative journey!]
Card Details:
- Card base: Basic White Thick
- Card front: Basic White and White Vellum (8.5 x 12.8 cm for both)
- Sentiment: Basic Black
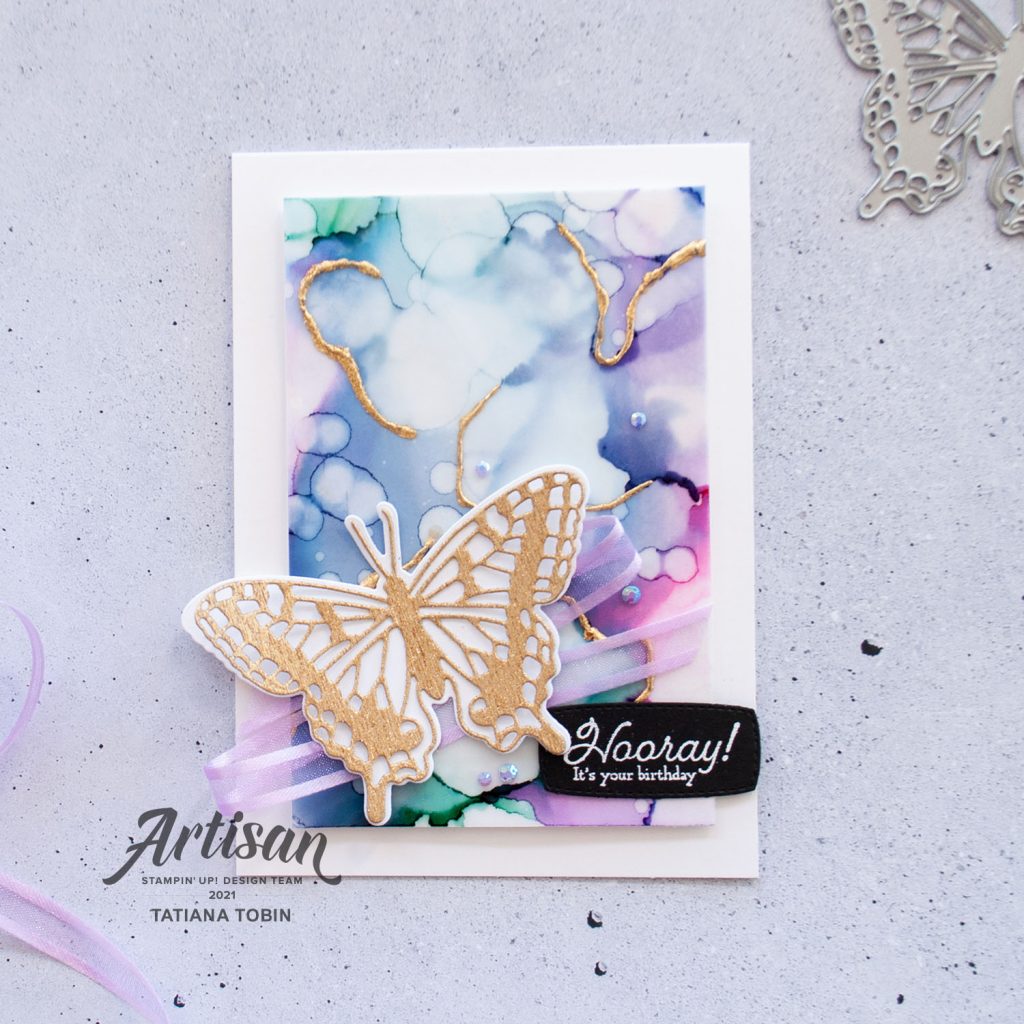
- I started with creating the alcohol ink background. I used quarter a sheet of White Vellum and covered it in blocks of colours using Stampin’ Blends. I used Fresh Freesia, Polished Pink, Bermuda Bay, and Night Of Navy. I used both the dark and light next to each other in each colour. Then slash, drop, dribble on the isopropyl alcohol all over it. You can move it by picking up the vellum and moving it around. Let it dry (this is quick) and then add move drops of isopropyl and repeat. Add smaller drops for texture. Let dry.
- Then on edge areas add some Multipurpose Liquid Glue along the edge. Let set and then add Folded Leafing onto. Cut down to size of the card front and adhere to the Basic White panel using Stampin’ Seal+ (you won’t see the glue!). Adhere to the card base using Stampin’ Dimensionals.
- Die cut from the Gold Metallic Specialty Paper the large detailed butterfly. From Basic White cardstock die cut the coordinating solid butterfly. Layer the two.
- Before adding the butterfly to the card, add some Fresh Freesia Open Weave Ribbon.
- Onto a piece of Basic Black stamp the Many Messages stamp in Versamark and heat emboss in white. Die cut out with the coordinating Messages Die. I picked the “Hooray! It’s your birthday” sentiment to add to this card. Adhere it with Multipurpose Liquid Glue and a Black Stampin’ Deimensional on the side.
- To finish add some Fresh Freesia 2021-2023 In Color Jewels.

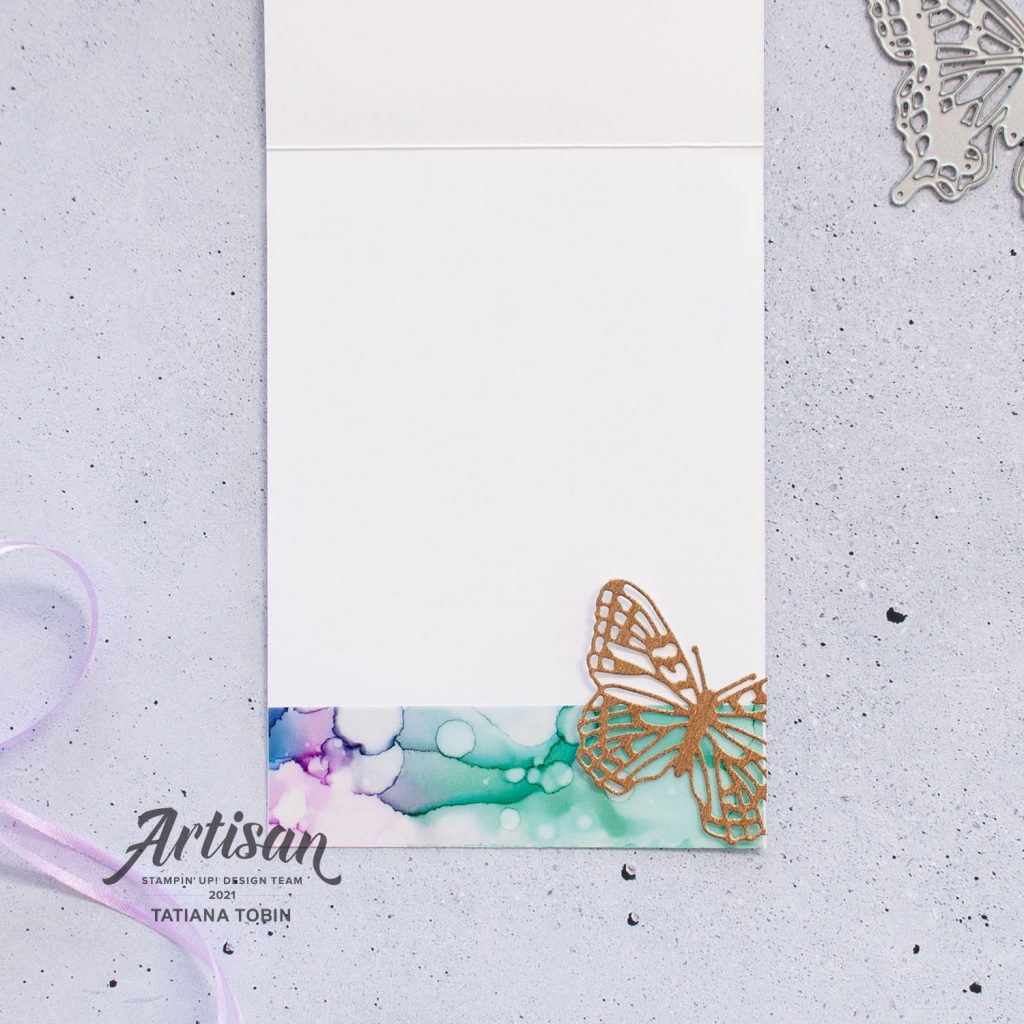
To finish off the inside, I added some of the inked vellum and another die cut detailed butterfly.
Thank you so much for visiting my blog! I hope today’s project has inspired you to get creative and try something new.
Until next time,
Tatiana
- Join Stampin’ Up!® to start getting your products at 20% discount: CLICK HERE
- Request a Catalogue to see what products you can purchase: CLICK HERE
- Subscribe to my newsletter to keep up to date with the latest news: CLICK HERE
- Follow me on Facebook for regular updates and inspiration: CLICK HERE
- Go SHOPPING for clearance items and specials: CLICK HERE
If you’re in Australia, you can shop Stampin’ Up!® products through my online store. I’d love to be your demonstrator and help you find the perfect supplies for your next creative project!
Supplies:
You can purchase the of the supplies I used in this project. Please click on the image below to purchase. Thank you for your support.


 Metallic Specialty Paper")


 Open Weave Ribbon")


