


Hello everybody!
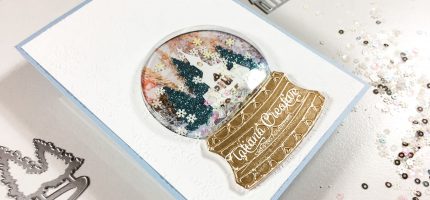
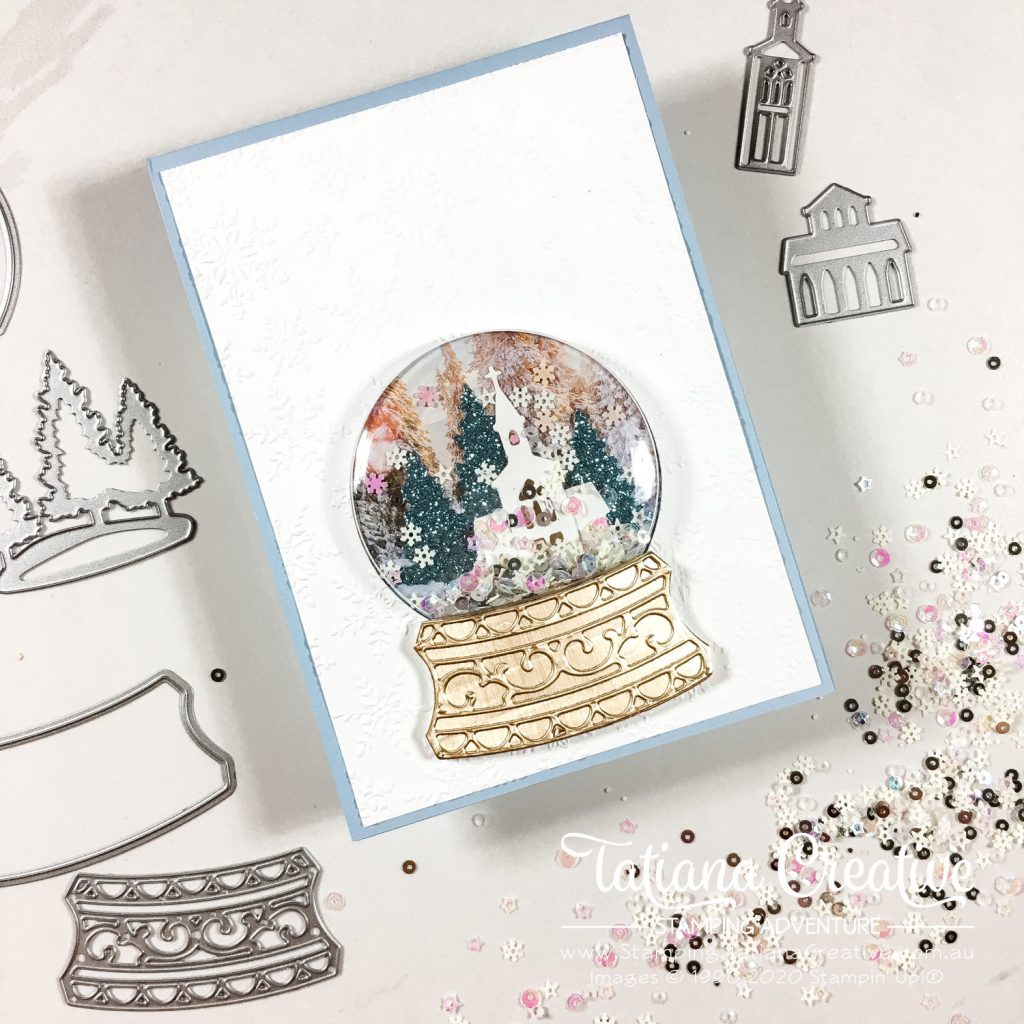
Welcome to my blog! Tonight I’m blog hopping with the Around The World On Wednesday team. We all go live on Wednesday – which is quite remarkable considering all the different time zones we are in. For me it is evening and for some others it is early in the morning. But for all of us it is Wednesday and we all have the same theme – Something New, Something Old. I wanted to add something blue and make a wedding card but my head really wasn’t in it because I’m all about Christmas at the moment. The theme was open to interpretation and I’ve decided to combine holiday products from last year (old) with holiday products from this year (new) to create this Christmas Snow Globe card:
[Want to recreate this project? You’ll find all the supplies I used at the end of this post, conveniently linked to my Stampin’ Up! online store. I’d love to be your demonstrator and appreciate your support—it means the world to me on this creative journey!]
Card Details:
- Card Base: Seaside Spray
- Card Front: Whisper White (10 cm 14.3 cm)
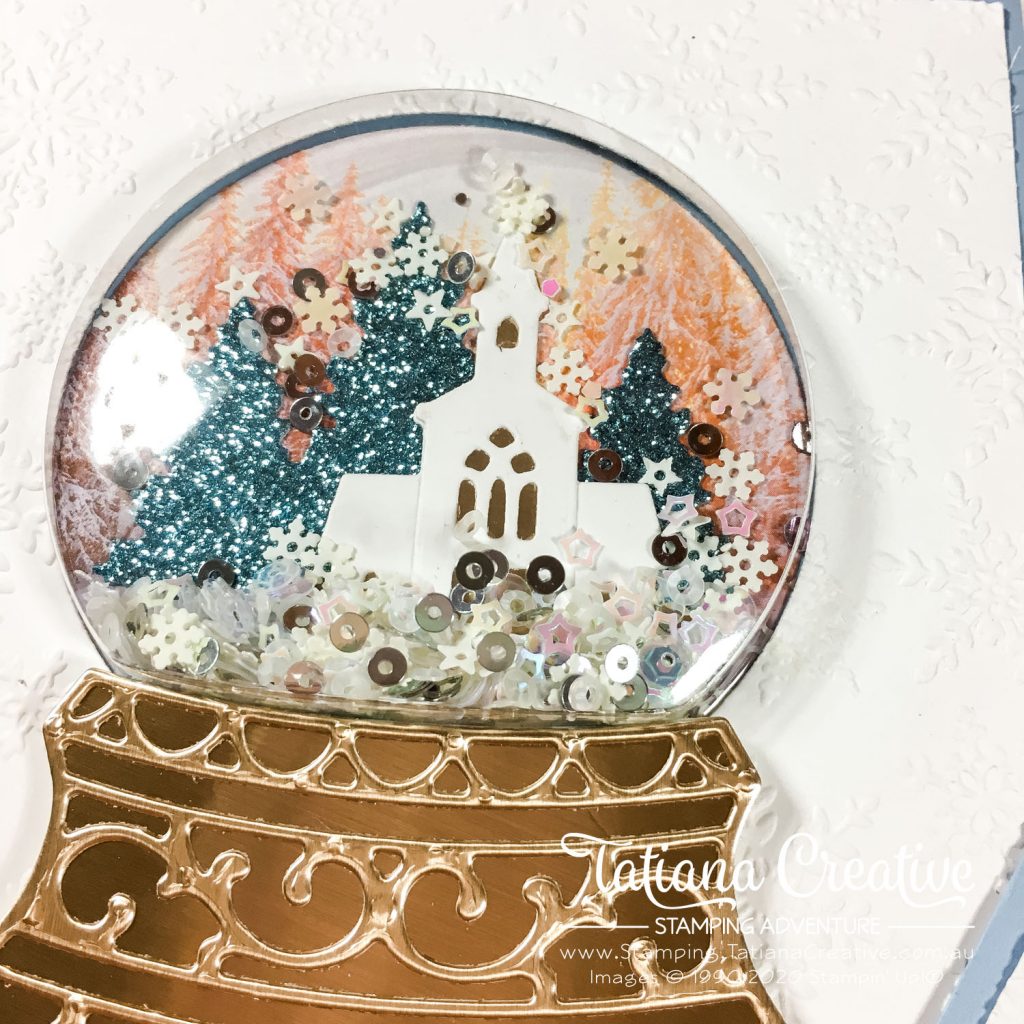
- Die cut the snow globe top from the Whisper White Card front and also from the Feels Like Frost DSP – choosing carefully what scene as this will go inside the globe.
- Emboss the card front with the Winter Snow Embossing Folder.
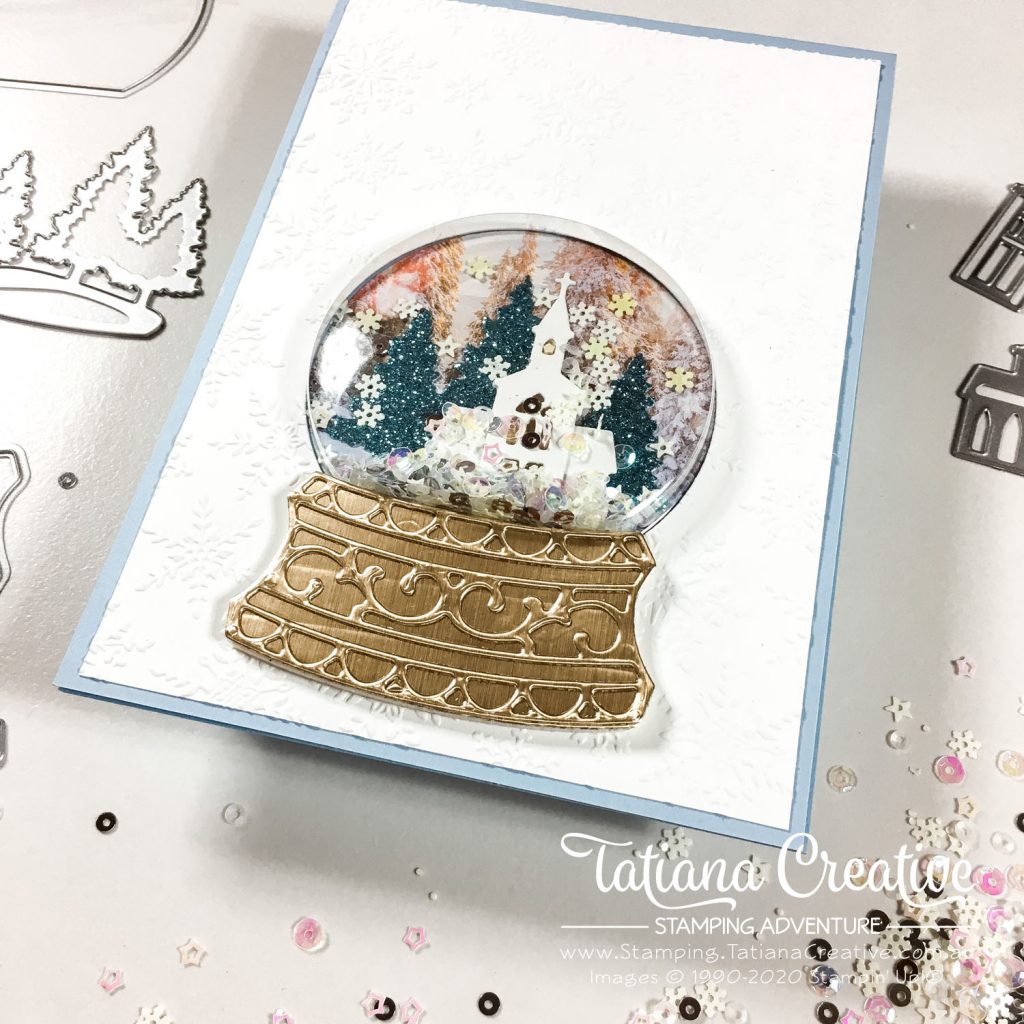
- Die cut the snow globe whole base from one of the Brushed Metallic card stocks and also from the Foam Adhesive Sheet. Then take the decorative snow globe base and die cut it from the same colour of Brushed Metallic card stock but with Adhesive Sheet on the back.
- Layer the three pieces – start with the Foam Adhesive piece, then the whole snow globe base, then the decorative snow globe base.
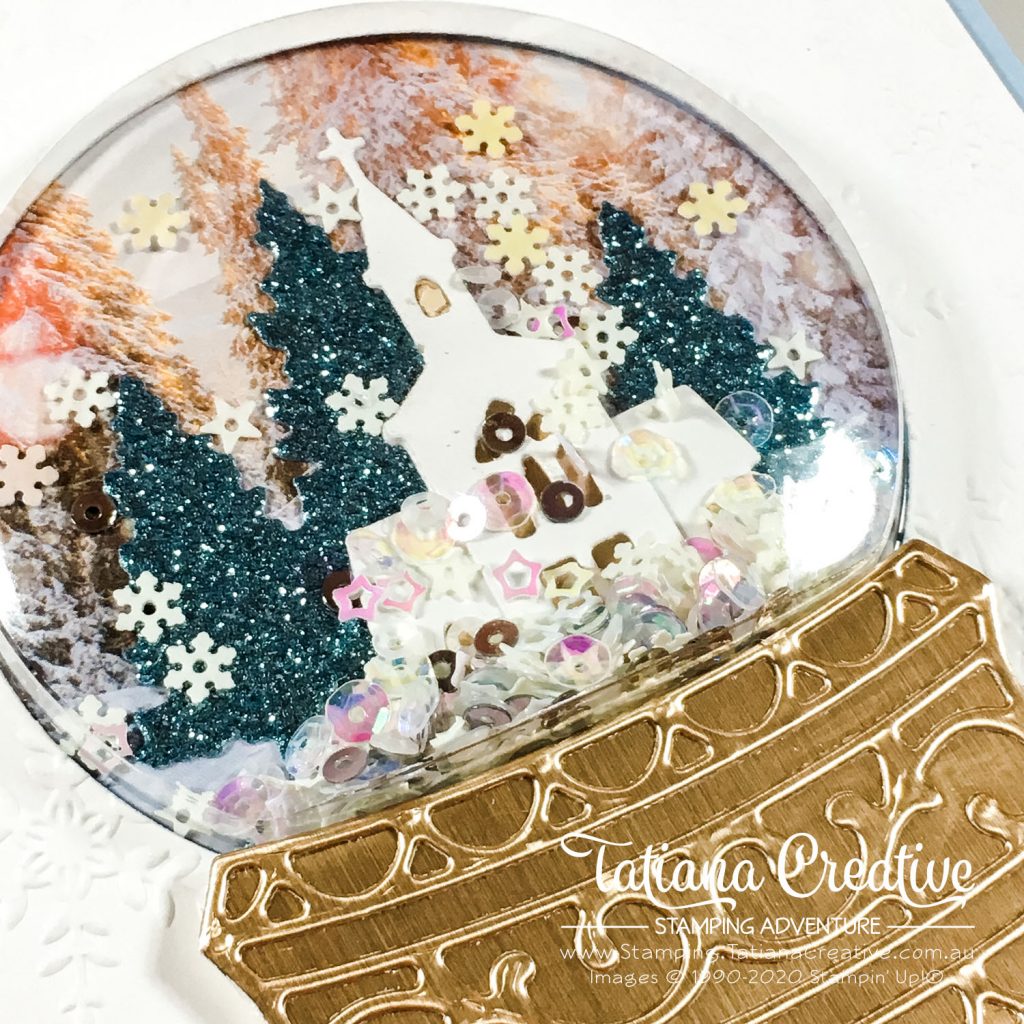
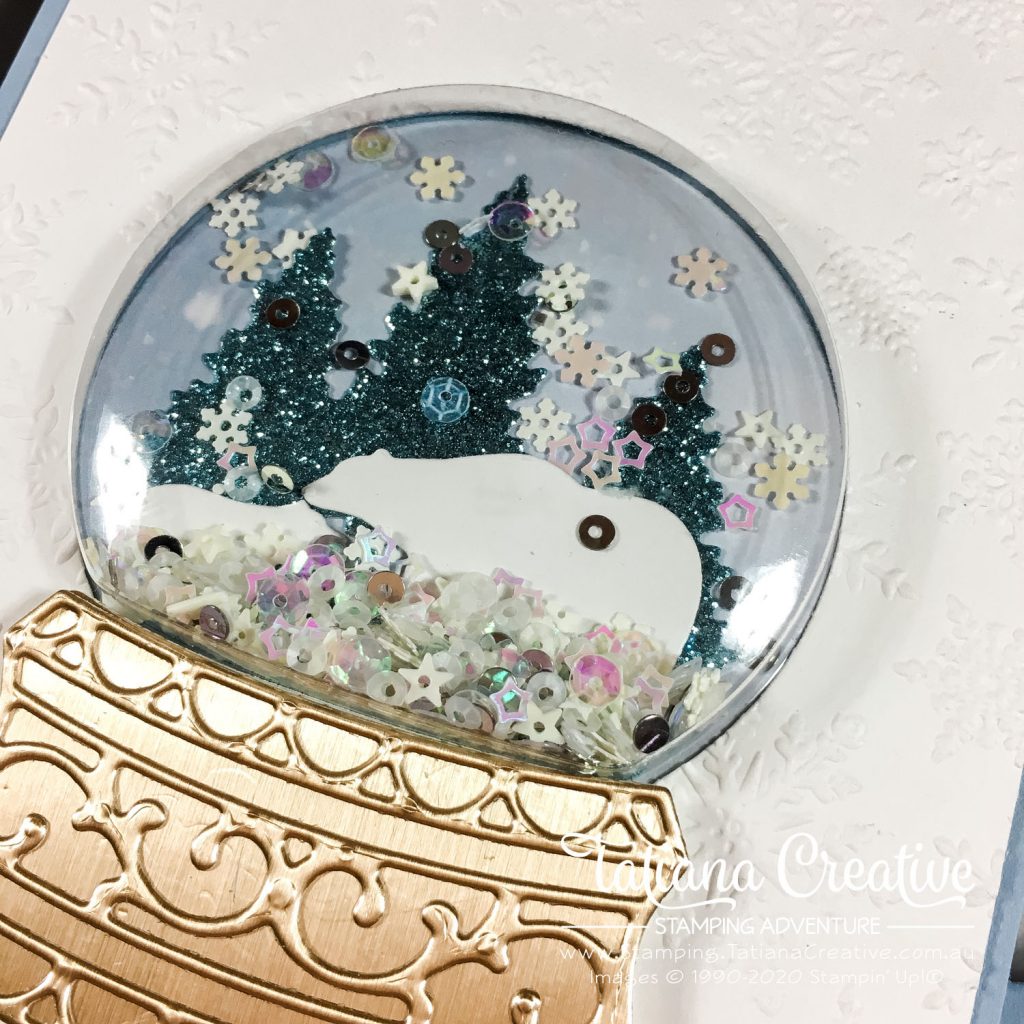
- Front Balmy Blue Glimmer Paper die cut the trees.
- From Whisper White die cut the two chapel pieces and then adhere some scraps of Brushed Metallic card stock from behind to make the windows glow.
- Place the card front onto the card base (without any adhesive) and into the hole adhere the Feels Like Frost die cut piece onto the card base. This creates the background of the snow globe.
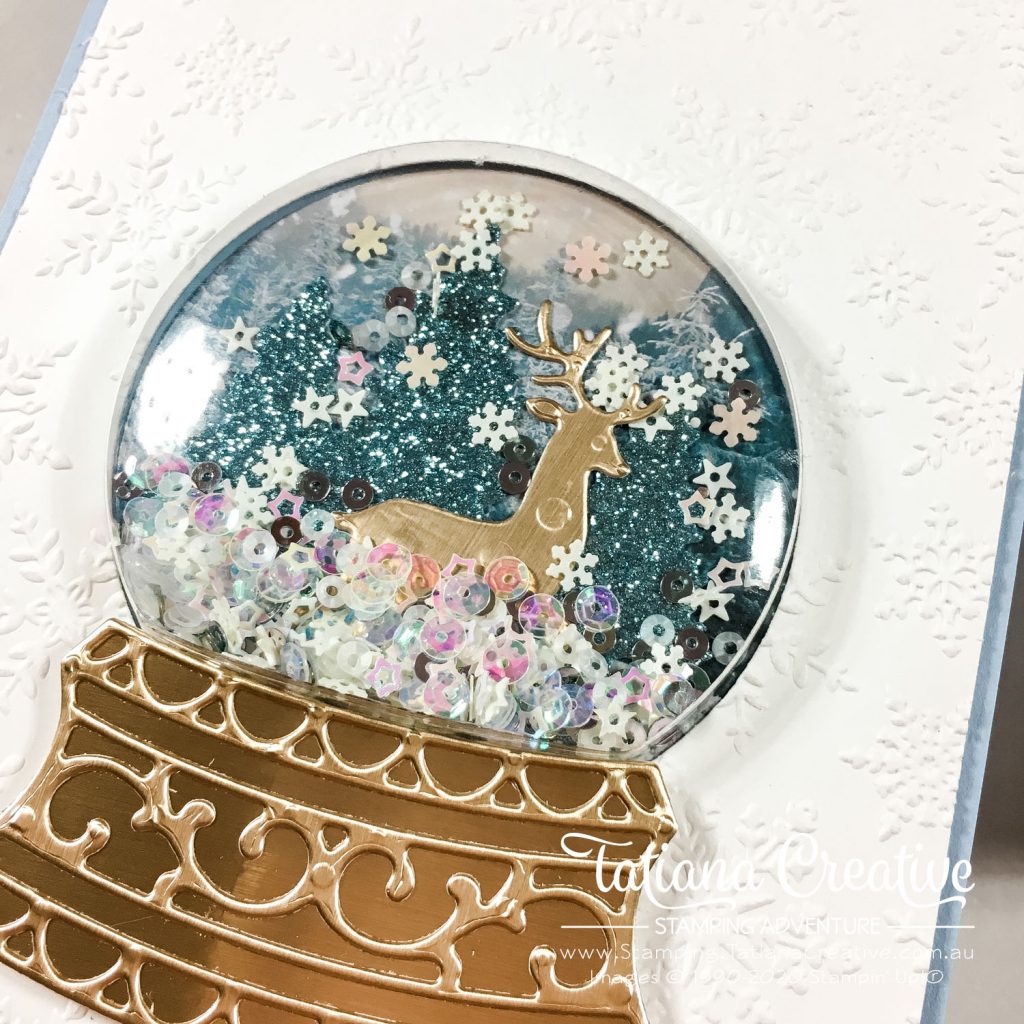
- Now to build the scene inside the snow globe – add the trees and chapel.
- Add some Adhesive-Backed Snowflakes around. These will then stay in place when the shaker card is shaken and gives loose sequins things to catch onto.
- Pile into the middle of the scene some Snowflake Sequins. Be careful not to have them going over the DSP edge.
- Peel the release paper off the top of the Snow Globe Shaker Dome (not the back) and place into the hole of the snowflake embossed card. Add some adhesive to the back of the card front and then peel the back release paper of the back of the Snow Globe Shaker Dome. Alight up the shaker dome with the scene and adhere the card front to the base.
- Finish off the card by adding the prepared snow globe base underneath the dome.
I made four of these cards all with variations and different sheets of DSP from the Feels Like Frost Specialty DSP:
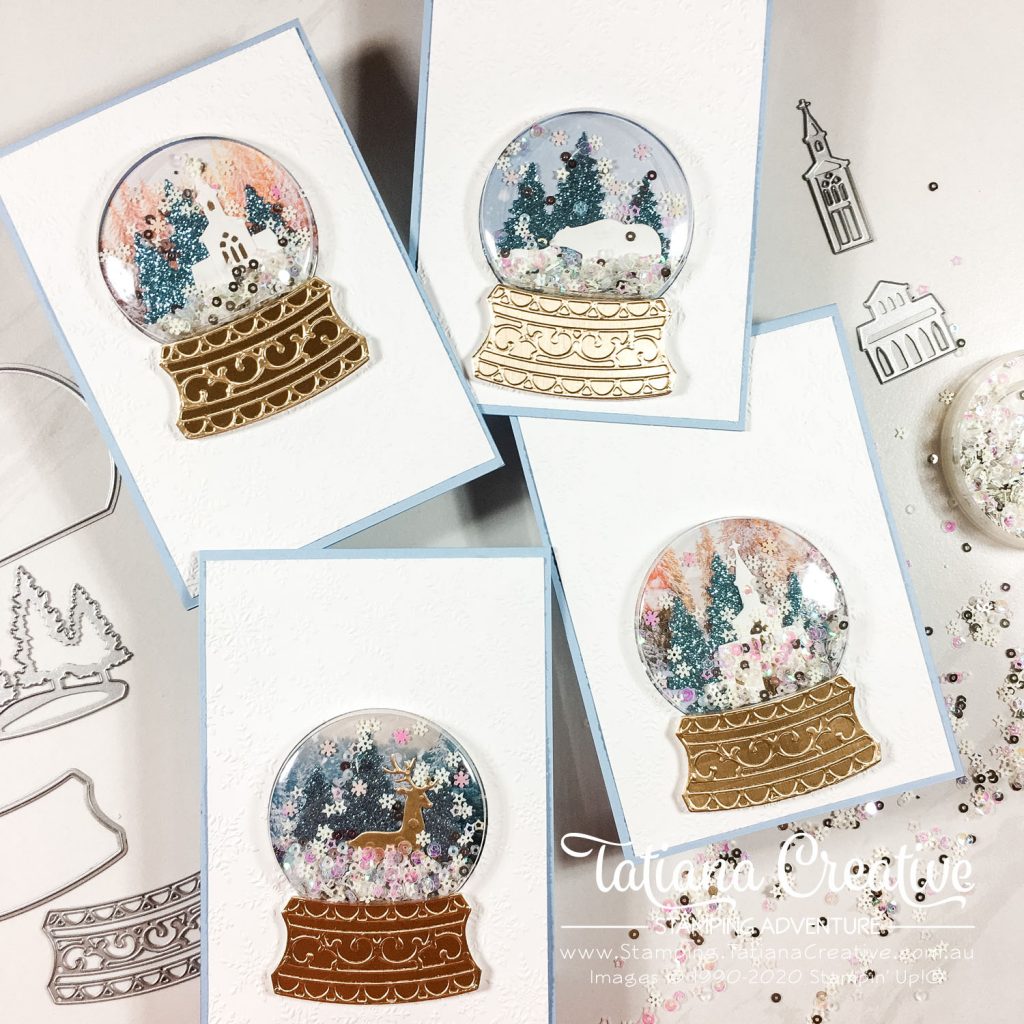
I can’t pick a favourite between the four. Do you have a favourite?
Next on the blog hop is Rochelle who always creates something stunning.

Blog Hop List:
Angela Meiritz-Reid – NZ
Tatiana Tobin – AU <— You are here!
Rochelle Laird-Smith – AU
Cheryll Miller – AU
Satomi Wellard – JP
Melissa Gifford – AU
Danielle Kassing – NL
Aurélie Fabre – FR
Mikaela Titheridge – UK
Annette Ball – CA
Angie McKenzie – US
Mary Deatherage – US
Shel Anderson – CA
Chris Smith – US
Anne Marie Hile – US
Brenda Nelson – CA
Tricia Butts – US
Elaine de Montmorency – CA
Sharon Hashimoto Burkert – US
Teri West – US
Cheryl Hamilton – US
Thank you so much for visiting my blog! I hope today’s project has inspired you to get creative and try something new.
Until next time,
Tatiana
- Join Stampin’ Up!® to start getting your products at 20% discount: CLICK HERE
- Request a Catalogue to see what products you can purchase: CLICK HERE
- Subscribe to my newsletter to keep up to date with the latest news: CLICK HERE
- Follow me on Facebook for regular updates and inspiration: CLICK HERE
- Go SHOPPING for clearance items and specials: CLICK HERE
If you’re in Australia, you can shop Stampin’ Up!® products through my online store. I’d love to be your demonstrator and help you find the perfect supplies for your next creative project!
Supplies:
You can purchase the of the supplies I used in this project. Please click on the image below to purchase. Thank you for your support.


 Designer Series Paper")


Amazing cards Tatiana. They are so fun filled and yet elegant and timeless, all at the same time! xxx
Thank you Cheryll!
Love it your projects!
Thank you Brenda!
Pingback: Stampin’ Up! Handsomely Suited Sneak Peek for the Around the World Blog Hop | Stamps – n - Lingers
Gosh these cards are beautiful Tatiana, I love the dsp behind the images, it gives a real depth to the domes.
Thank you Melissa!!!!
Beautiful cards! Great idea to use the DSP as the background. Love all the details on your card.
Thank you very much Sharon!
I love your snow globe cards!
Thank you very much Teri!
Such a lovely idea for a wedding card! Love all the scenes that you created with all the different bases… they are all wonderful. Thanks for the inspiration.
Thank you Angie!!!
Gorgeous! Love the DSP and the sparkly paper!
Thank you Cheryl! Paper isn’t sparkly it’s the cello bag that makes it look sparkly.