Hello everyone!
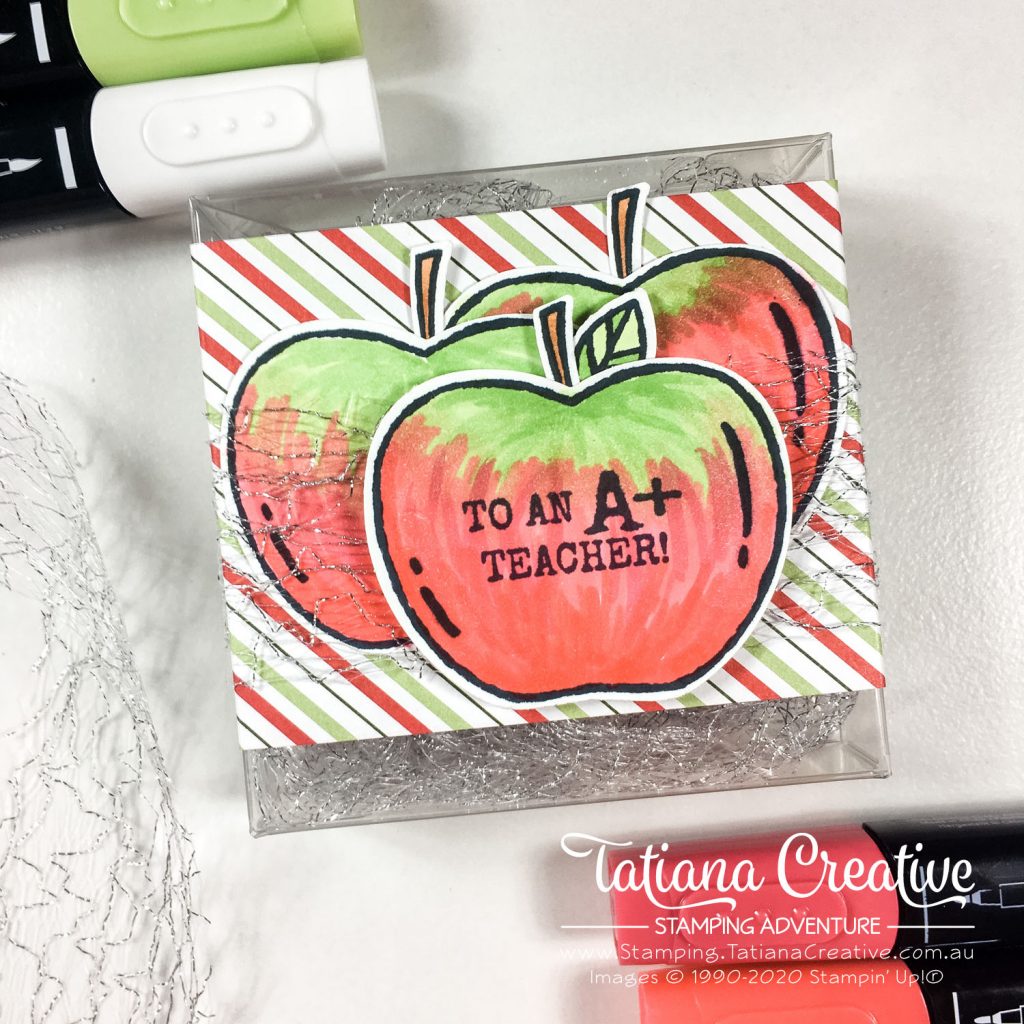
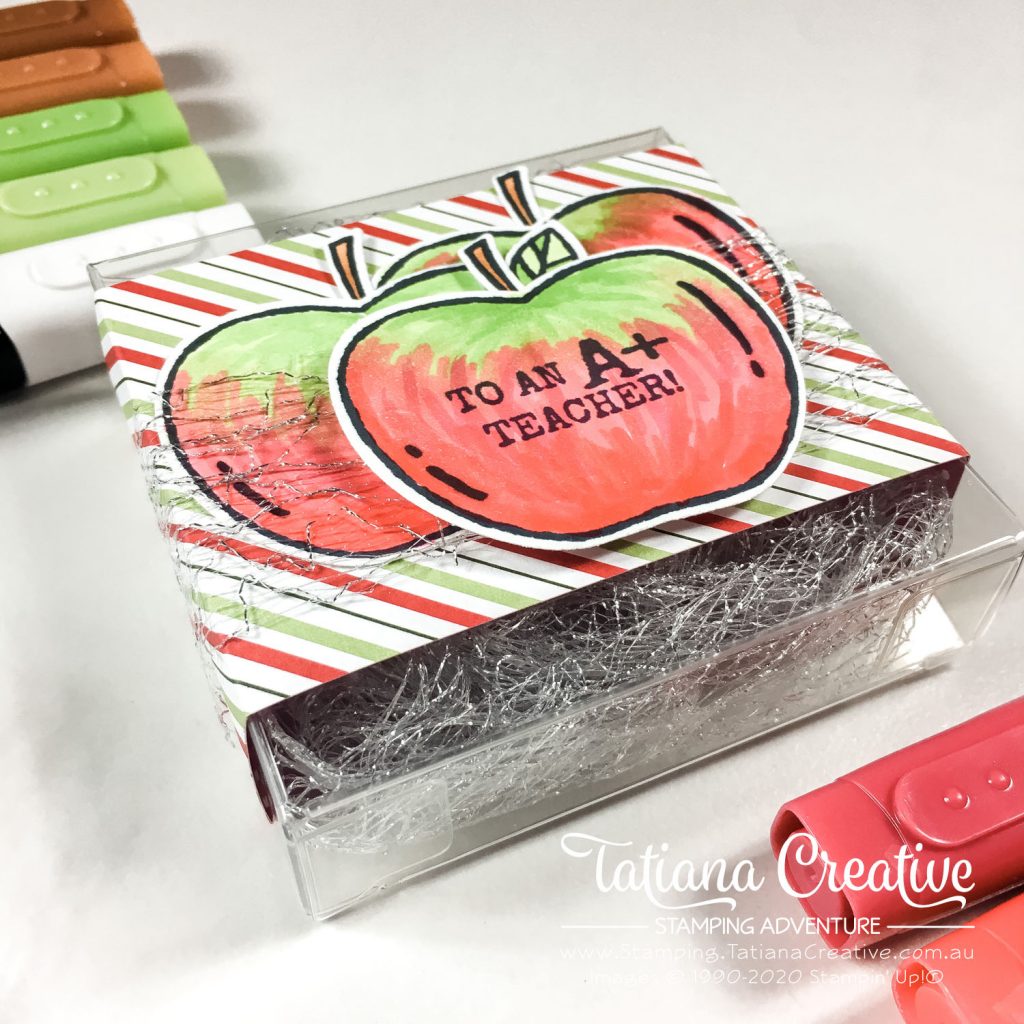
Welcome to my blog! Today I’m blog hopping with the 3rd Thursday team. This month’s theme of “School Days” came in perfect timing for me. For us in Australia our kids are close to finishing up Term 3 of the school year. I normally wouldn’t be thinking of teacher’s gifts yet. Unfortunately my son’s teacher has decided to retire earlier this term. As a class we organised a gift for him, I had parents send me video messages from their kids which I complied. It’s on a usb and I decorated a 3-1/8″ square Acetate Card Box to place the usb inside.
[Want to recreate this project? You’ll find all the supplies I used at the end of this post, conveniently linked to my Stampin’ Up! online store. I’d love to be your demonstrator and appreciate your support—it means the world to me on this creative journey!]
Project Details:
- Box: 3-1/8″ square Acetate Card Box
- Belly Band: Heartwarming Hugs DSP 8-3/4″ x 2-1/2″ scored at 2-1/2″, 3-3/8″, 6-1/2″ and 7-3/8″
- Stamp three apples and stalks and a leaf. Colour using your favourite colouring medium. I used Stampin’ Blends in Granny Apple Green, Poppy Parade and Cherry Cobbler (light only). For the stalk I used Cinnamon Cider Stampin’ Blends. Punch out using coordinating Apple Builder Punch. I have a short video below showing you how I coloured the apple in.
- TIP: If you punch out from a scrap piece of card stock and keep that in your stamp case you will have a template for stamp mounting. Simply line up the apple (or pumpkin), stalk and leaf into the holes with stamp facing down then press your clear block on top to mount. You now can stamp and then perfectly punch all the elements in one go!
- Assemble by wrapping the belly band around the acetate box using some Tear & Tape on the ends to close the loop. I placed this on the bottom of the box.
- Add two apples on top of the DSP then wrap a 9″ length of the Metallic Mesh Ribbon around. I made the seam be on the front and used Tear & Tape to secure.
- Add third apple with the sentiment on top covering the seam. I used Stampin’ Dimensionals for some depth.
- To fill the box I’ve added some Metallic Mesh Ribbon.
I took a quick video of how I coloured the apples in. I googled “apple” and found a picture as a refernce.
I love colouring with Stampin’ Blends markers but often forget that we can blend other colours together not just the light and darks for the same combo pack.
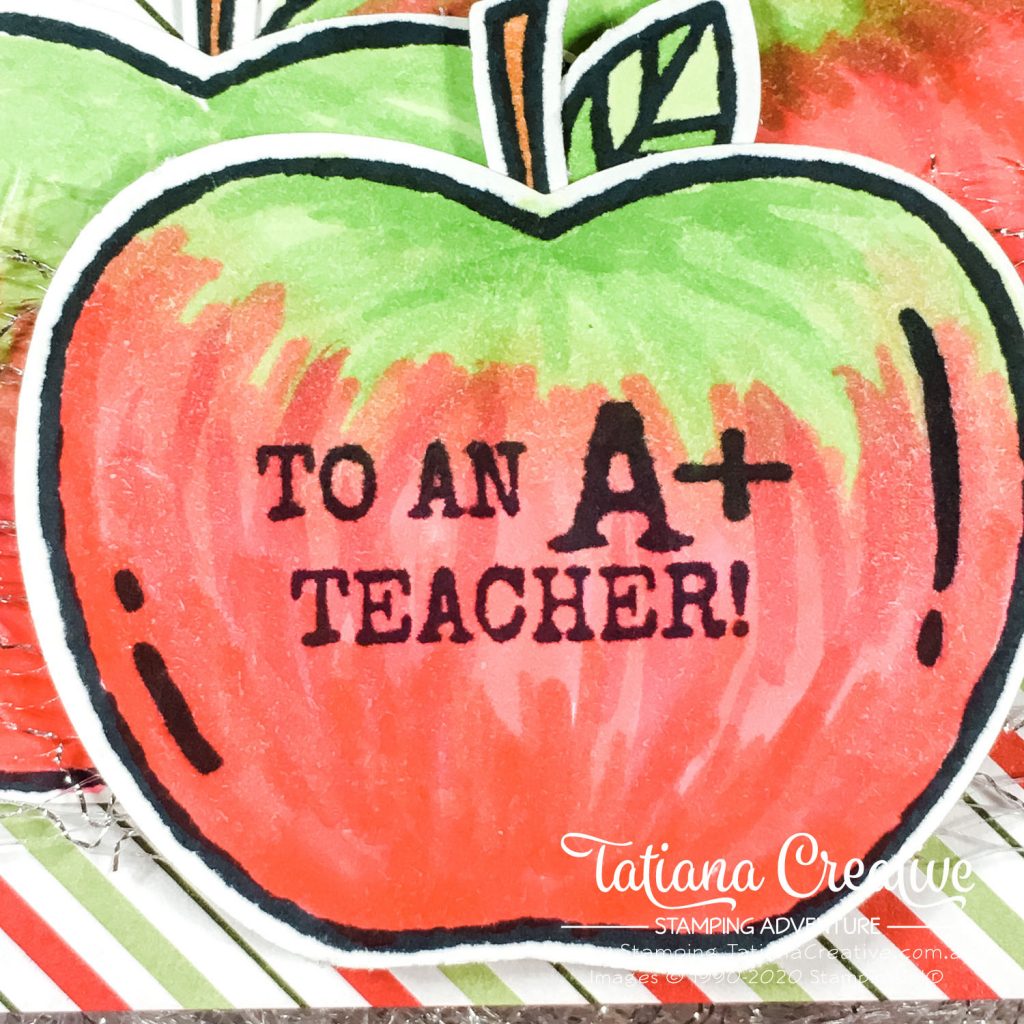
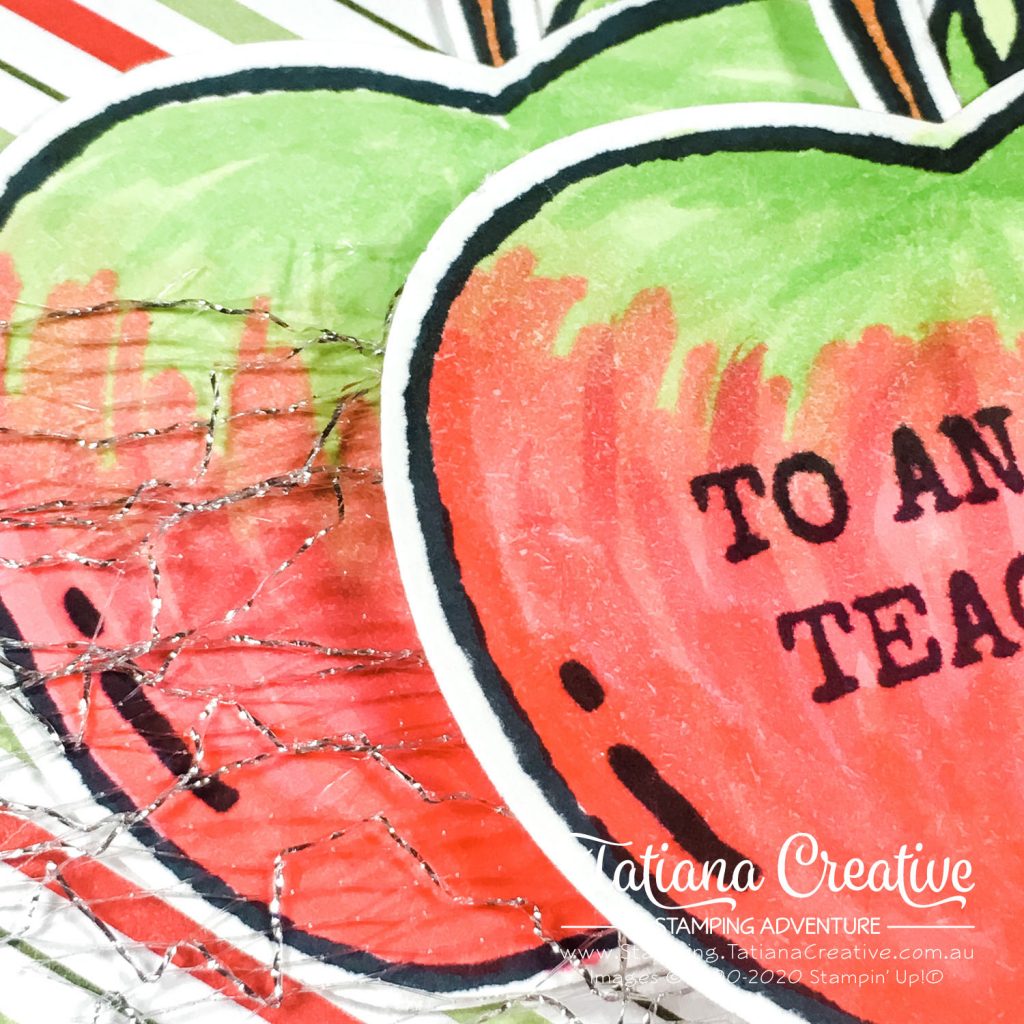
I really love how the Metallic Mesh Ribbon looks wrapped over the top of the behind apples.
Please now hop on over to Kimberley to see what School Days inspired project she has for us!
Full Blog List:
Kimberley Morris
Jan Musselman
Susan Webster
Angie McKenzie
Tatiana Tobin <— You are here
Thank you so much for visiting my blog! I hope today’s project has inspired you to get creative and try something new.
Until next time,
Tatiana
- Join Stampin’ Up!® to start getting your products at 20% discount: CLICK HERE
- Request a Catalogue to see what products you can purchase: CLICK HERE
- Subscribe to my newsletter to keep up to date with the latest news: CLICK HERE
- Follow me on Facebook for regular updates and inspiration: CLICK HERE
- Go SHOPPING for clearance items and specials: CLICK HERE
If you’re in Australia, you can shop Stampin’ Up!® products through my online store. I’d love to be your demonstrator and help you find the perfect supplies for your next creative project!
Supplies:
You can purchase the of the supplies I used in this project. Please click on the image below to purchase. Thank you for your support.


I love it – what a great package for that little USB drive of memories! I especially like how you used what seems like holiday colors (on the Heartwarming Hugs Designer Series Paper), for your apples. Very clever! Thanks for sharing this sweet project
Thanks Kimberley! I actually picked the colours based on the apples! Good thing that there was DSP that coordinated!
What a wonderful retirement gift for a teacher… sweet memories on a USB. Love the idea! Love the way you colored the apples. Thanks for the inspiration.
Thanks Angie! Colouring was my favourite part
Love, love, love it! Apples are beautifully colored and the gift idea is wonderful as well. Thanks for sharing.
Thank you Susan!