


Hello everybody! Welcome to my blog and the final blog hop for the 2019-2020 Kylie’s Demonstrator Training Program!
This year has FLOWN by and I cannot believe it is September already. My name is Tatiana from Australia and I like my fellow blog hoppers today am an Independent Stampin’ Up!® demonstrator. We have been participating in a training program together learning about how to run a Stampin’ Up!® business. The Stampin’ Up!® year runs from 1st October to the 30th September that’s why I’m talking all about end of year. Mind you with the covid pandemic I feel like I could do with a new year a new beginning and I will get one in just over two weeks, yay!
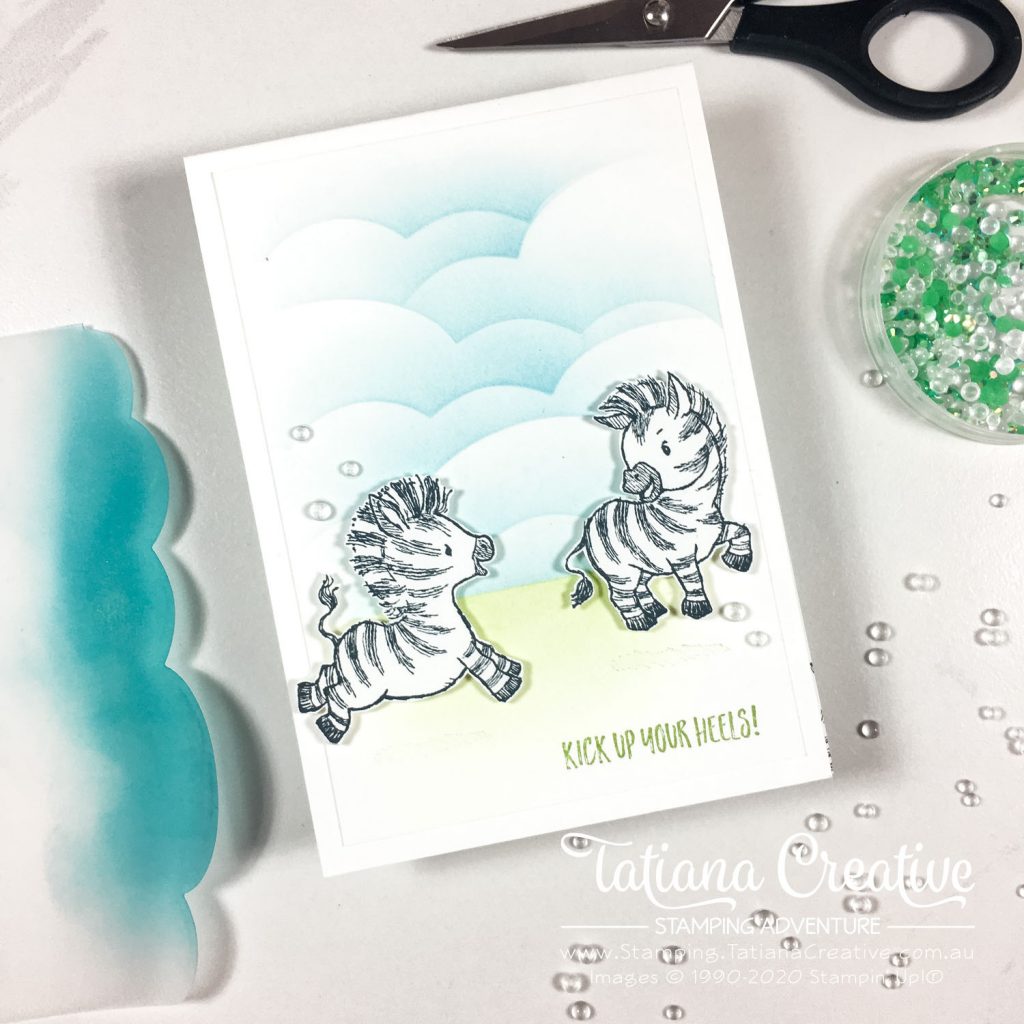
I have learnt so much during this training program, and more importantly to me I have made so many wonderful friendships as a result. I love that we have stamps, ink & paper in common. Today I’m sharing a project that is using my favourite stamp set from the 2020-2021 Annual Catalogue the Zany Zebras:
[Want to recreate this project? You’ll find all the supplies I used at the end of this post, conveniently linked to my Stampin’ Up! online store. I’d love to be your demonstrator and appreciate your support—it means the world to me on this creative journey!]
Card Details:
- Card Base: Whisper White Thick
- Card Front: Whisper White (9.5 x 13.8 cm)
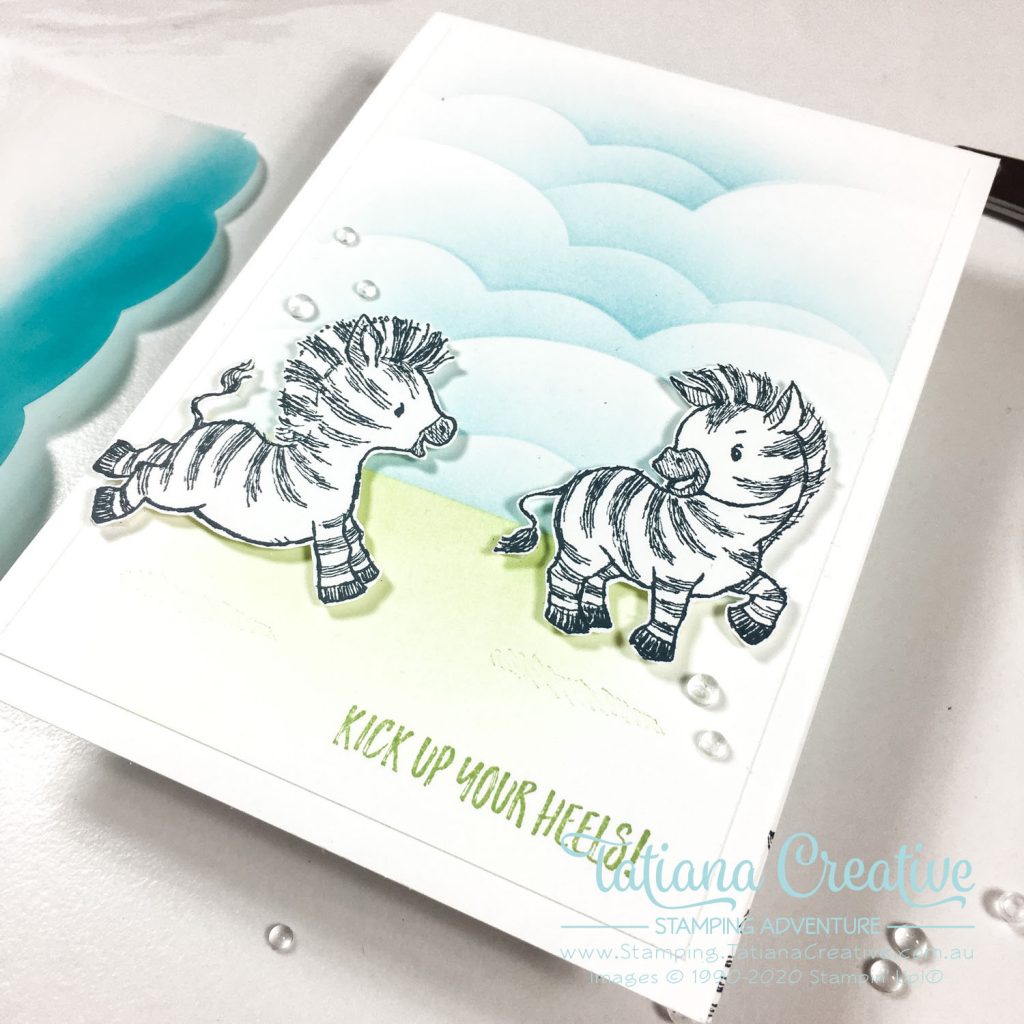
- Mask off the bottom third of the card front and using a Stamping Sponge wedge (I used a make up blending brush) blend out some Granny Apple Green ink. Keeping the ink darker in the middle and closer to the masking. TIP: you can mask using a Post It Note, it has enough tack to stay in place but not too much to lift paper when you remove it.
- Peel off the masking and cover the green. Now blend using Balmy Blue a small area right on the line of the masking. Again keeping it darker in the middle.
- Die cut some clouds from the Happy Dies from Vellum and use this as a template to create clouds on the front. Place the template down and then blend Balmy Blue off it to create the clouds. TIP: start on the horizon line and work your way up the sky.
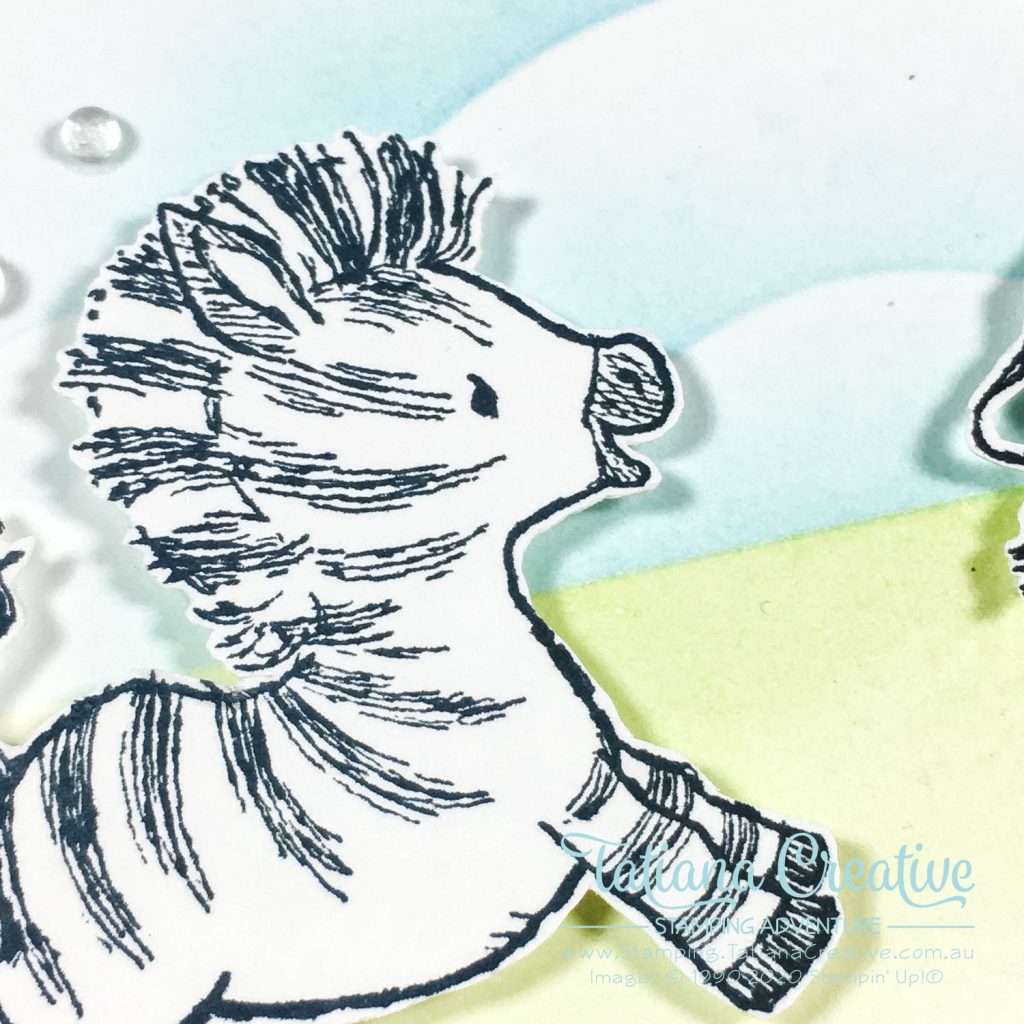
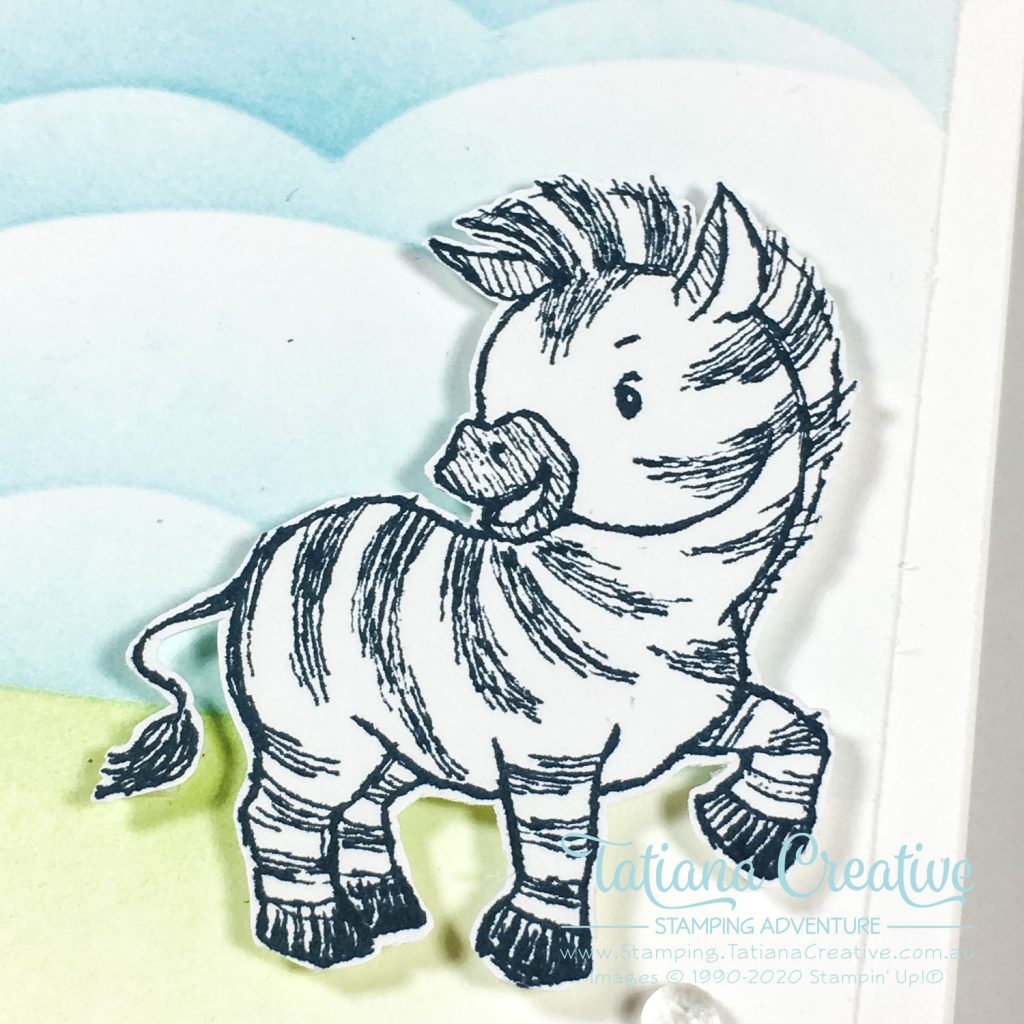
- Stamp zebras in Memento Tuxedo Black ink and fussy cut out using Paper Snips. TIP: start at the hardest part which I think is the tail and make sure you move the card stock not your scissors around the image.
- Adhere card front to card base.
- Adhere zebras using Stampin’ Dimensionals.
- Stamp the sentiment in Granny Apple Green.
- Stamp the shadow in stamped off Granny Apple Green under the Zebras.
- To finish add some of the clear gems from the Flowers For Every Season Gems. Adhere them by adding drops of Multipurpose Liquid Glue and letting it set a little before picking up the gems with Take Your Pick tool and placing them onto the glue.
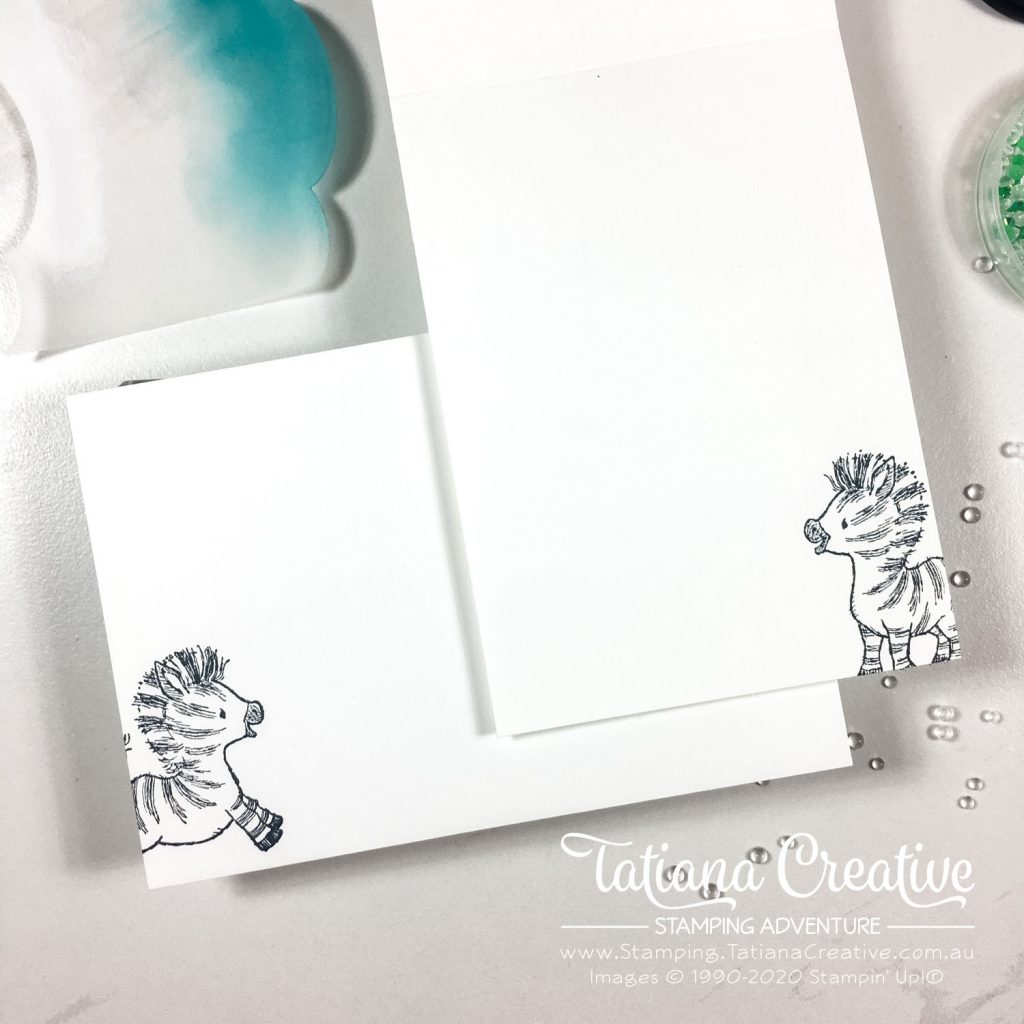
As I like to say, no project is complete till you’ve stamped the inside and the envelope. I kept it simple by stamping a zebra:
Please now hop on over and check out all the other wonderful projects created by my fellow friends. You will find so much inspiration there:
Thank you so much for visiting my blog! I hope today’s project has inspired you to get creative and try something new.
Until next time,
Tatiana
- Join Stampin’ Up!® to start getting your products at 20% discount: CLICK HERE
- Request a Catalogue to see what products you can purchase: CLICK HERE
- Subscribe to my newsletter to keep up to date with the latest news: CLICK HERE
- Follow me on Facebook for regular updates and inspiration: CLICK HERE
- Go SHOPPING for clearance items and specials: CLICK HERE
If you’re in Australia, you can shop Stampin’ Up!® products through my online store. I’d love to be your demonstrator and help you find the perfect supplies for your next creative project!
Supplies:
You can purchase the of the supplies I used in this project. Please click on the image below to purchase. Thank you for your support.

")


Zany Zebras: Your card is so cute thanks for sharing. My next stamp set to play with. Xx
Thanks Teresa! I love the Zany Zebras!!!
So cute. Thanks for sharing.
Thanks Bess Marie!
Such an adorable card!
Thank you Melva!
great description of how you made this!
Thank you!
Love you’re background great card
Thank you Barbara!
Oh, this is so darling! I love the softness of your background. Such a cute card!
Thanks Kylie!!!
Lovely card. I really like the subtle coloring. The Zany Zebras is one of my favorites!
Thank you Theresa!
So cute. !!!!! Thanks for sharing
Thanks Diane
The clouds are so perfect!!! I may get the Happy Dies just for that!
Thanks Cheryl! That’s exactly why I purchased the Happy Dies!
This card is precious!!
Thanks Heather!
Love your card those Zebras are so cute
Thank you Michele! I love the Zany Zebras stamp set. So adorable!
These zebras really make me smile Tatiana!
Awe! Thanks Deb. I love that it makes you smile!
Tatiana, I LOVE your card!
Thank you Bonnie! I had fun creating it
Adorable card! Love those zebras!
Thank you Christy!