
Hello everybody!
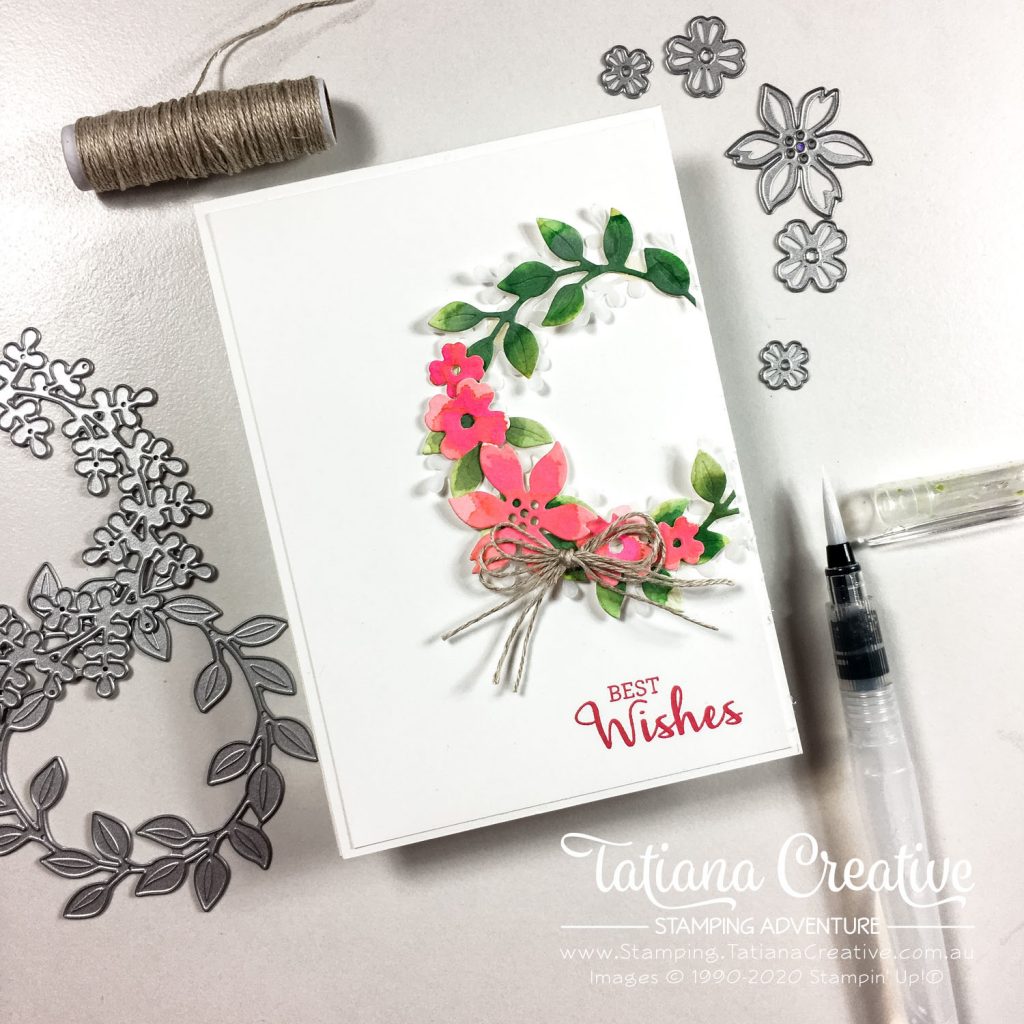
Welcome to my blog. My name is Tatiana and I’m base in Australia. Today I’m blog hopping with the Kylie’s Demonstrator Training Program team. We are all learning so much from our amazing speakers and from each other. I love how we can inspire each other too. Inspiration is a beautiful thing. Today’s hop is all about inspiring you to get creative with Stampin’ Up!® products. I used the GORGEOUS Wreath Builder Dies for my project:
[Want to recreate this project? You’ll find all the supplies I used at the end of this post, conveniently linked to my Stampin’ Up! online store. I’d love to be your demonstrator and appreciate your support—it means the world to me on this creative journey!]
Card Details:
- Card Base: Whisper White Thick
- Card Front: Whisper White (10 x 14.3 cm)
- To create the wreath I took the die and placed it on to a piece of Fluid 100 Watercolor paper and with a pencil roughly drew an outline of the die.
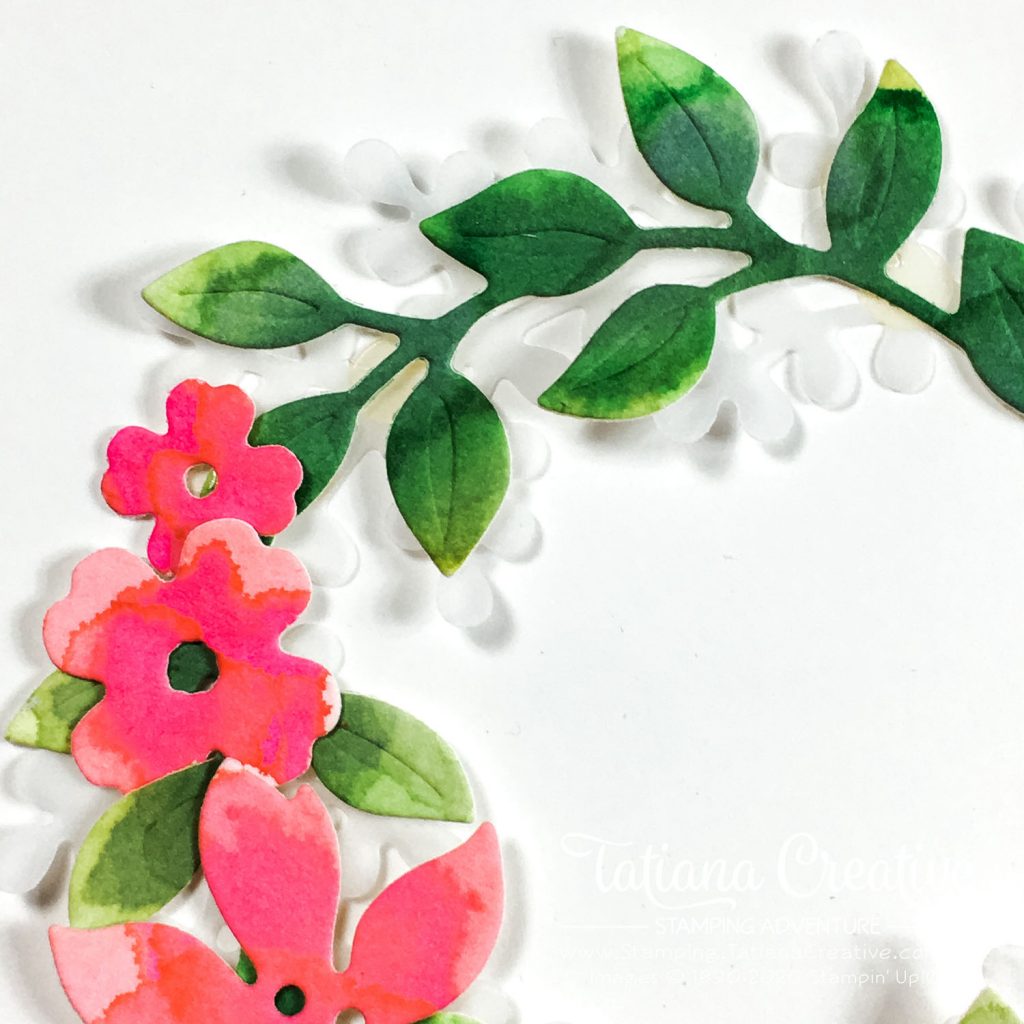
- I then water coloured in the die area using Soft Sea Foam, Pear Pizzaz, and Shaded Spruce. I heat set each layer of colour using my Heat Tool.
- I did the same process with the flowers using Flirty Flamingo and Mango Melody.
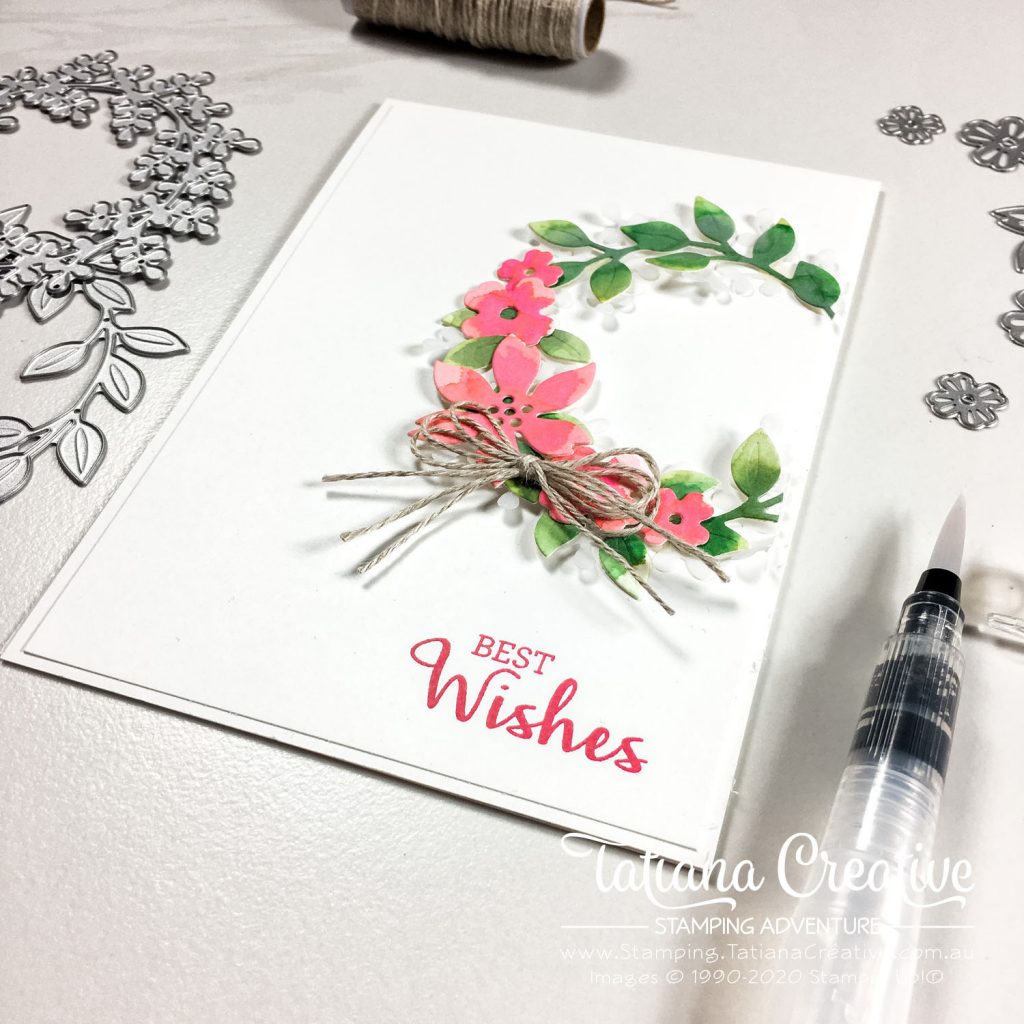
- To assemble the card, I die cut the other wreath from Vellum and adhered it to the card front using Mini Glue Dots. I had it coming off the edge slightly. Add green wreath on top. Trim off the off hanging parts using Paper Snips. TIP: turn the card stock to the back when trimming, you then can clearly see the edge.
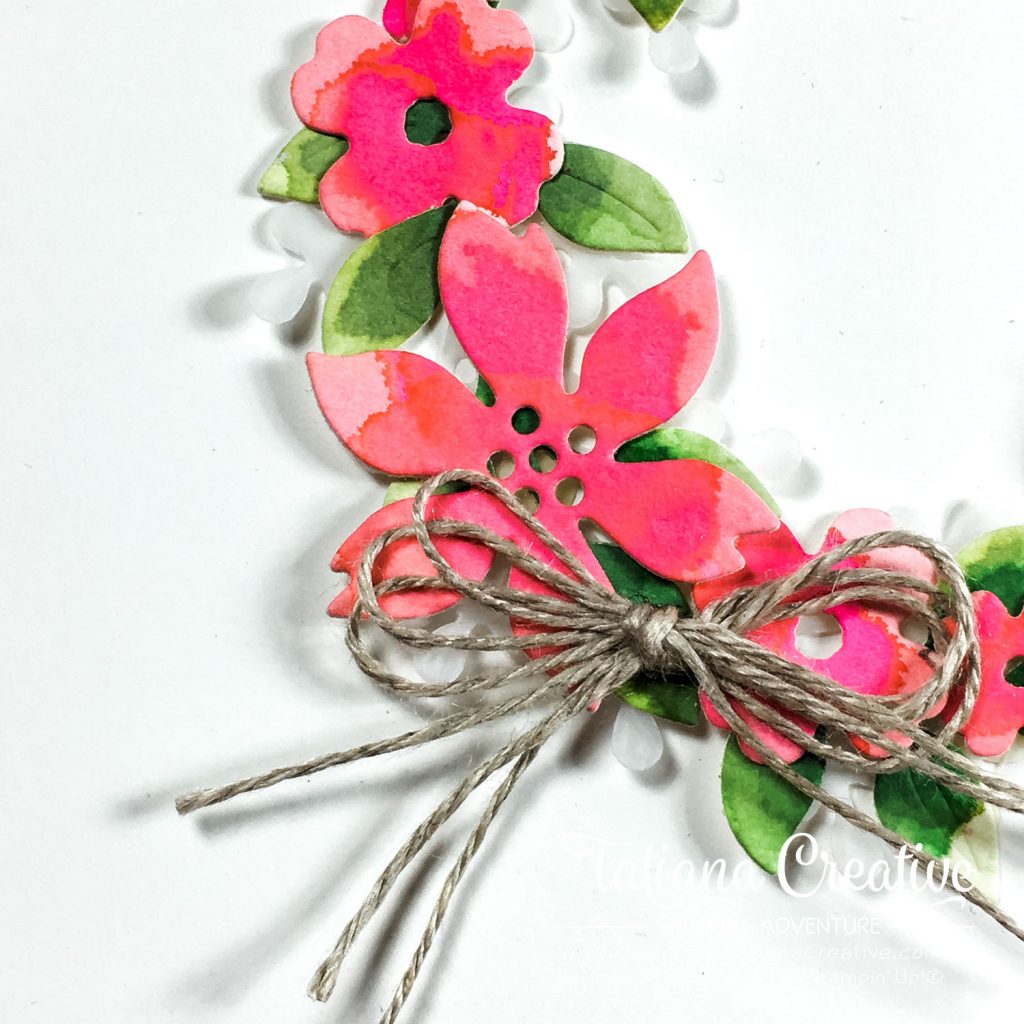
- Add the flowers and a bow.
- To create the triple bow, take three lengths of the Linen Thread and then tie together as a bow as if you had one length. Add to card using a Mini Glue dot.
- I finished the card with a sentiment stamped in Melon Mambo from the coordinating stamp set Arrange A Wreath.
You can watch this short video to see how I created the card:
I like to say that no card is complete without decorating the inside and the envelope:
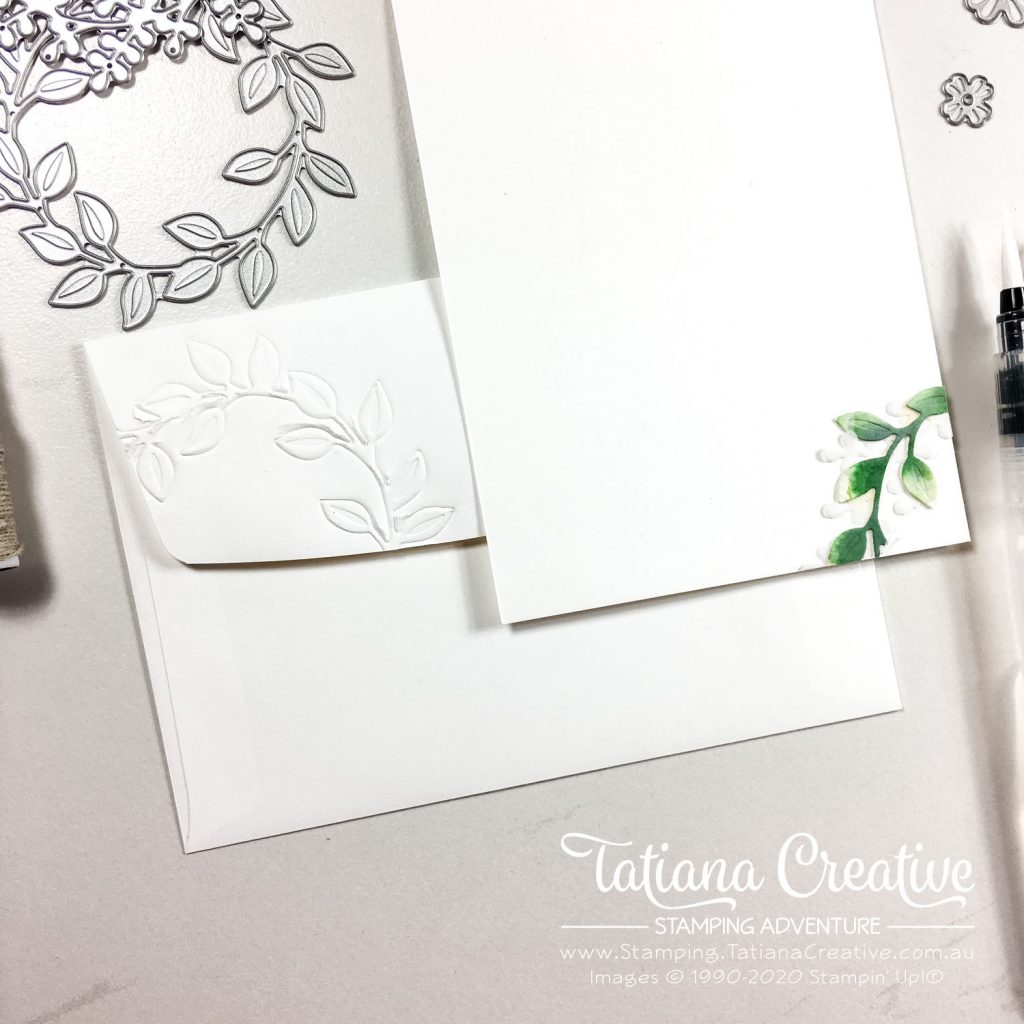
For the inside of the card I added the snipped off wreath from the card front (I didn’t want to throw it out). For the envelope I used the die to emboss on the envelope flap. We had embossing mats a few years back and I still have mine. I’m excited that with the new Stampin’ Emboss and Die Machine that you can purchase an embossing mat.
Please now hop on over and check out all the beautiful inspirations from my fellow demonstrators:
Thank you so much for visiting my blog! I hope today’s project has inspired you to get creative and try something new.
Until next time,
Tatiana
- Join Stampin’ Up!® to start getting your products at 20% discount: CLICK HERE
- Request a Catalogue to see what products you can purchase: CLICK HERE
- Subscribe to my newsletter to keep up to date with the latest news: CLICK HERE
- Follow me on Facebook for regular updates and inspiration: CLICK HERE
- Go SHOPPING for clearance items and specials: CLICK HERE
If you’re in Australia, you can shop Stampin’ Up!® products through my online store. I’d love to be your demonstrator and help you find the perfect supplies for your next creative project!
Supplies:
You can purchase the of the supplies I used in this project. Please click on the image below to purchase. Thank you for your support.


This is a “WOW” card! Beautiful!
Awe! Thank you Theresa!
This card is beautiful. I particularly love the embossed envelop flap. You have inspired me! Thank you
Thank you Jill. I love embossing envelopes. So much fun and pretty.
Definitely a gorgeous card!! love everything about your card!! thanks for sharing
Thank you Alejandra!!
Love your cards thanks for sharing will have to get these Dies. Xxx
My pleasure Teresa! They’re fantastic dies! I highly recommend!
I love this card. Gorgeous
Thank you Helen!
Oh, wow Tatiana! This card and envelope are stunning. Thank you for taking part in our Demonstrator Training Blog Hop this month.
Thanks Kylie!
Beautiful card Tatiana.
Thank you Kylie!
Sensational card Tatiana! I really love it’s clean simplicity!
Thank you Deb!
Beautiful card and I love how you did the water coloring!
Thank you Rhonda! It was a lot of fun!
Such a gorgeous card – I love it!
Thank you Helen!
Beautiful card, I’ll have to add this to my ever growing shopping list
Thank you Fiona! I’m glad to hear that your shopping list is also ever growing! I thought it was just me lol.
This is so pretty Tatiana! Might have to add this set to my wish list!!!
Thank you Nanette. You won’t regret having this bundle!
I love this and just may have to case this
Oh wow! I’d be honoured for you to case my card! Happy Creating!
Such a pretty card, Tatiana. You always do such beautiful work. Thanks for sharing
Thank you Libby! It’s my pleasure!
Gorgeous card Tatiana, beautiful work – Love it !
Thank you Maheswari!
Stunning work! Thank you for sharing.
Thank you Susan!
This is stunning – gorgeous color combo. So pretty!
Thank you Katie!
Beautiful card, Tatiana.
Thank you Bonnie!
This is so pretty Tania! Love everything about it