


Hello everybody! Welcome to my blog!
Today I’m blog hopping along with wonderful demonstrators from Kylie’s Demonstrator Training Group. Together we learn about running a Stampin’ Up!® business and much, much more!
[Want to recreate this project? You’ll find all the supplies I used at the end of this post, conveniently linked to my Stampin’ Up! online store. I’d love to be your demonstrator and appreciate your support—it means the world to me on this creative journey!]
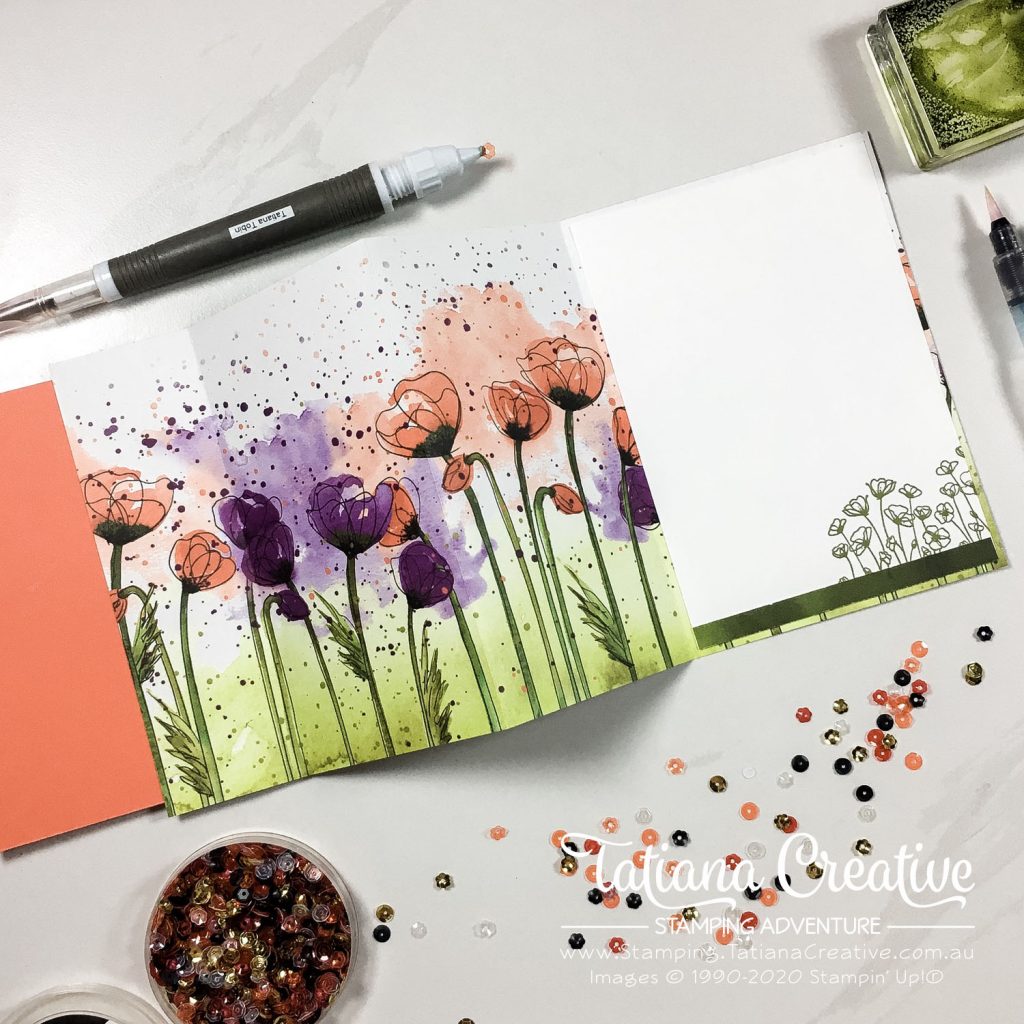
This card has a special fun fold to it. (See picture below). I call this card fold the Pam fold because fellow demonstrator Pam Jorgensen shared it with the demonstrator community. What’s fantastic about this fold is that it uses the DSP as the card base!!! I thought this fold would be perfect to show off this amazing Painted Poppies DSP.
Card Details:
- Card Base: Painted Poppies DSP (12″ x 14.8cm – scored 1 3/4″ from left and 10.5 cm from right. I then fold over to get the middle fold, more details below).
- Card Front: Calypso Coral (9.5 x 13.8 cm and 9 x 13.3 cm)
- Card Insert: Whisper White (10 x 14.3 cm)
- Sentiment Label: Whisper White die cut using the bigger label die from the Painted Labels Dies.
- To create the card base, score as described above and then fold along the two score lines so that the edges fold towards each other. Then take the folded edges and fold them backwards and align them. This creates four panels to your card base. The back panel will measure 10.5 cm x 14.8 cm just as a regular card base. The front will be a narrow flap to the left hand side and will measure 1 3/4″ x 14.8 cm.
- Add the card insert to the last panel.
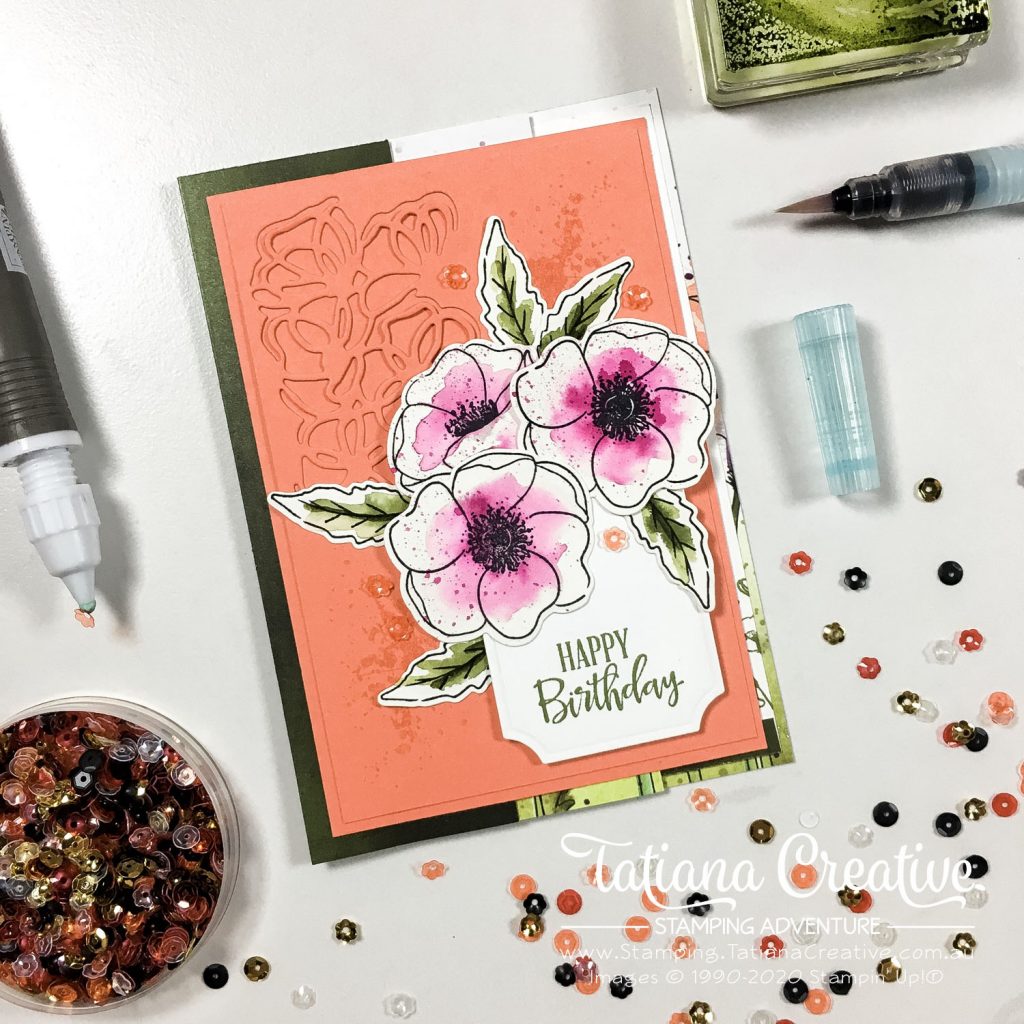
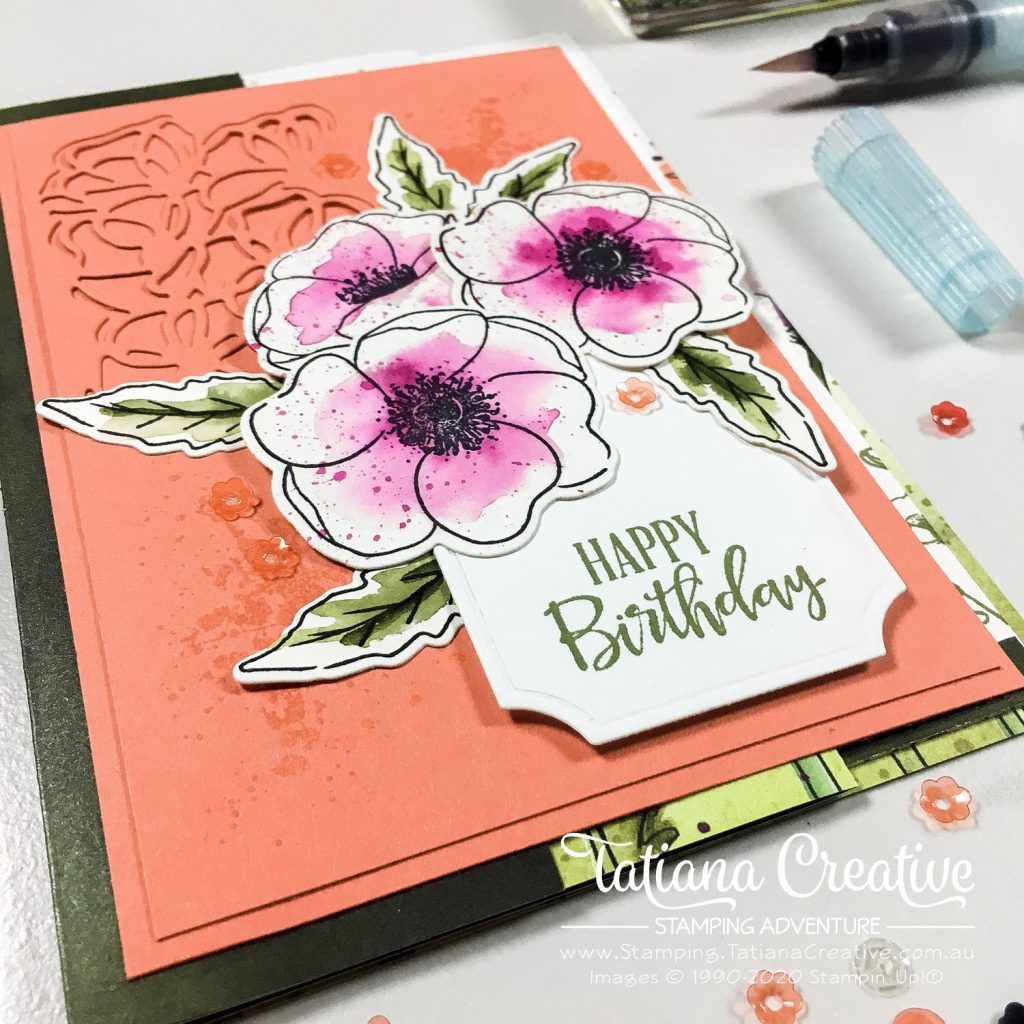
- Die cut the floral cutout from the Poppy Moments Dies from the top left hand corner of the smaller Calypso Coral card front piece. Stamp some ink splats on in stamped off Calypso Coral ink. Then adhere the two layers together. Adhere to the strip of DSP at the front of the fold to create the card front.
- Stamp your sentiment onto the sentiment label in Old Olive Ink. I used the “Happy Birthday” from the Peaceful Moments stamp set. Adhere to card front using Stampin’ Dimensionals.
- Stamp flowers and leaves in Jet Black Stazon Ink onto Shimmery White card stock. Die cut out with coordinating dies. Using an Aqua Painter, add water to the middle of the flowers (and leaves) and then add watered down ink to the wet areas. I used Rich Razzleberry for the flowers and Old Olive for the leaves. Allow to dry. Once dry splatter ink onto the flowers.
- Arrange flowers to the card front.
- Complete the card by adding some Peacefull Poppies Sequins. I selected the flower shaped ones in light Poppy Parade colour.

I really love the ink splatter on the flowers.
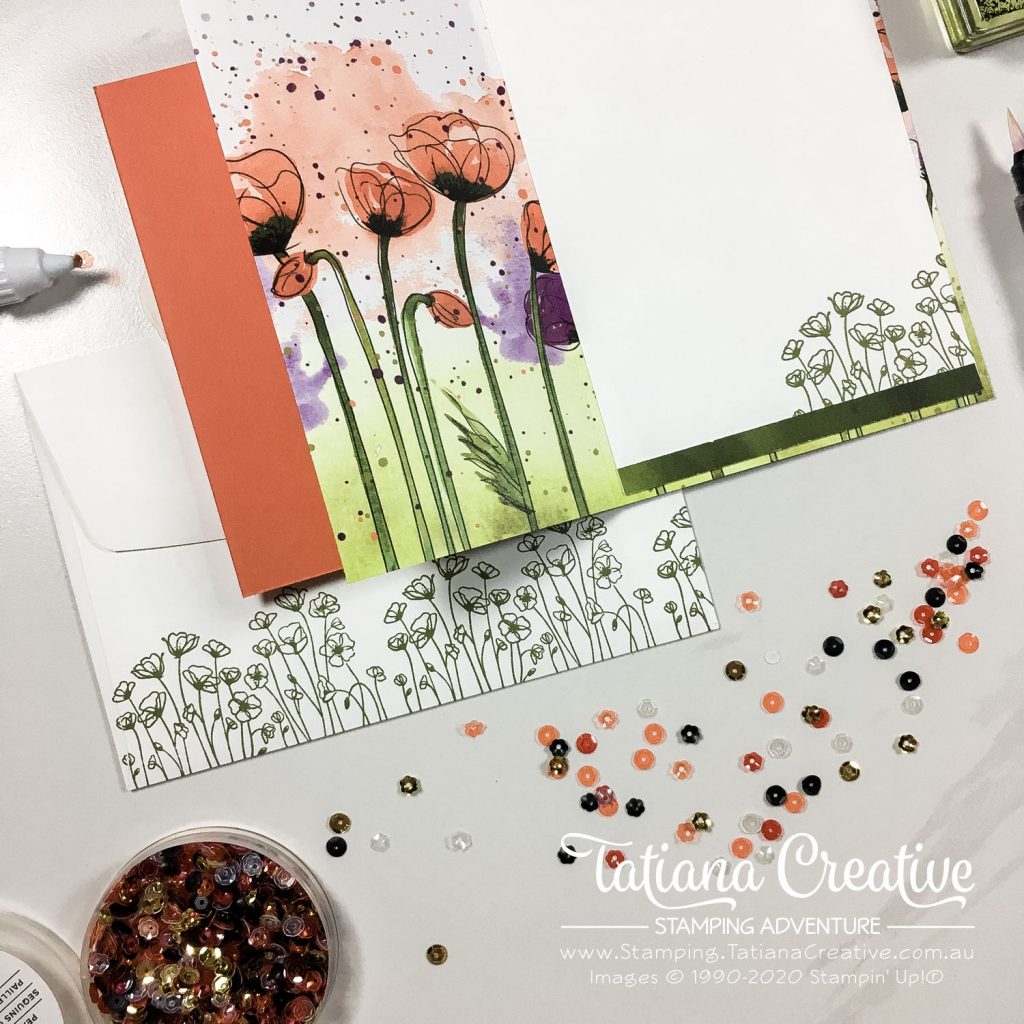
Card is only complete when you stamp the inside and the envelope! I used the poppy filed image from Peaceful Poppies stamp set. I stamped it in Old Olive on the back of the envelope and on the bottom right corner of the card insert. I added a strip of DSP too to the card insert because I had the strip left over from the cutting of DSP and didn’t want to waste it. As Kylie would say #LoveItChopIt.
This project combines two bundles from the new Peaceful Poppies Suite. What’s pretty neat is that when you purchase either bundle you will be able to choose a FREE product from the Sale-A-Bration brochure! Purchase both bundles and either get TWO free products or one bigger valued free product!
Please visiting the other blogs listed below. You will find so much inspiration from all of these demonstrators.
Thank you so much for visiting my blog! I hope today’s project has inspired you to get creative and try something new.
Until next time,
Tatiana
- Join Stampin’ Up!® to start getting your products at 20% discount: CLICK HERE
- Request a Catalogue to see what products you can purchase: CLICK HERE
- Subscribe to my newsletter to keep up to date with the latest news: CLICK HERE
- Follow me on Facebook for regular updates and inspiration: CLICK HERE
- Go SHOPPING for clearance items and specials: CLICK HERE
If you’re in Australia, you can shop Stampin’ Up!® products through my online store. I’d love to be your demonstrator and help you find the perfect supplies for your next creative project!
Supplies:
You can purchase the of the supplies I used in this project. Please click on the image below to purchase. Thank you for your support.

")


So pretty …. I absolutely love this DSP!
Thank you Lisa. The dsp is stunning
What a great fun fold card…I must give that a go
Thank you Michele. Such a great fun fold and fabulous for using and showing off DSP.
Great card-what a fun fold-thanks for leaving the instructions!
My pleasure Colleen!
Beautiful card Tania….this is such a great set
Thank you Vicki. Love this suite. It’s so pretty
Lol at Pam Fold! Love your work Tatiana
Thank you Melinda! I love the Pam fold and the name is now sticking
I love your graphics!! Well done
Thank you Judy
Beautiful, I love the splashes of color on the Poppies.
Thank you Mary Jo. I love the splashes too.
A beautiful card and love the fun fold.
Thank you Tracey!
So very pretty! Love those watercolored poppies. I’m excited to try the “Pam Fold’ too.
Thank you Anne Marie! I’m totally obsessed with the Pam fold
Very nice, this is a lovely DSP.
Thank you Cheryl. The DSP is gorgeous.
Lovely card Tatiana.
Thank you Mandy
Amazing Tatiana, just so different.
Awe! Thank you Rosalie!
This is my favourite suite. Gorgeous card.
It’s my favourite suite too! Thank you for your kind comment.
I love the colors you used for your card and can’t wait to try out the fun fold!
Thank you Rhonda! Enjoy trying the Pam fold!
This is a stunning card.
Thank you Krissi!
Wow! Fabulous card. I love this DSP and fancy fold cards!
Thank you Karen! I love that this fancy fold uses DSP for the base. Such a cleaver idea!
Beautiful card, Tatiana! Love this suite! I need to figure out your fun fold and give it a try – so fun!
Thank you Teri! The suite is stunning. It’s a fantastic fold to try!
Love the DSP and the way you do see it in the fun fold. Thanks for sharing his you did it too!
Thank you Ginny! The DSP is gorgeous. I just love it.
Great card Tatiana! I’ll have to use your ‘Pam fold’ in my techniques class. I always try to include a fun fold as part of the class. I’m glad I only #loveitchopit half of my DSP!
Thank you Deb! It’s a great fold for a technique class. Pam is a cleaver lady to have come up with it! Now because of this fun fold I won’t cut my DSP smaller than in half.
Wow! So pretty! Love your card!
Thank you Heather.
Very pretty! Loving the Painted Poppies stamp set!
Love fun fold cards. This is one I have never seen and need to give it a try.
I love fun folds too Chris! It’s a great fold easy fold with wow factor! Happy creating.
Love it. I am going to have to give this a try
Wow wow wow!
I love your card.
Thank you Bonnie! Happy creating!