Hello everybody!
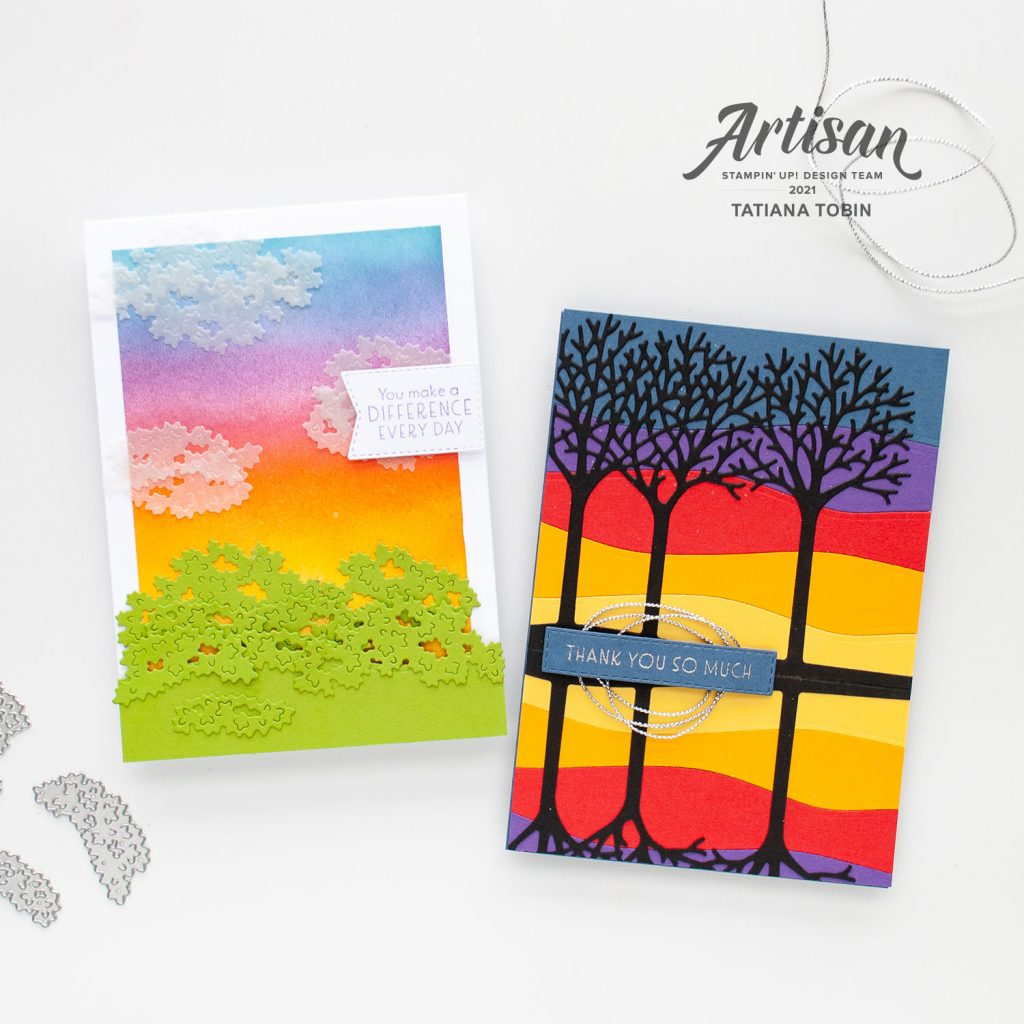
Welcome to my blog! I’m feeling a bit emotional about this one as it is the las Artisan Showcase for 2021. It has been an amazing experience and I’m feeling so blessed and grateful to have had this opportunity. I do have one more tip to share as part of my Artisan duties but this post is the last of the showcases. For this one I was assigned the Inspired Thoughts Bundle. I would have to say the dies are the the showstopper of this bundle, but I also love the sentiments – there’s such a great variety for all occasions. I came up with a set of cards which are inspired by nature – a sun rise and then a sun set. I felt it was fitting:
[Want to recreate this project? You’ll find all the supplies I used at the end of this post, conveniently linked to my Stampin’ Up! online store. I’d love to be your demonstrator and appreciate your support—it means the world to me on this creative journey!]
Sunrise Card Details:
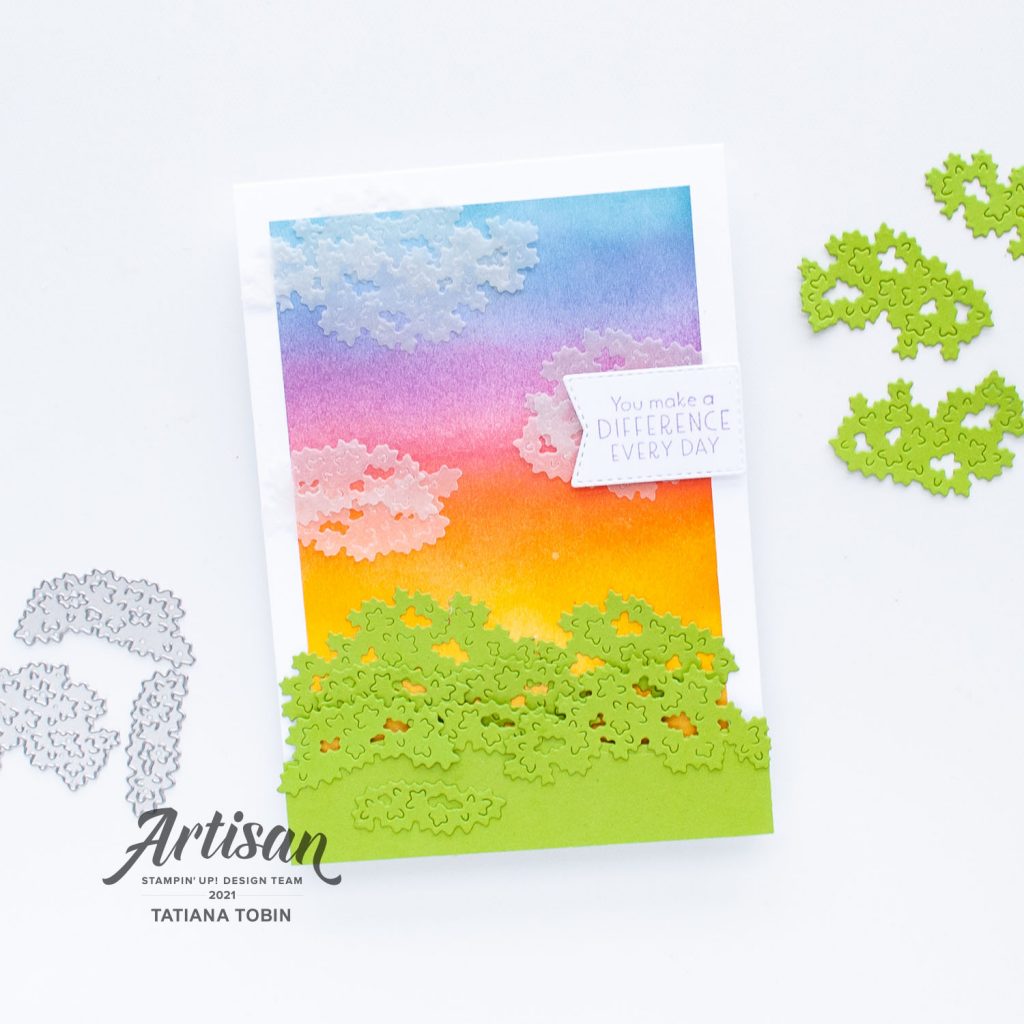
- Card Base: Basic White Thick (portrait)
- Card Front: Basic White (9 x 13.55cm but start with a larger piece)
- Sentiment Label: Basic White die cut with Tasteful Labels Dies
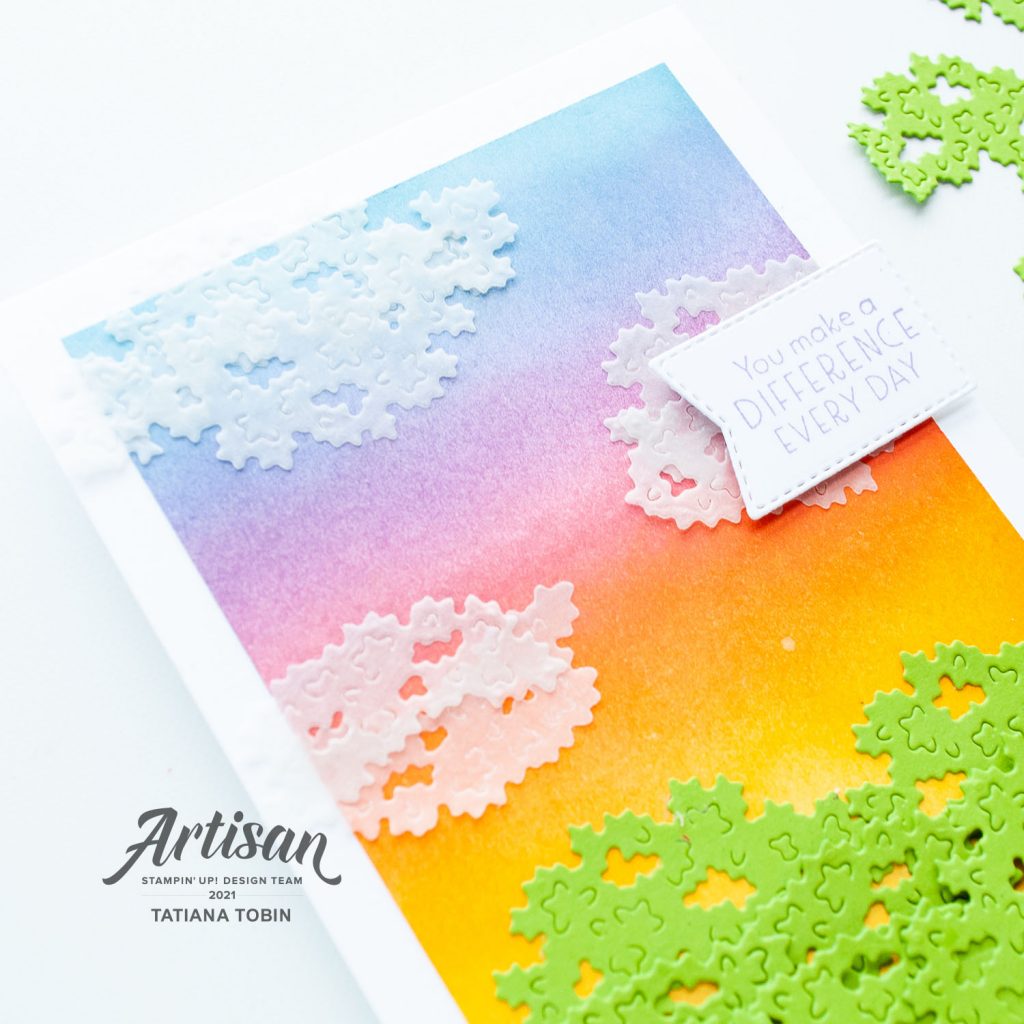
- Take you Basic White card front and using a Blending Brush create the sunrise background. Working from the top down use: Balmy Blue, Highland Heather, Flirty Flamingo, Mango Melody and So Saffron. Once happy trim the piece down to size – this removed any dark colours from the edges.
- Die cut from Granny Apple Green a hill landscape and a whole bund of the tree leaves. Here I’m using them as bushes. Adhere the hill to the bottom of the card using Stampin’ Dimensionals. Then add the bushes both with Stampin’ Dimensionals and some without onto the card base.
- Add some Adhesive Sheets to some Vellum and die cut some more leaves. Cut these in pairs and then adhere them to the card overlapping and rotated in pairs to form clouds. TIP: By using the Adhesive Sheets you won’t see the glue behind the vellum.
- Stamp the sentiment in Highland Heather and die cut out. Add over one set of the clouds using Stampin’ Dimensionals
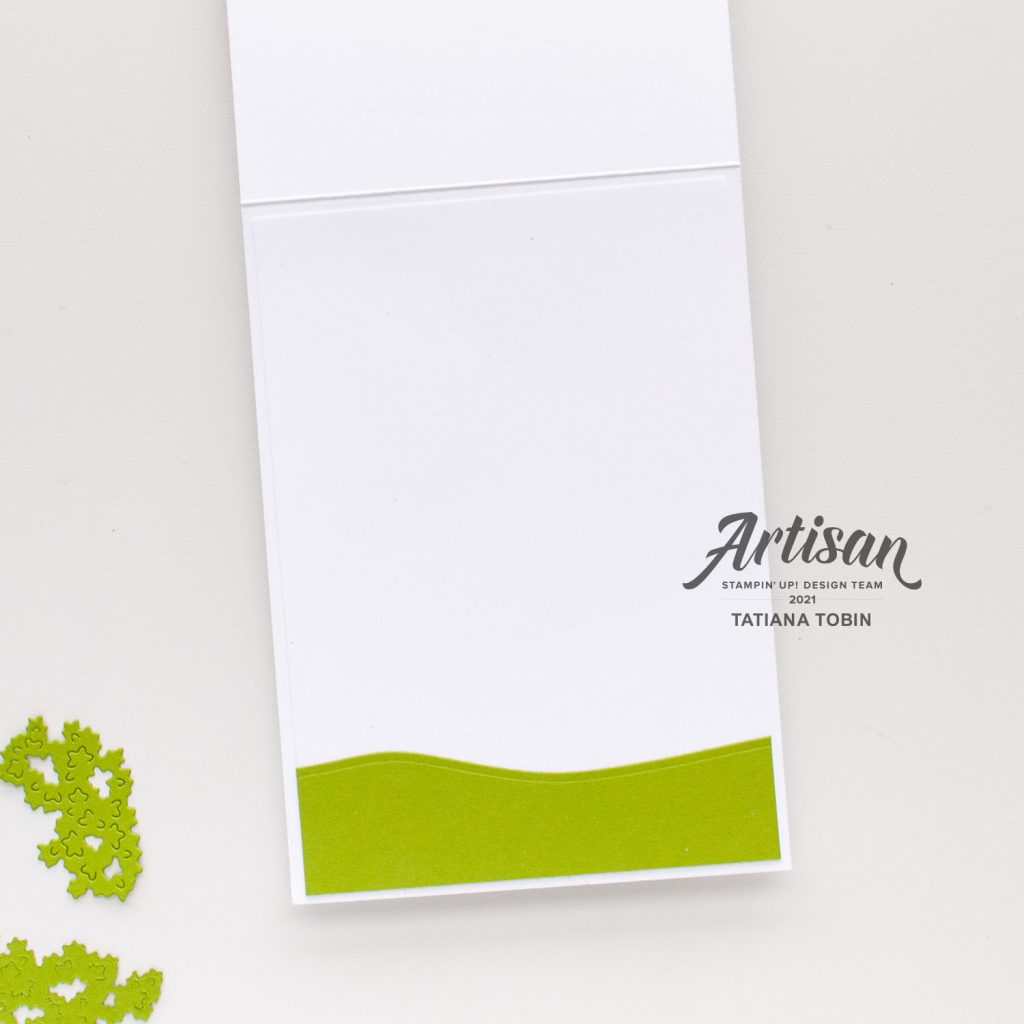
For the inside of this card, I added a green hill.
Sunset Card Details:
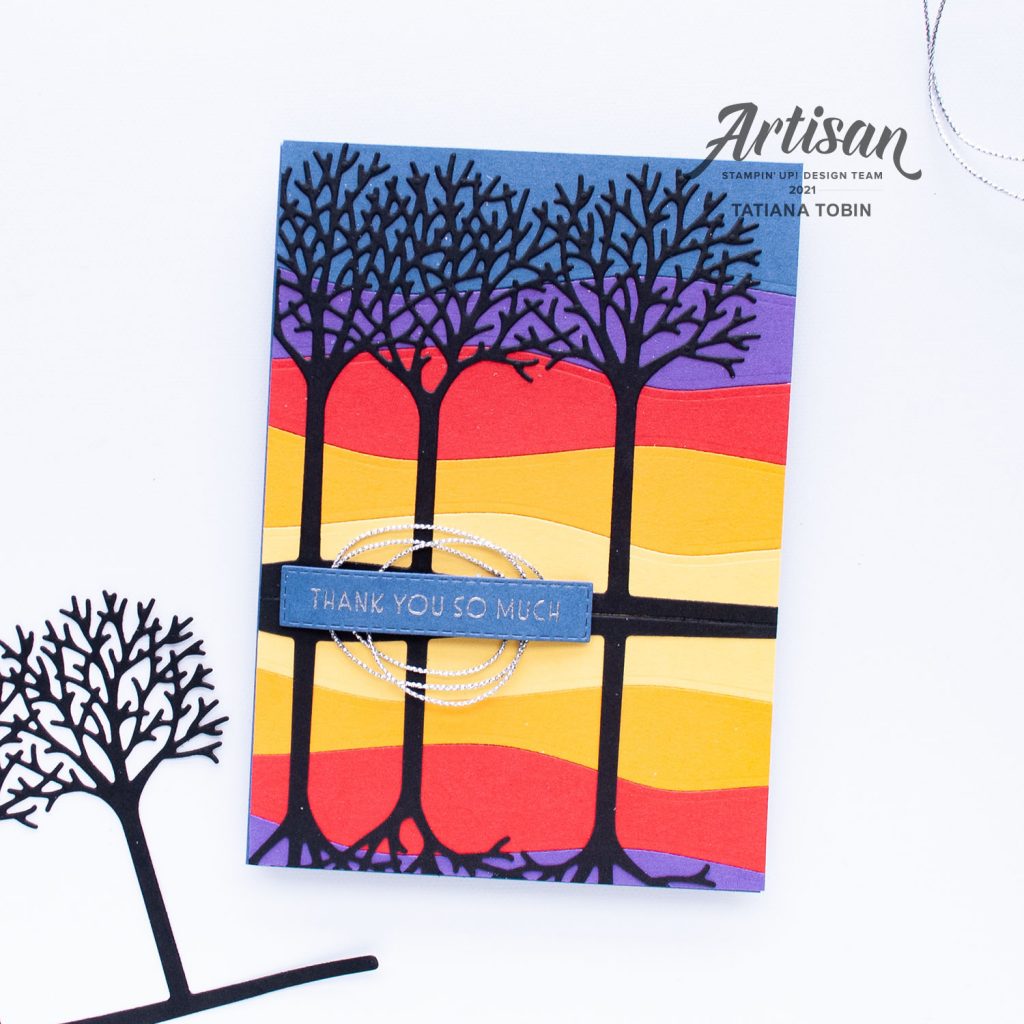
- Card Base: Misty Moonlight
- Card Front: Misty Moonlight, Gorgeous Grape, Poppy Parade, Mango Melody, and Daffodil Delight
- Sentiment Label: Misty Moonlight
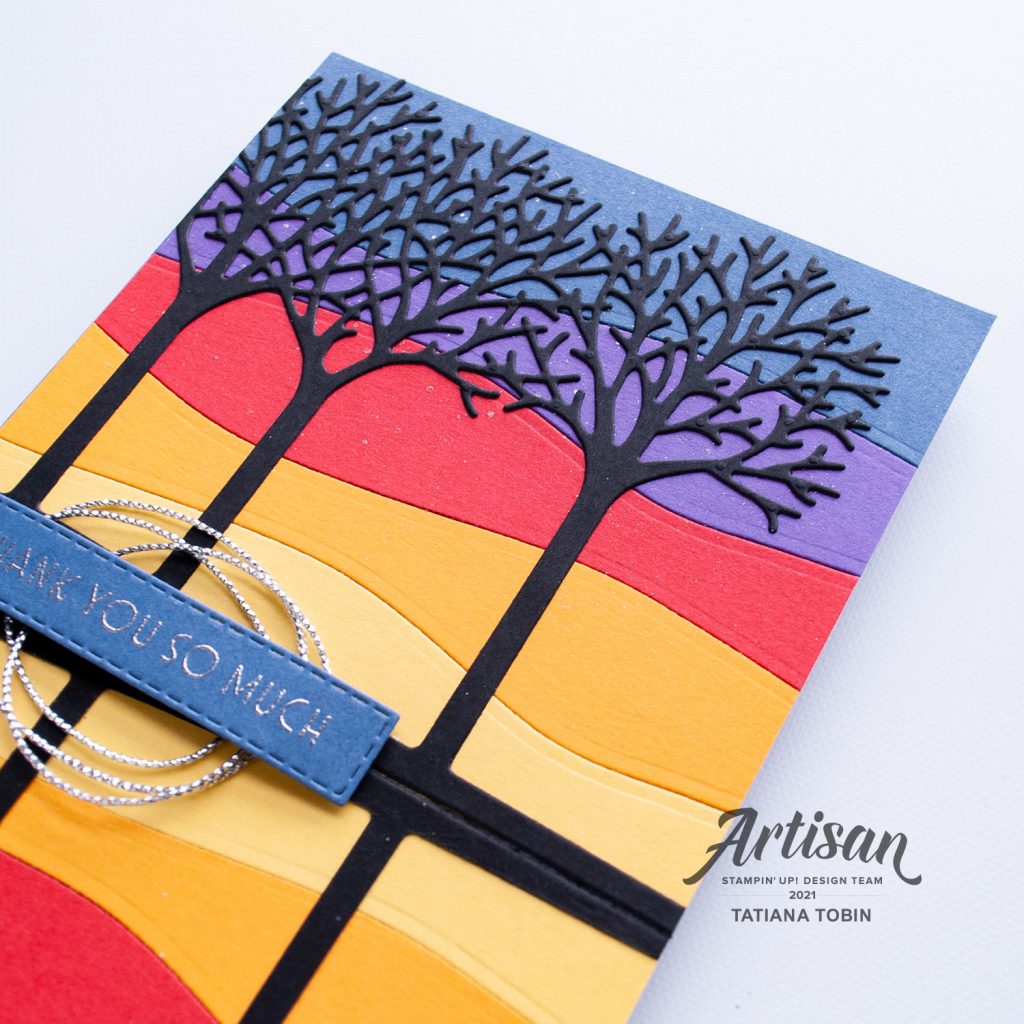
- To create the sunset background, use the landscape die and cut strips of cardstock. Starting at the horizon with Daffodil Delight, going up to Mango Melody, Poppy Parade, Gorgeous Grape and Misty Moonlight. TIP: Cut these wider than the card front so that you trim it down to the perfect size.
- Reverse the order for the reflection.
- Attach each strip of colour to the next on the back with some Tear & Tape Adhesive. On the top half splatter some Clear Wink of Stella to give the illusion of some stars.
- Add some Adhesive Sheet to Basic Black cardstock. Die cut two sets of trees but have the Adhesive Sheet on the back of one and on the top of the other. This creates the mirror reflection.
- Adhere the trees to the sunset background. Start with lining up the bottom edge with the horizon.
- Trim down to the size of your card base and adhere to the card base.
- Silver heat emboss the sentiment and then die cut out with Stitched Rectangle. Add to the horizon with some silver Simply Elegant Trim behind.
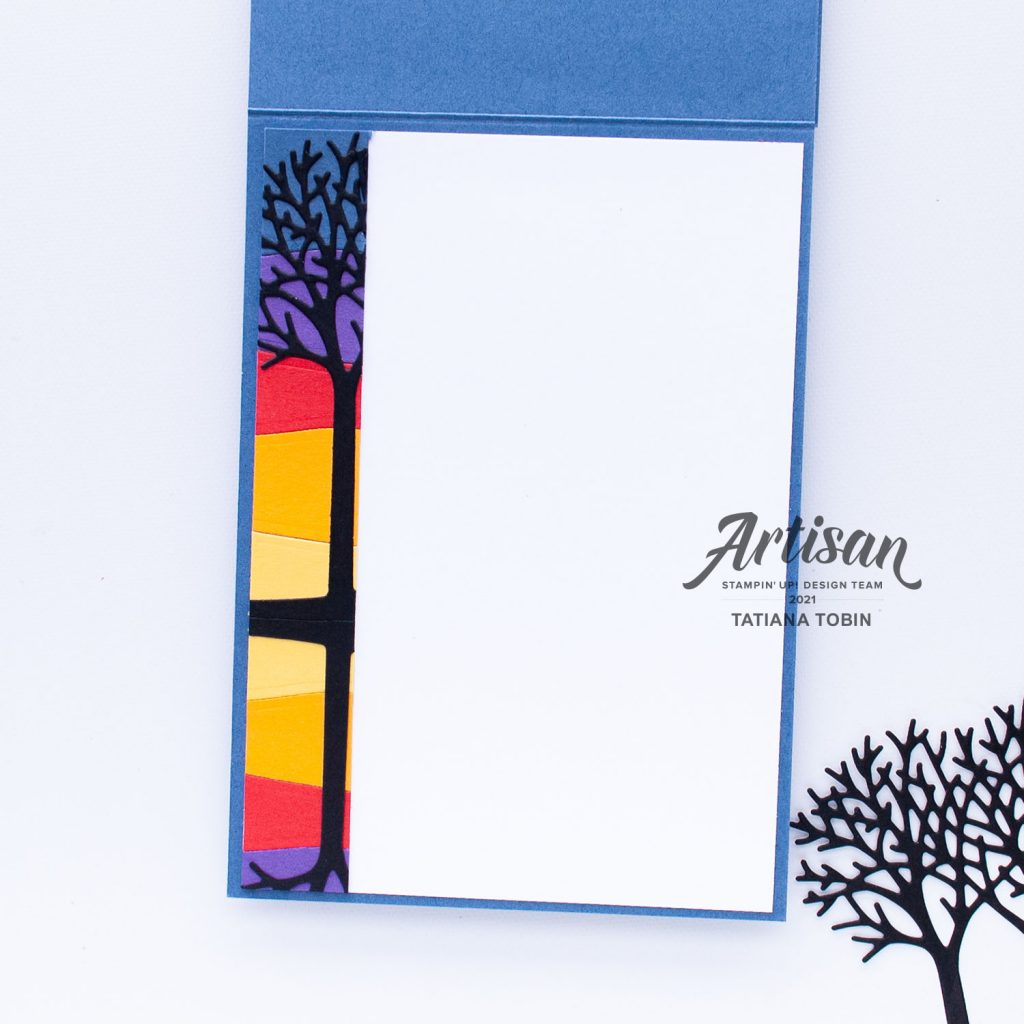
I added some of the trimmed off card front to the inside of the card.
Thank you so much for all you support over the last year. I’ve had a blast creating these monthly showcases.
Thank you so much for visiting my blog! I hope today’s project has inspired you to get creative and try something new.
Until next time,
Tatiana
- Join Stampin’ Up!® to start getting your products at 20% discount: CLICK HERE
- Request a Catalogue to see what products you can purchase: CLICK HERE
- Subscribe to my newsletter to keep up to date with the latest news: CLICK HERE
- Follow me on Facebook for regular updates and inspiration: CLICK HERE
- Go SHOPPING for clearance items and specials: CLICK HERE
If you’re in Australia, you can shop Stampin’ Up!® products through my online store. I’d love to be your demonstrator and help you find the perfect supplies for your next creative project!
Supplies:
You can purchase the of the supplies I used in this project. Please click on the image below to purchase. Thank you for your support.


Tatiana, I have so enjoyed your cards and projects as an Artisan design team mem I Hope you will continue to share on your blog.
Thank you so much Mallory. I had an amazing time on the Artisan Design Team.