Hello everybody!
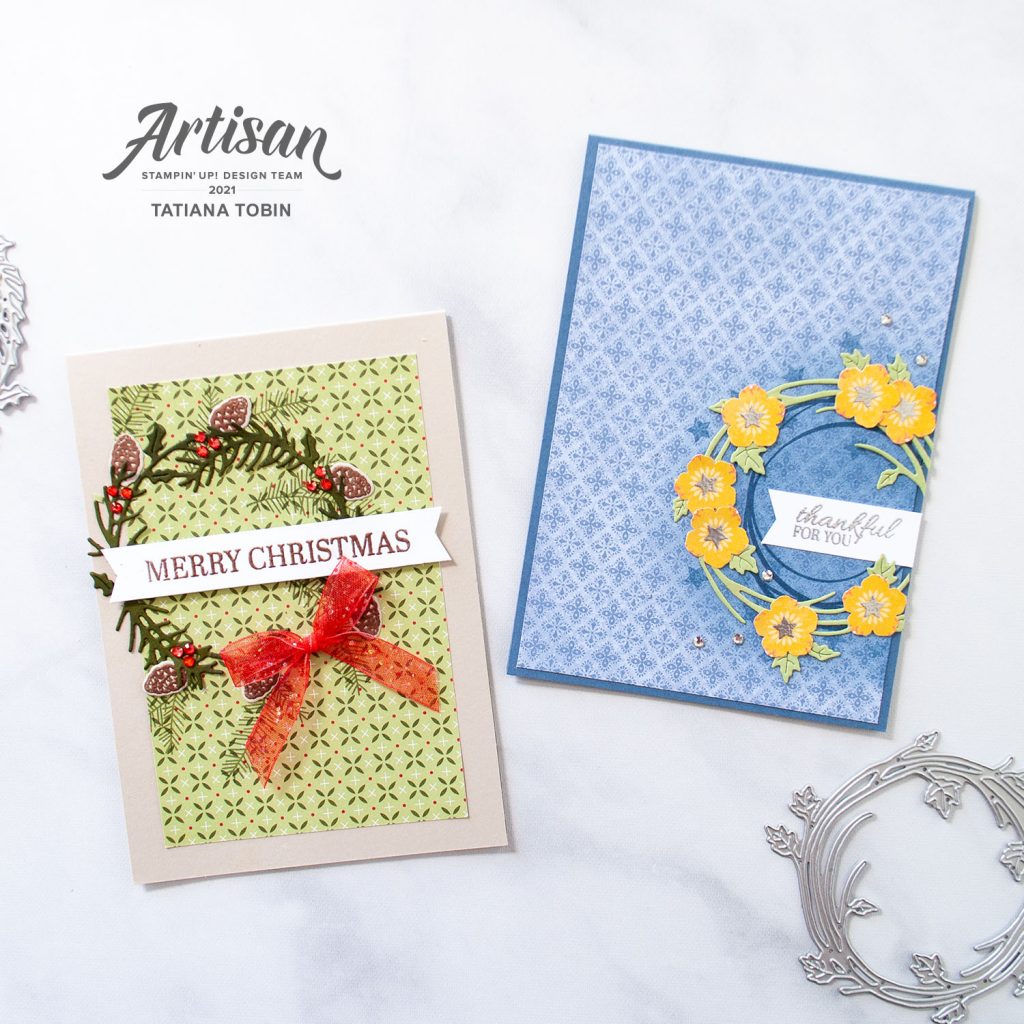
Welcome to the September Artisan Design Team showcase. This month I was asked to use the cute Sparkle of the Season Bundle with two different packs of DSP. I’m very pleased with how these turned out. I had trouble combining them with these particular DSP packs but got there in the end:
[All supplies used in this project are shown at the end of this post and are linked to my Stampin’ Up! online store. You can purchase them and create this project too! Thank you for your support of my stamping adventure]
What’s fun about this bundle is that you can use ti for all sorts of different seasons. I chose to focus on Christmas and gratitude. Here in Australia, Thanksgiving isn’t a thing but I do love the concept of it. Also we are now in Spring so I thought it would be nice to combine gratitude with spring.
Merry Christmas Card Details:
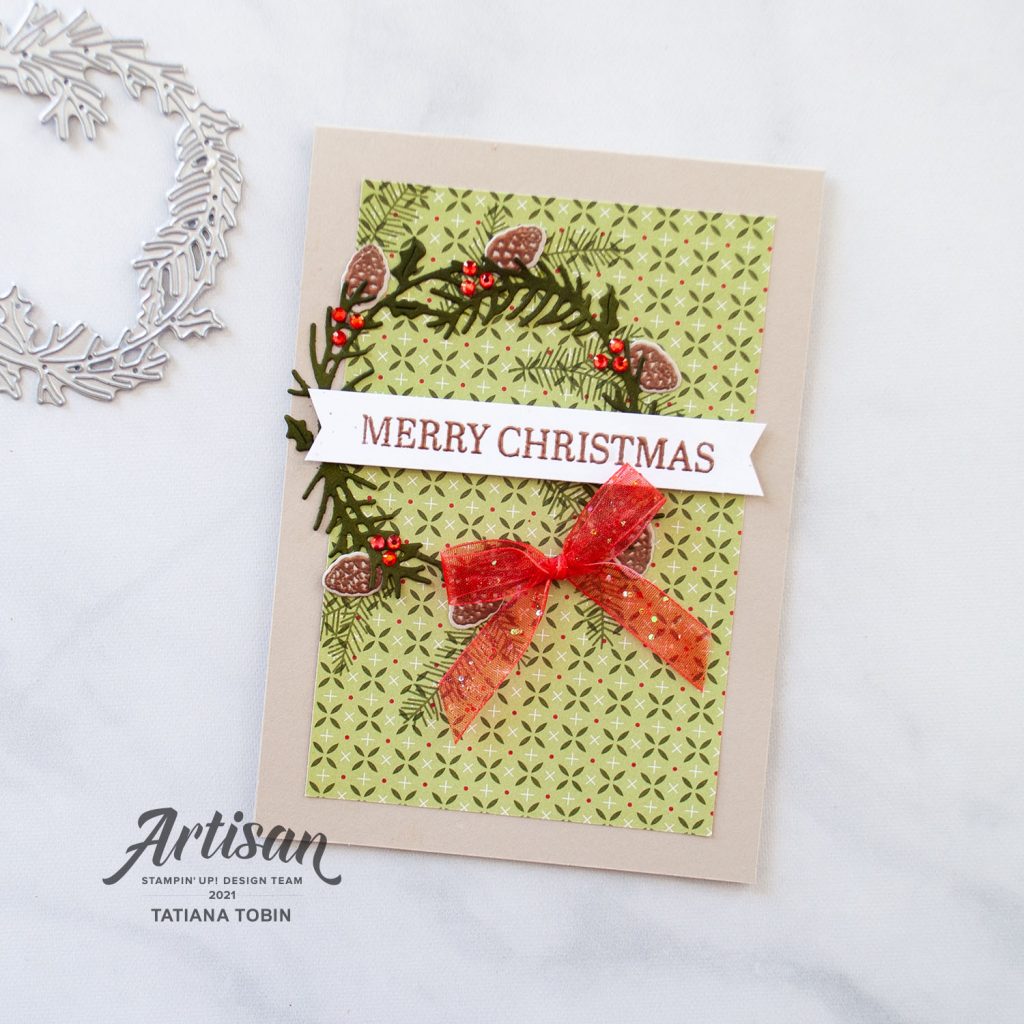
- Card Base: Sahara Sand
- Card Front: Heartwarming Hugs DSP (8.5 x 12.8cm)
- Sentiment Banner: Basic White (10.5 x 1.5 cm)
- Die cut the fir wreath from Mossy Meadow card stock.
- On the piece of DSP for the card front stamp the fir image from the Sparkle Of The Season stamp set in Mossy Meadow around in a circle. Make the circle be more towards the top of the left edge of DSP. Adhere to the card base.
- Add the wreath die cut over the stamped wreath on the card.
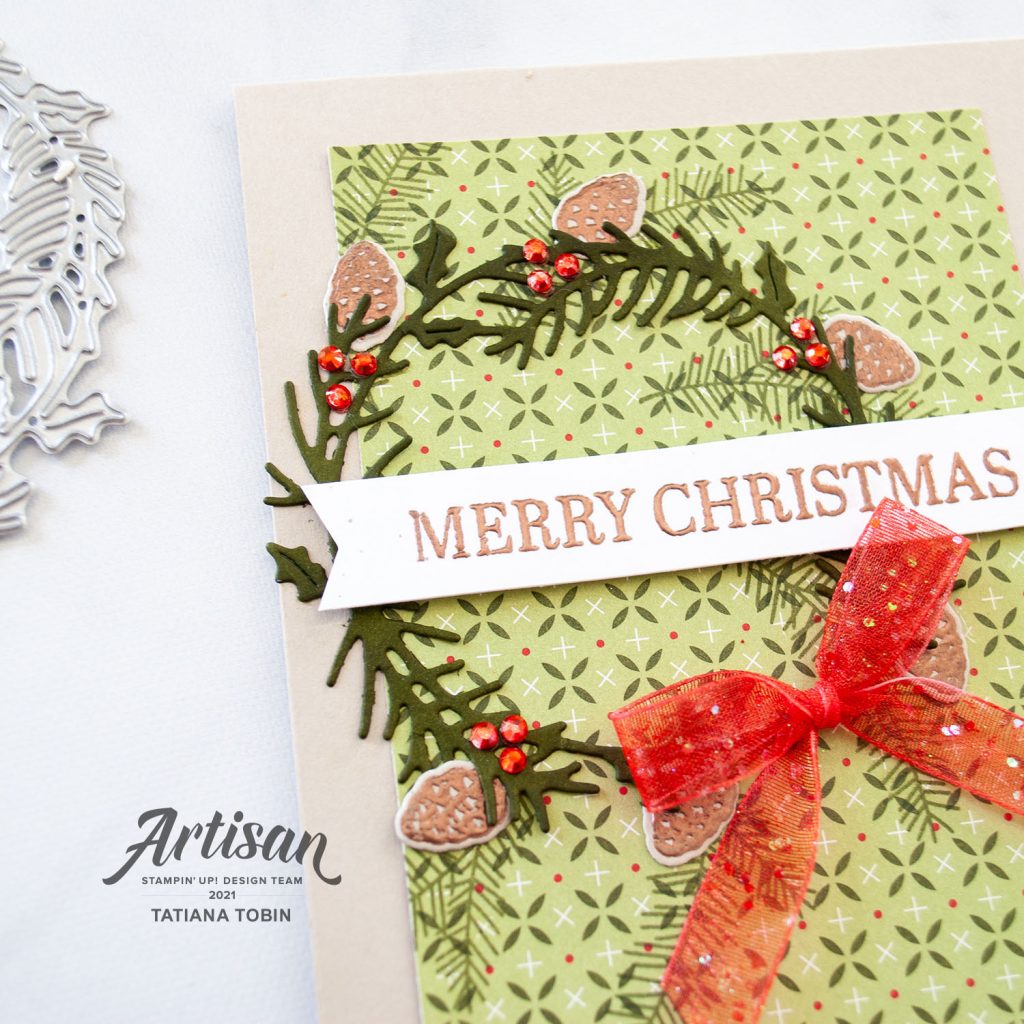
- Stamp and heat emboss in copper the pine cones on Sahara Sand card stock. Die cut out and add around the wreath.
- Add some Red Rhinestones in groups of three near each pine cone.
- Heat emboss “Merry Christmas” onto the sentiment banner in copper. Then punch or cut the ends to create a banner. Add to the card using Stampin’ Dimensionals.
- Colour a piece of White Glittered Organdy Ribbon in Poppy Parade using Stampin’ Blends. Let dry. Tie into a bow and then add to card using Mini Glue Dots.
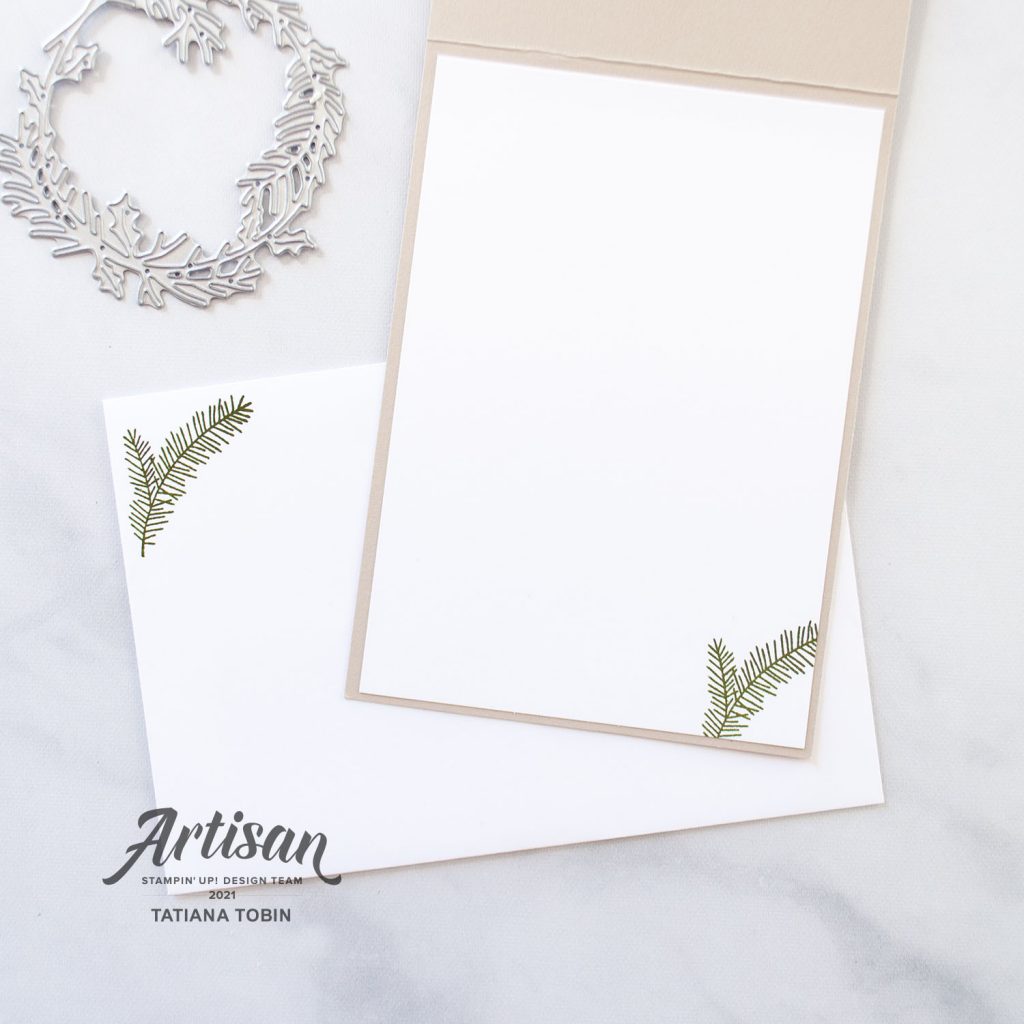
To finish the card, stamp the fir image in Mossy Meadow inside the card and on the envelope.
Thankful For You Card Details:
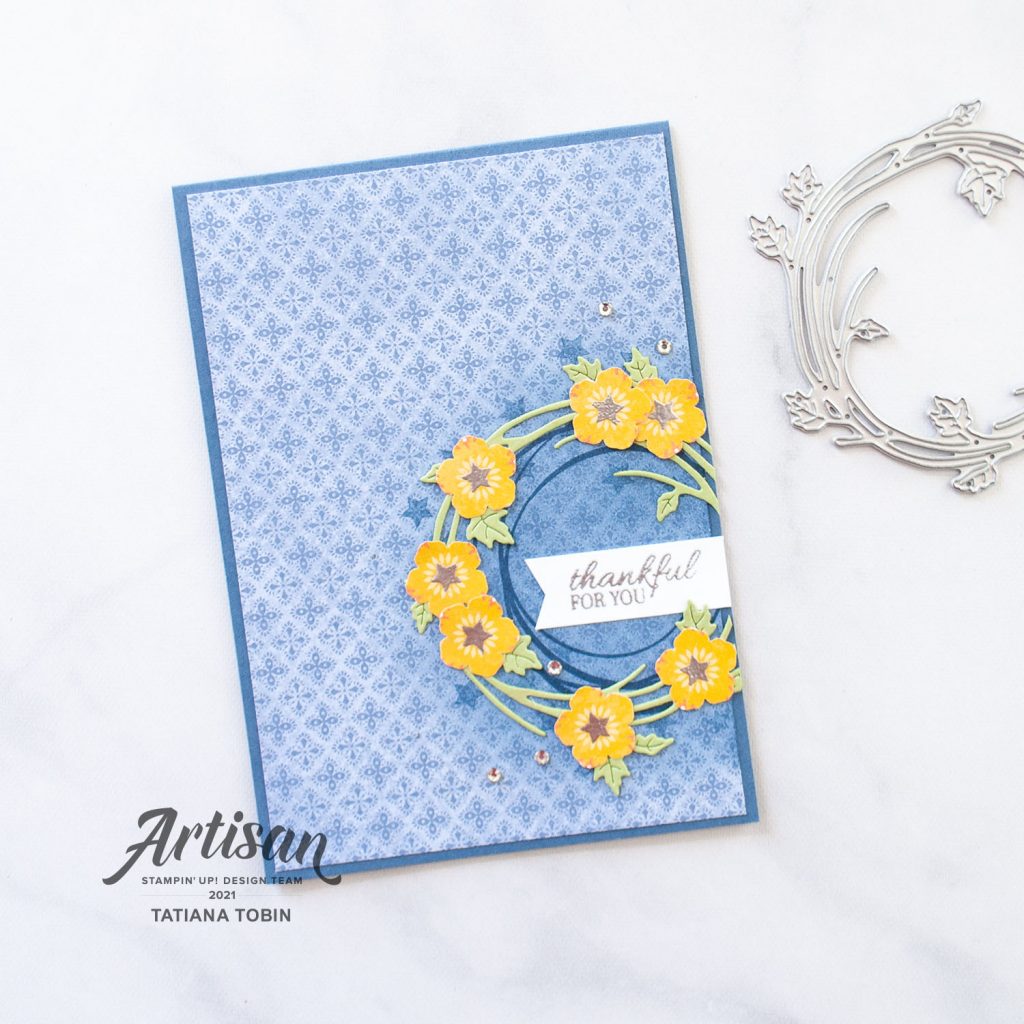
- Card Base: Misty Moonlight
- Card Front: Harvest Meadow DSP (10 x 14.3 cm)
- Sentiment Label: Basic White (5 x 1.5 cm)
- Onto the card front, stamp in Misty Moonlight the swirl from the Sparkle of the Season stamp set.
- Around the swirl stamp some stars (stamping off first to make them lighter).
- Using a Blending Brush, brush some Misty Moonlight ink over the swirl and stars. This helps it stand out more more the DSP. Adhere to the card base.
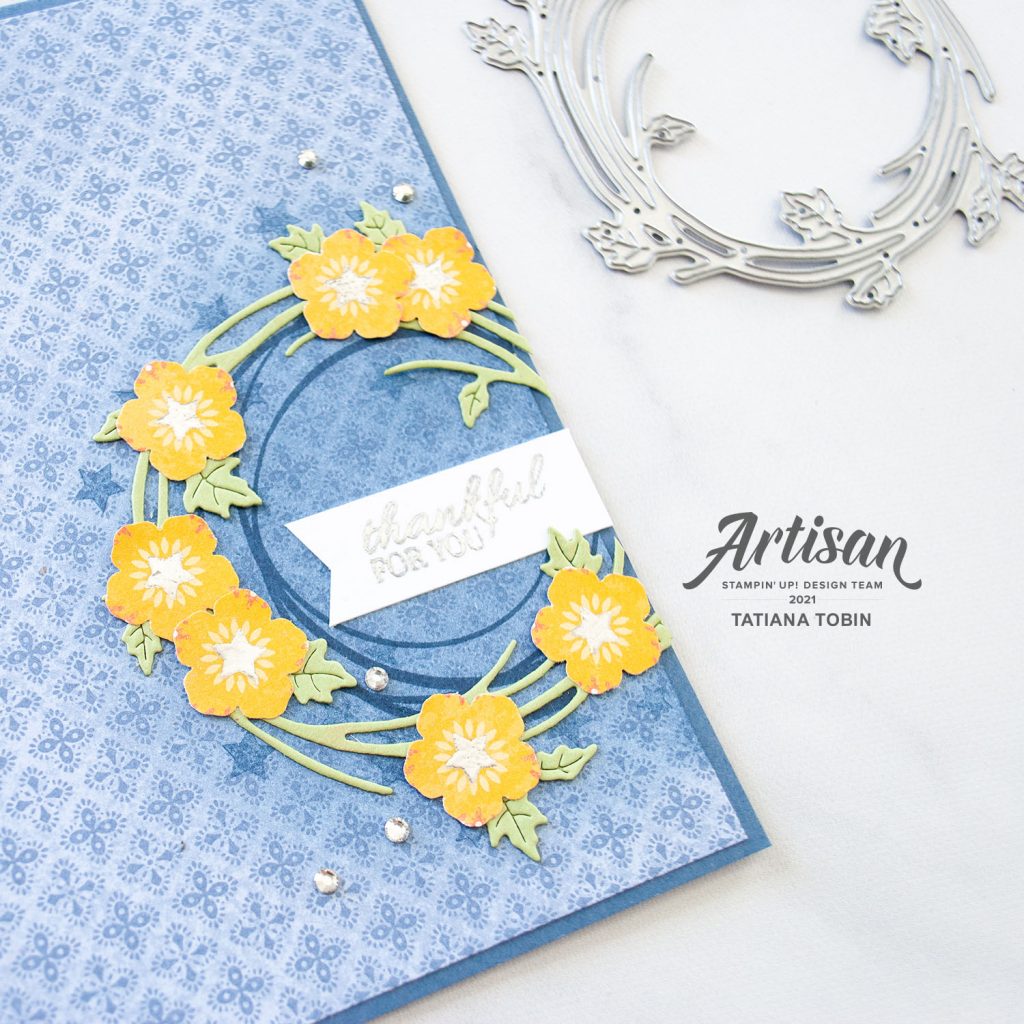
- Die cut out the wreath with leaves from Pear Pizzaz card stock and adhere to the card over the swirl.
- Cut a strip of the Harvest Meadow DSP (the Bumblee bee one with daisies in a diamond pattern). Make sure you cut so that the strip has daisies in the middle. Using the Strawberry Builder Punch, line up the the daisy into the middle of the blossom and punch out. Then stamp in versamark into the middle of each flower with one star and heat emboss with silver embossing powder.
- Add the flowers to the wreath
- Silver heat emboss the sentiment and punch a banner end. Adhere to the card.
- To complete the card add some Rhinestone Basic Jewels.
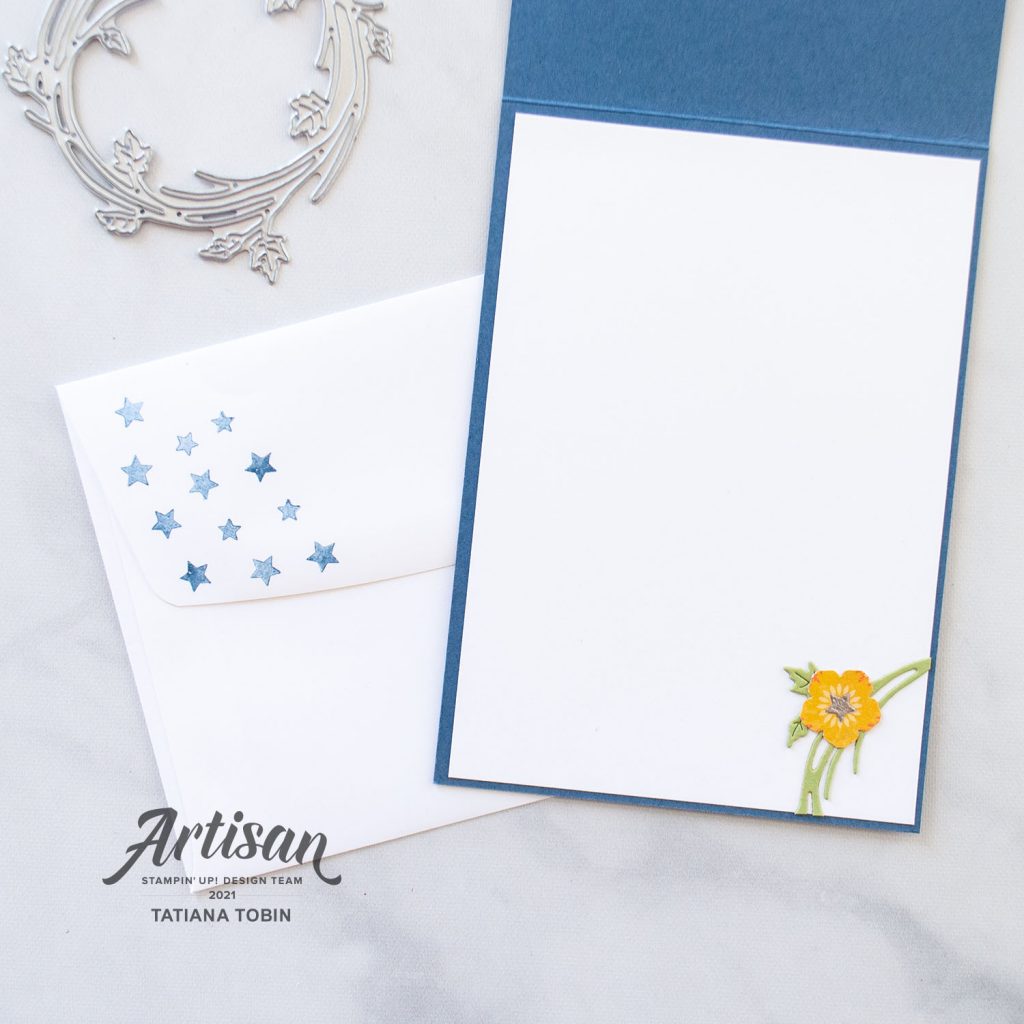
I decorated the envelope with some stamped off stars. Inside the card I used a piece of the wreath that I had cut off and an extra flower.
Thank you for visiting my blog! I hope that I’ve inspired you to be creative.
Bye for now!
Tatiana
- Join Stampin’ Up!® to start getting your products at 20% discount: CLICK HERE
- Request a Catalogue to see what products you can purchase: CLICK HERE
- Subscribe to my newsletter to keep up to date with the latest news: CLICK HERE
- Follow me on Facebook for regular updates and inspiration: CLICK HERE
- Go SHOPPING for clearance items and specials: CLICK HERE
If you live in Australia you can purchase Stampin’ Up!® products from my online store.
Current Host Code (August 2024): NN39AWU4
(Use the hostess code when ordering less than $250. All orders over get a handmade card from me. Orders over $50 will receive a FREE gift, and collect stickers part of my Customer Loyalty Program! Orders over $90 will also get a FREE tutorial bundle the following month!!). Click here to shop now using the current Host Code.
Supplies:
You can purchase the of the supplies I used in this project. Please click on the image below to purchase. Thank you for your support.


