Hello Everybody! Welcome to my blog.
You are visiting Tatiana in Australia. I am a member of Kylie’s Demonstrator Training Program. It is a year long training program for Stampin’ Up!® Demonstrators around the world. This is my third year in participating in the training and I’ve learnt so much about running a Stampin’ Up!® business from the training, but the best part has been the friendships I’ve made. Many of these friends are blog hopping with me today!
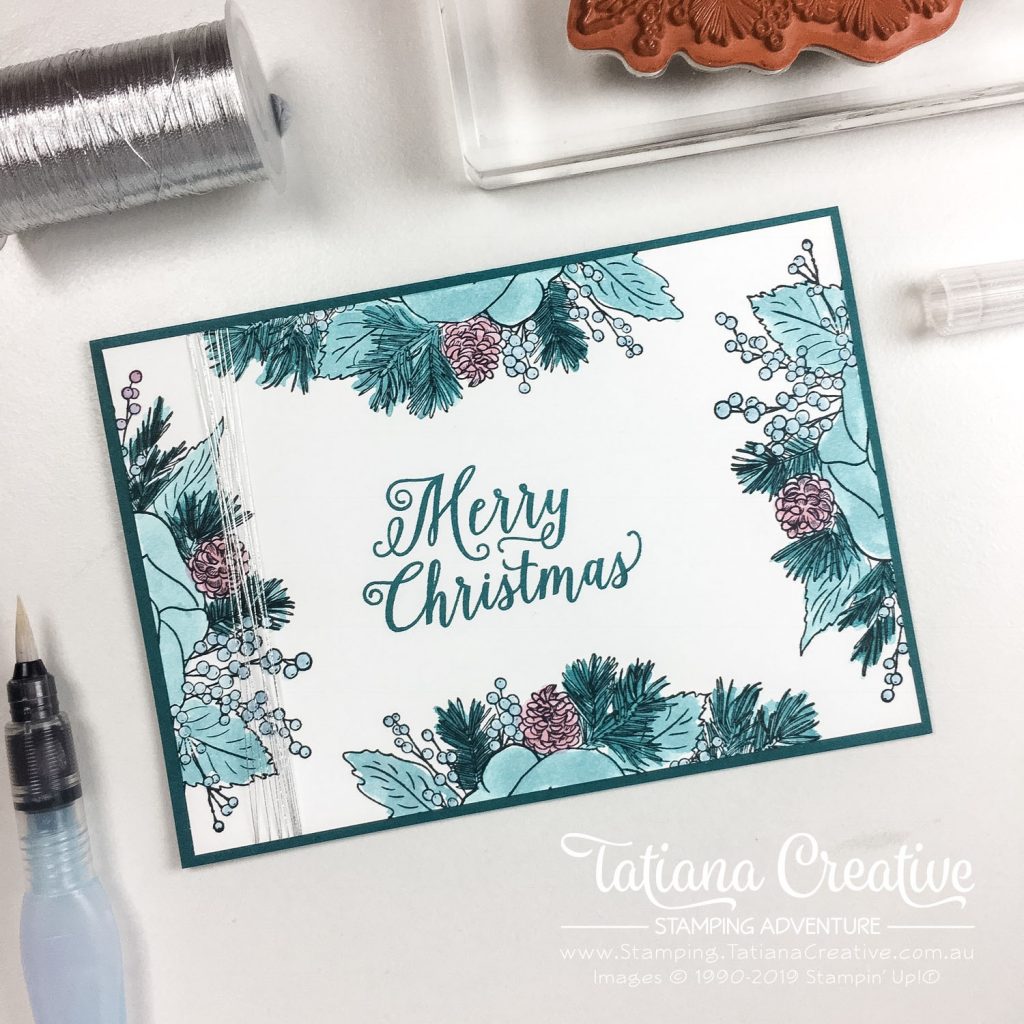
Today’s card was inspired by Artisan Design Team member Emma Goddard. I changed up the colours and added some metallic thread to make it more of my own card.

[All supplies used in this project are shown at the end of this post and are linked to my Stampin’ Up! online store. You can purchase them and create this project too! Thank you for your support of my stamping adventure]
Card Details:
- Card Base: Pretty Peacock.
- Card Front: Whisper White (14.8 x 10cm).
- To get the position of the stamp on the card front the same around each side I highly recommend using the Stamparatus.
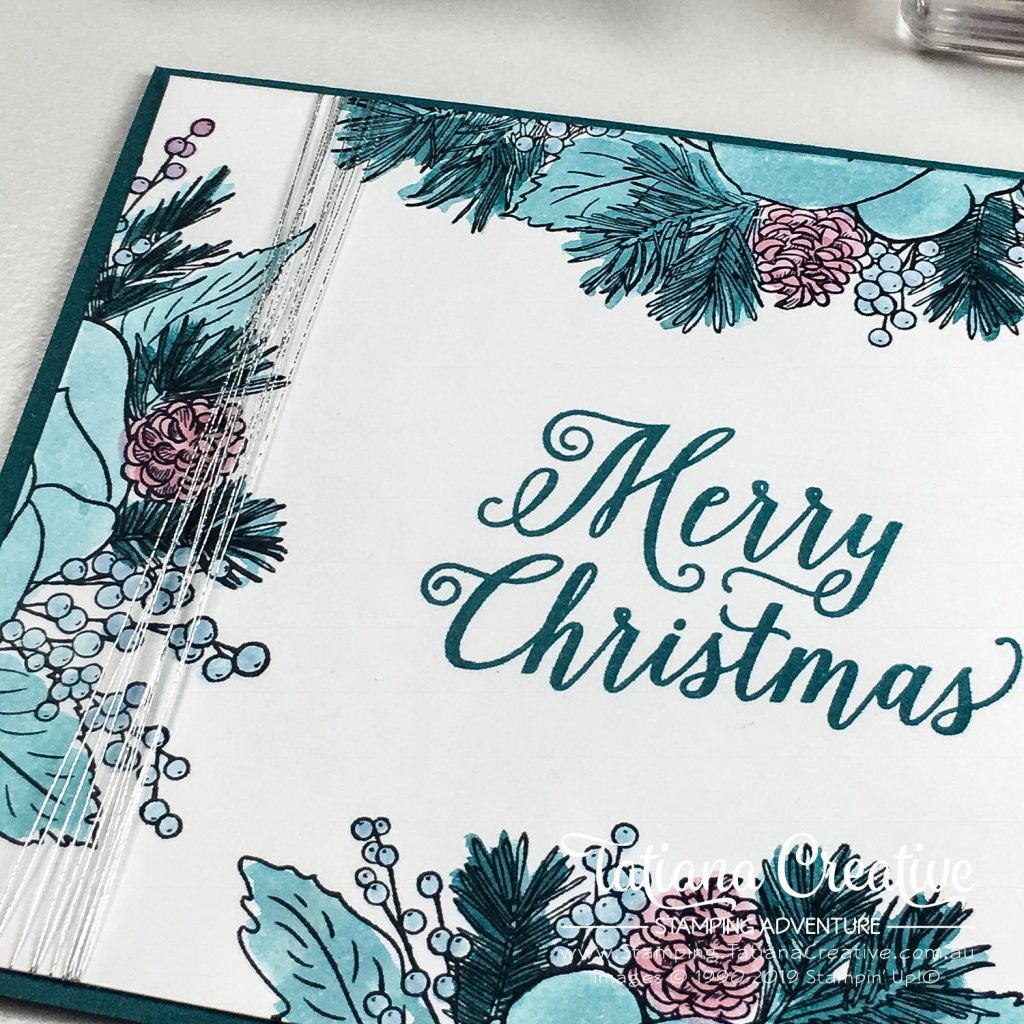
- Stamp the edge of the Christmas Rose stamp and then colour in. I used Pretty Peacock for the most of it (the pine leaves are a less diluted Pretty Peacock), Seaside Spray for the berries and Rococo Rose for the pine cones.
- Add some Metallic Thread to one side and then adhere to the card base.


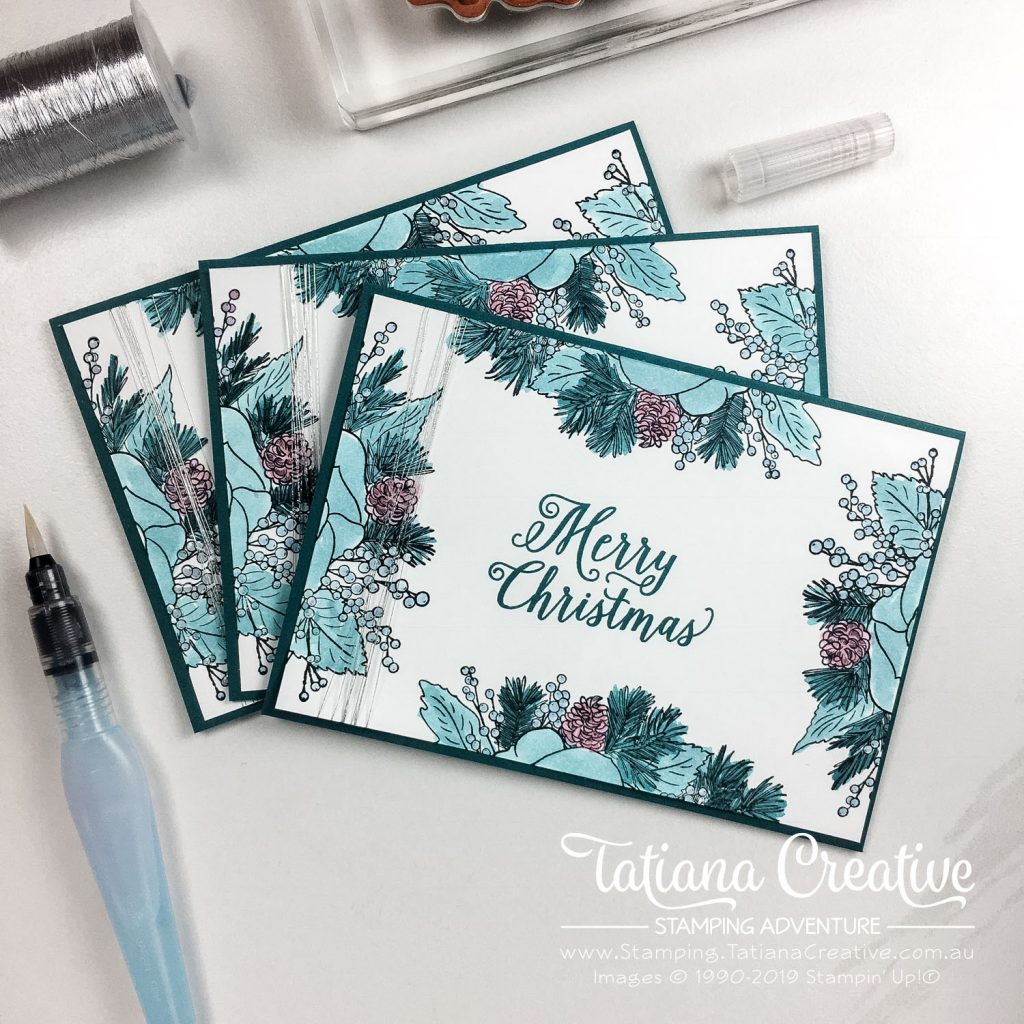
This project was fun to make, and because at Christmas time I always need another card I made a few of them.

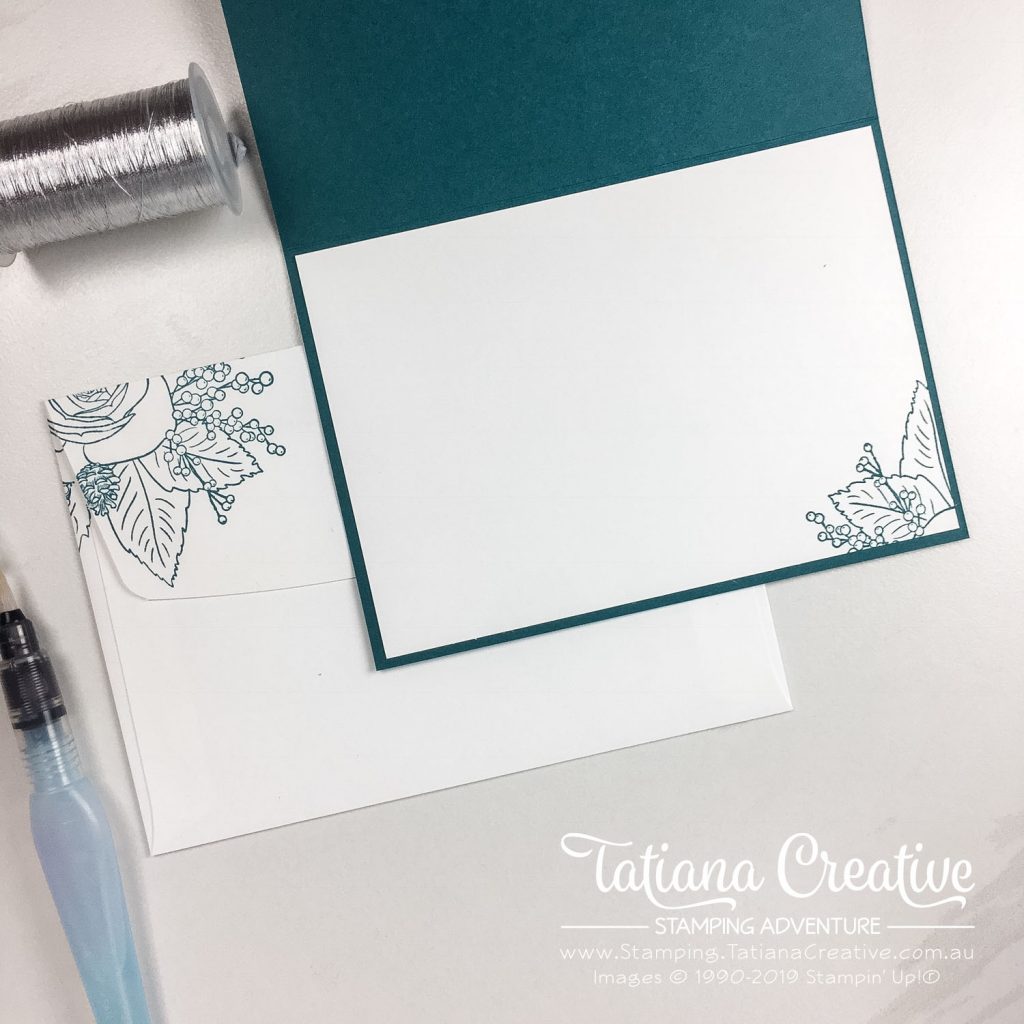
And no project is complete until I have decorated the inside of the card and the envelope. I simply stamped the Christmas Rose into the corners in Pretty Peacock colour (how awesome it that colour!).
Please hop around my fellow demonstrators’ blogs. They will have lots of wonderful inspiration for you using Stampin’ Up!® products:
Thank you for visiting my blog! I hope that I’ve inspired you to be creative.
Bye for now!
Tatiana
- Join Stampin’ Up!® to start getting your products at 20% discount: CLICK HERE
- Request a Catalogue to see what products you can purchase: CLICK HERE
- Subscribe to my newsletter to keep up to date with the latest news: CLICK HERE
- Follow me on Facebook for regular updates and inspiration: CLICK HERE
- Go SHOPPING for clearance items and specials: CLICK HERE
If you live in Australia you can purchase Stampin’ Up!® products from my online store.
Current Host Code (August 2024): NN39AWU4
(Use the hostess code when ordering less than $250. All orders over get a handmade card from me. Orders over $50 will receive a FREE gift, and collect stickers part of my Customer Loyalty Program! Orders over $90 will also get a FREE tutorial bundle the following month!!). Click here to shop now using the current Host Code.
Supplies:
You can purchase the of the supplies I used in this project. Please click on the image below to purchase. Thank you for your support.


Wow!! Simple and very adorable!
Thank you Marika!
Lovely card Tania. I love how you’ve used this set. x
Thank you Kate!
What a lovely colour palette to choose. Beautiful Tatiana.
Thank you Melinda! It’s one of my favourite colour combinations at the moment.
I love your colour combinations on this card. Great watercolouring. Thanks for sharing.
Thank you Libby! The InColors work well together.
What a fun card Tatiana!
Thank you Deb!
Gorgeous colours.
Thank you Kylie!
Such a pretty colour combination! Beautiful card!
Thank you Kylie!
Beautiful colors.
Thank you Lisa
Pretty peacock is an awesome color and so is your card!
Love pretty peacock!
Beautiful . I love how color totally changes a card!
Thank you Robin!