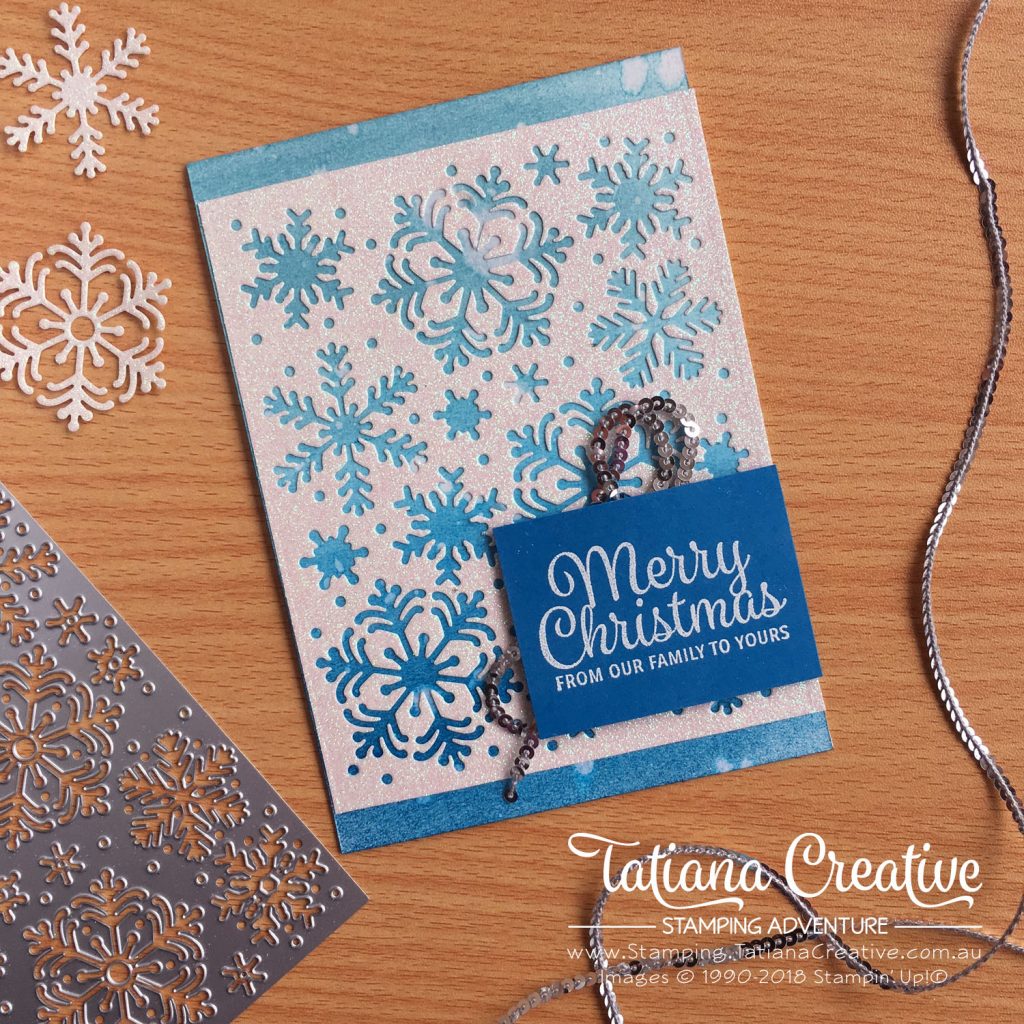
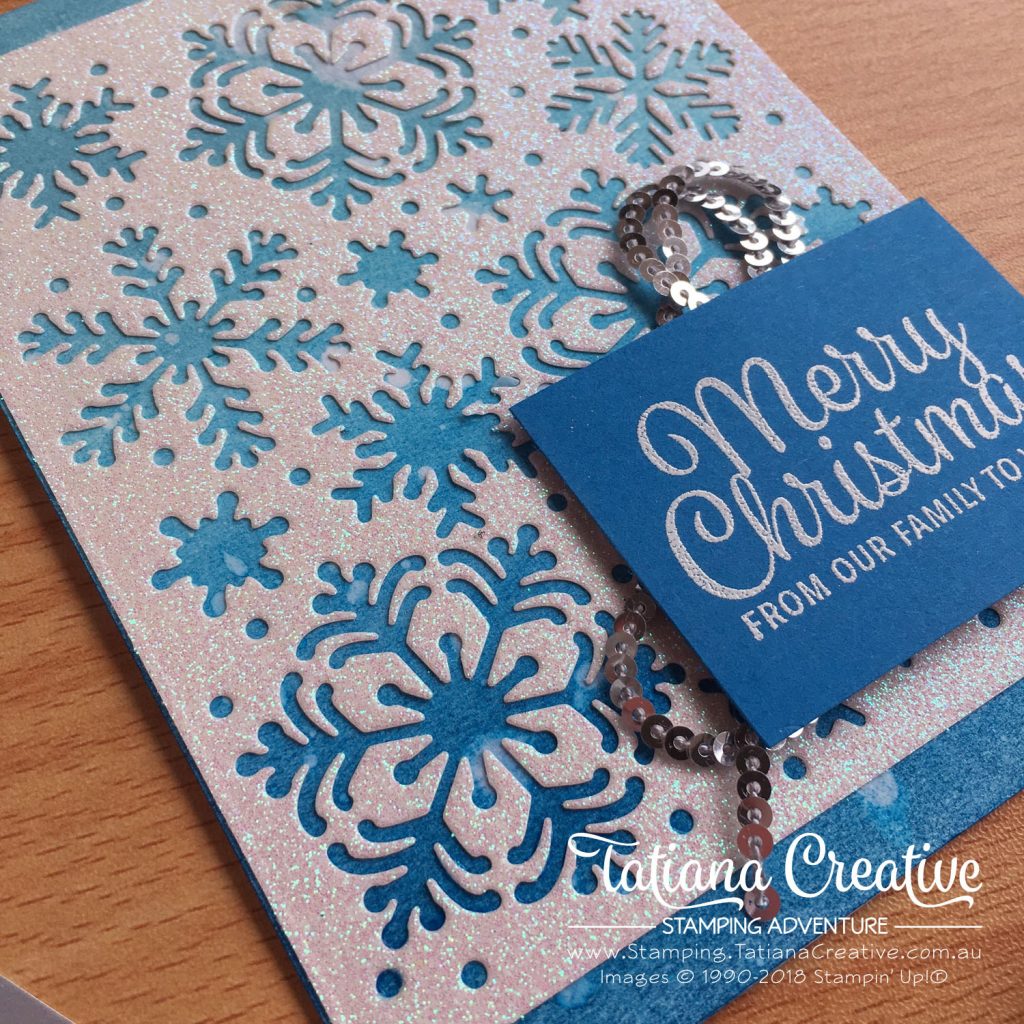
Glimmer Paper really brings that fantastic sparkle to any project. It works really well in this ombre background snowflake Christmas card.

All supplies used in this card are shown at the end of this post in the thumbnails. These are linked to my Stampin’ Up! online store.
To create this card:
- Prepare card base from Shimmery White cardstock.
- Trim Sparkle Glimmer Paper to 105mm x 130mm (if you want the glimmer paper to cover the full face of the card then trim to 105mm x 145.5mm)
- Run the Glimmer Paper through the Big Shot with the Blizzard Thinlits Die (TIP: I highly recommend using the Precision Base Plate and running it through 3 or 4 times. Glimmer paper is a bit thicker and needs those extra run throughs to make sure it cuts all the details. I also recommend using the Big Shot Die Brush to remove the snowflakes from the thinlit. Keep them for another project).
- Using two Sponge Brayers colour the font of the cardstock using Balmy Blue first on the top almost all the way down and then add Pacific Point from the bottom up. Blending the two colours in the middle to create the ombre.
- Wet your fingers in some water and lightly flick water droplets onto the card base over the ombre. Let sit for about a minute and then blot with a piece of paper towel. Allow to dry.
- Take a piece of Pacific Point card stock 60mm x 45mm and rub the Embossing Buddy over it. Stamp the Merry Christmas sentiment from the Snowflake Sentiments stamp set and cover in White Stampin’ Embossing Powder. Remove excess and heat set with the Heat Tool.
- To assemble the card:
- Use the sponge method to add Multipurpose Liquid Glue to the back of the Glimmer Paper and adhere to the card front. Try to centre it.
- Attach some Silver Sequin Trim to where the sentiment will go (TIP: use Tear & Tape Adhesive to attach) and then place the sentiment on top using Stampin’ Dimensionals.

I love the ombre background to this card. It gives a visual interest and brings out the Glimmer Paper even more!
Thank you for visiting my blog! I hope that I’ve inspired you to be creative.
Bye for now!
Tatiana
- Join Stampin’ Up!® to start getting your products at 20% discount: CLICK HERE
- Request a Catalogue to see what products you can purchase: CLICK HERE
- Subscribe to my newsletter to keep up to date with the latest news: CLICK HERE
- Follow me on Facebook for regular updates and inspiration: CLICK HERE
- Go SHOPPING for clearance items and specials: CLICK HERE
If you live in Australia you can purchase Stampin’ Up!® products from my online store.
Current Host Code (August 2024): NN39AWU4
(Use the hostess code when ordering less than $250. All orders over get a handmade card from me. Orders over $50 will receive a FREE gift, and collect stickers part of my Customer Loyalty Program! Orders over $90 will also get a FREE tutorial bundle the following month!!). Click here to shop now using the current Host Code.
Supplies:
You can purchase the of the supplies I used in this project. Please click on the image below to purchase. Thank you for your support.


