Hello again! I’m very excited about today’s card. I was cleaning up my crafting space when I found these gradient card fronts which I hadn’t finished and though that it was so wrong to leave such beautiful items lying around. So I finished them and fell in love with them. I’m featuring the new Delightfully Detailed Laser-Cut Specialty Paper (now try saying that fast three times) on these cards.
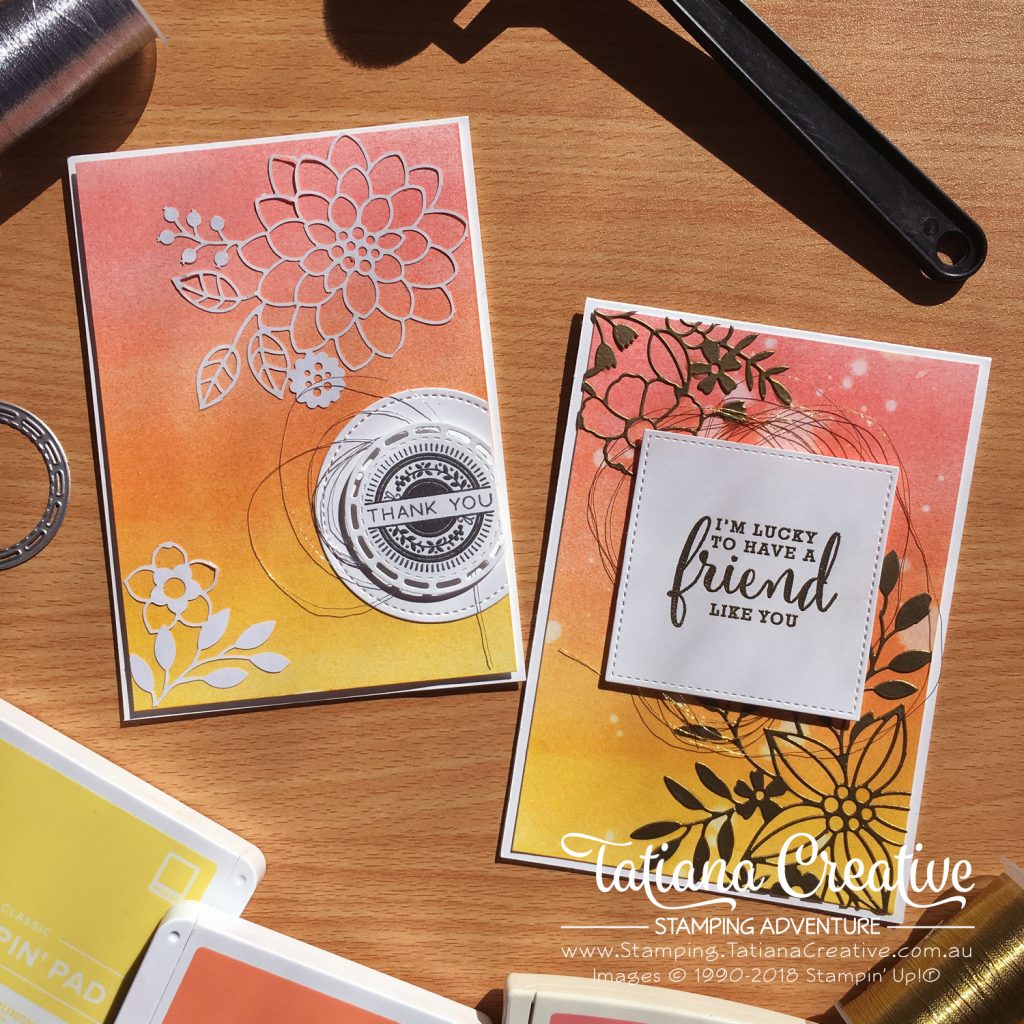
All supplies used in this card are shown at the end of this post in the thumbnails. These linked to my Stampin’ Up! online store.
I went with two slightly different cards but yet the same. The first is a bit more simpler to create:
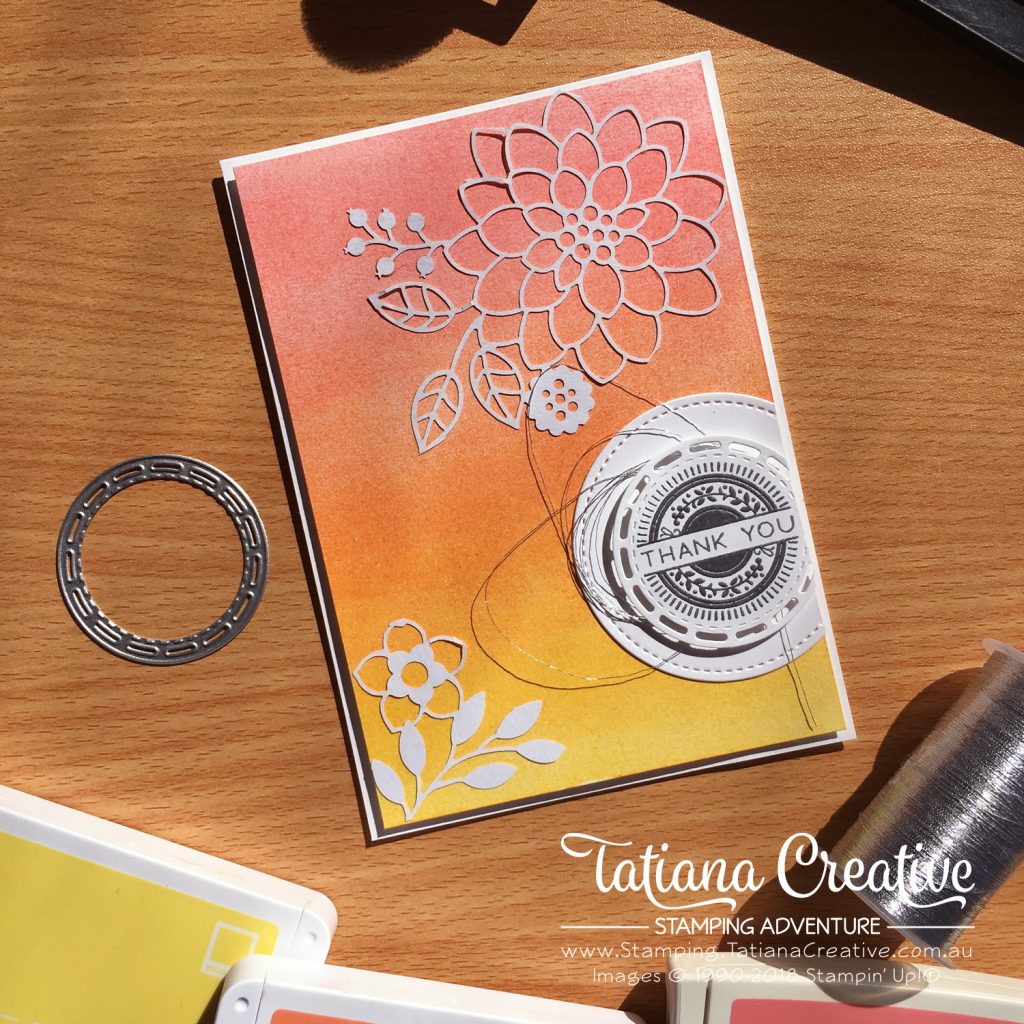
This one I just cut out some elements from the Delightfully Detailed Laser-Cut Specialty Paper and adhered it to the background with the white side up.
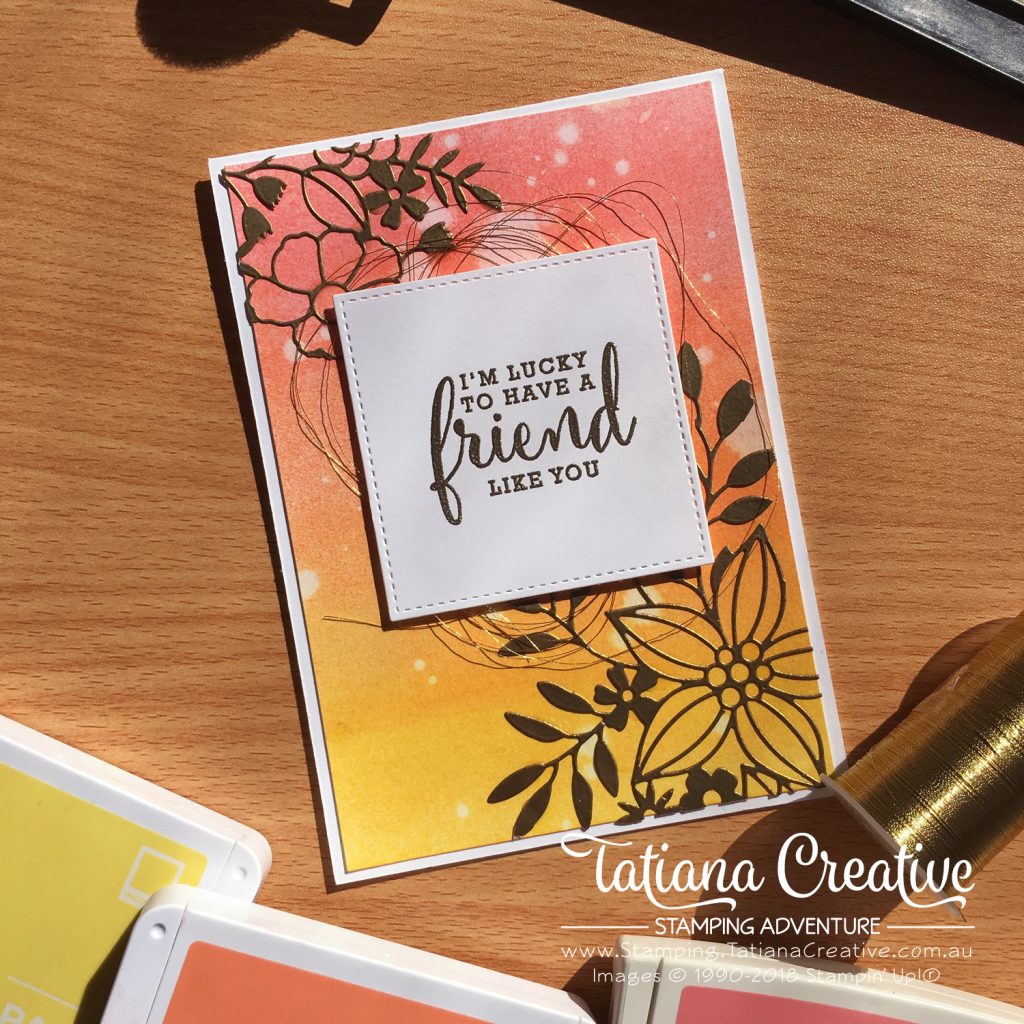
I stepped up the second card a bit more by Heat Embossing the Delightfully Detailed Laser-Cut Specialty Paper in Gold and by adding water droplets to my gradient paper to add more texture to the background.
To create these cards:
- Prepare card base in Whisper White Thick.
- Cut card front from Shimmery White 100mm x 143.5mm
- Using the Sponge Brayer colour the card front. I like to start with the lightest colour first. I used Pineapple Punch, Grapefruit Grove and Flirty Flamingo.
- Optional: add some water droplets to the card front and let sit for a minute before blotting out with a paper towel.
- Cut out the designs that you like from the full sheet of Delightfully Detailed Laser-Cut Specialty Paper.
- Optional: place the cut outs onto scrap paper and press your Versamark Ink Pad onto the paper then place a clean scrap paper underneath and cover in Gold Stampin’ Embossing Powder. Heat set (TIP remember to remove the excess before heat setting!)
- Adhere the Delightfully Detailed Laser-Cut Specialty Paper to the card front by adding Liquid Multipurpose Glue to the back using a sponge.
- Heat Emboss a sentiment of your choice onto Whisper White card stock and attach to card front with Stampin’ Dimensionals. I cut my card stock out first using the Stitched Shapes Framelits.
- For the “Thank You” card I heat embossed in Silver the sentiment from the Stitched All Around stamp set and cut out with the Stitched Labels Framelits (Stamp and Framelits available as a Bundle at the moment). I added some Silver Metallic Thread behind the sentiment.
- For the “I’m lucky to have a friend like you” card I heat embossed in Gold the sentiment from the Love What You Do Stamp Set and added Gold Metallic Thread behind the sentiment.
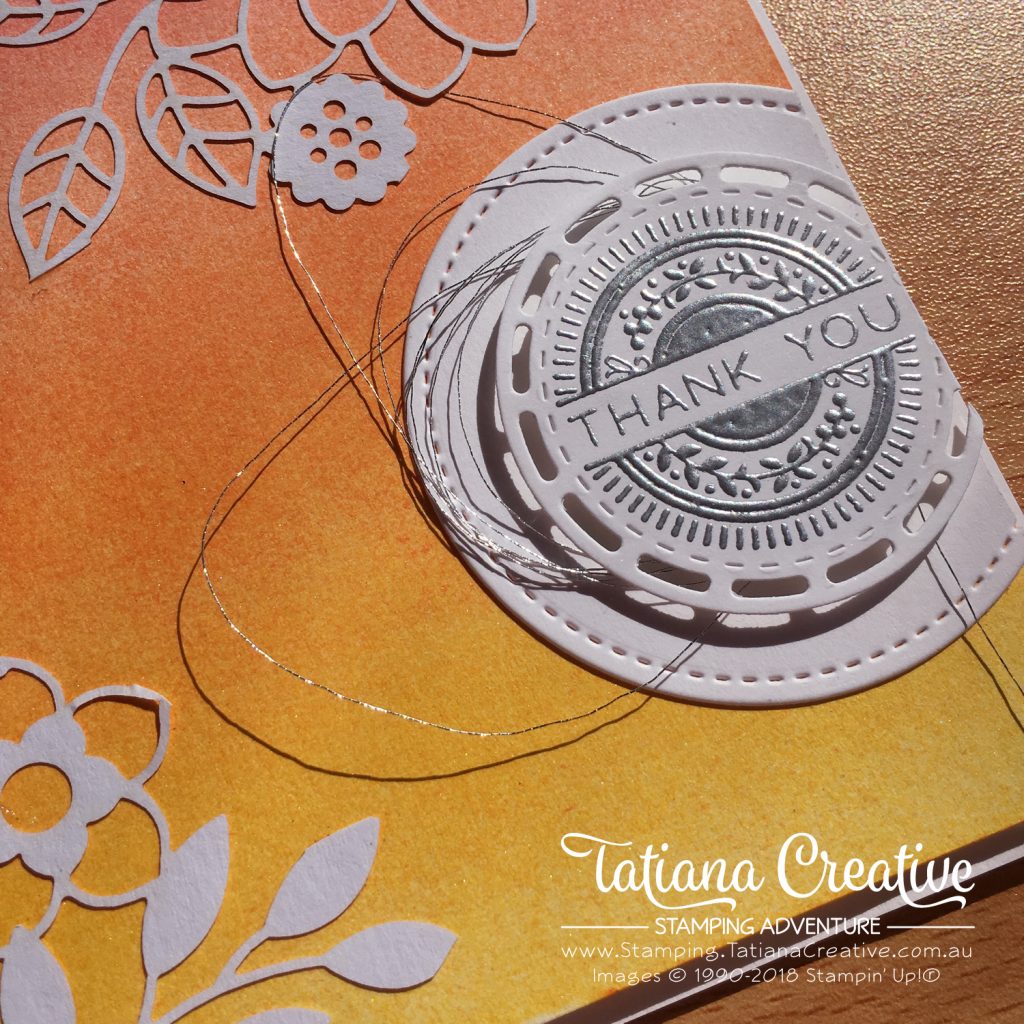
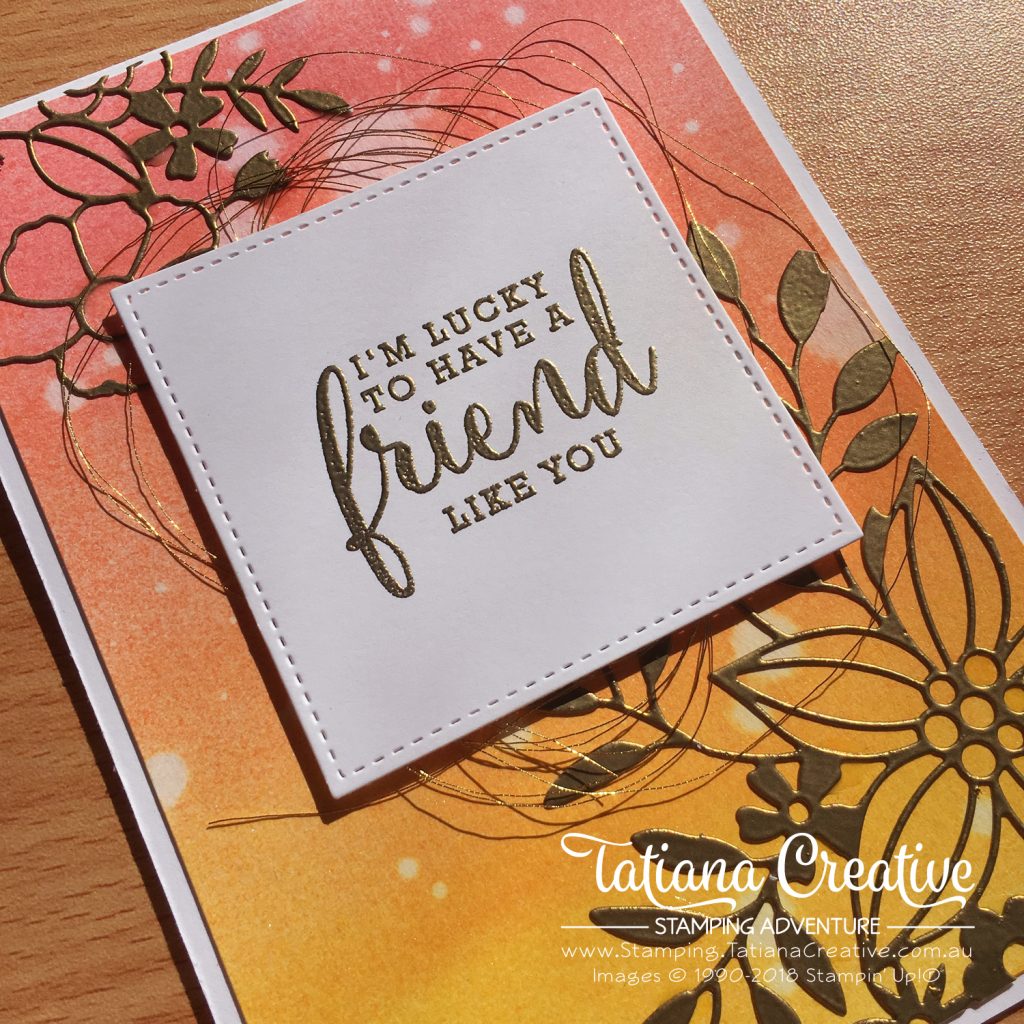
I really love how these cards have turned out!
Do you want to get a discount on your own crafting products? Then you can by joining my team the Stamping Adventurers and ordering it as a part of your starter kit! If you don’t want to sell, that it completely okay. The best part is being able to get your favourite products at a discount! July is a fantastic time to join because you will get 10 ink pads for free!!! That’s an extra $117 value! Only 4 days left on this awesome offer!!
Thank you so much for visiting my blog! I hope today’s project has inspired you to get creative and try something new.
Until next time,
Tatiana
- Join Stampin’ Up!® to start getting your products at 20% discount: CLICK HERE
- Request a Catalogue to see what products you can purchase: CLICK HERE
- Subscribe to my newsletter to keep up to date with the latest news: CLICK HERE
- Follow me on Facebook for regular updates and inspiration: CLICK HERE
- Go SHOPPING for clearance items and specials: CLICK HERE
If you’re in Australia, you can shop Stampin’ Up!® products through my online store. I’d love to be your demonstrator and help you find the perfect supplies for your next creative project!
Supplies:
You can purchase the of the supplies I used in this project. Please click on the image below to purchase. Thank you for your support.


Your cards are so lovely! Thanks for sharing them with instructions so I can CASE them.
Thank you Renne! I’m thrilled you like my cards. Please share a photo of yours I would love to see when you make it