Hello everybody!
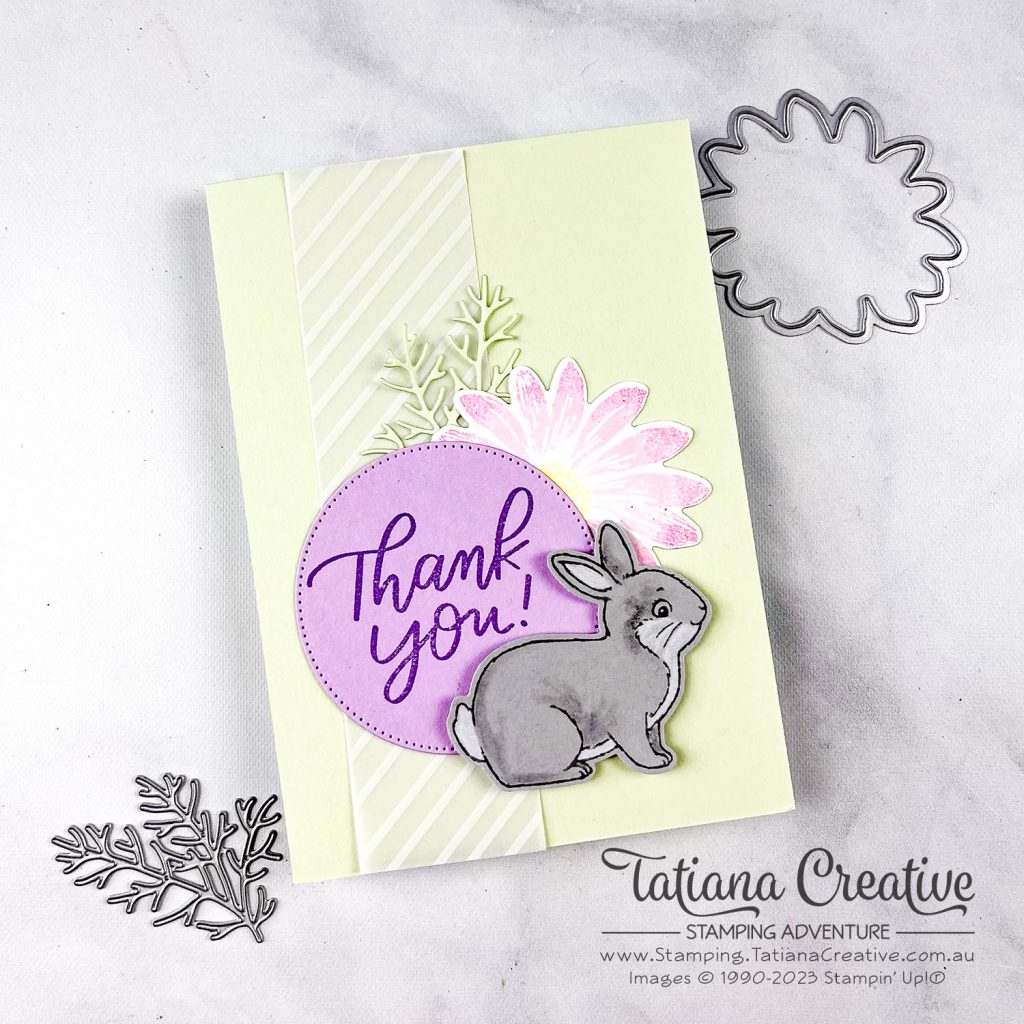
Welcome to my blog. Today I’m sharing a card that I created for all my Crafting Retreat participants from February. I wanted to thank each person for coming to (or participating in) my February 2023 Crafting Retreat. Without each of these wonderful people there wouldn’t be an event. I wanted to include the Easter Bunny stamp set in this card as this was the theme of the retreat, but I also wanted to have a flower as the next retreat (8th – 10th September 2023) is floral themed. I’ve not yet picked the specific floral stamp set but just had to use the new Cheerful Daisies bundle.

[All supplies used in this project are shown at the end of this post and are linked to my Stampin’ Up! online store. You can purchase them and create this project too! Thank you for your support of my stamping adventure]
Card Details:
- Card Base: Soft Sea Foam cardstock
- Card Front: Vellum Basics Specialty DSP (2″ x 14.85cm)
- Sentiment Label: Fresh Freesia cardstock die cut with a circle from the Stylish Shapes Dies
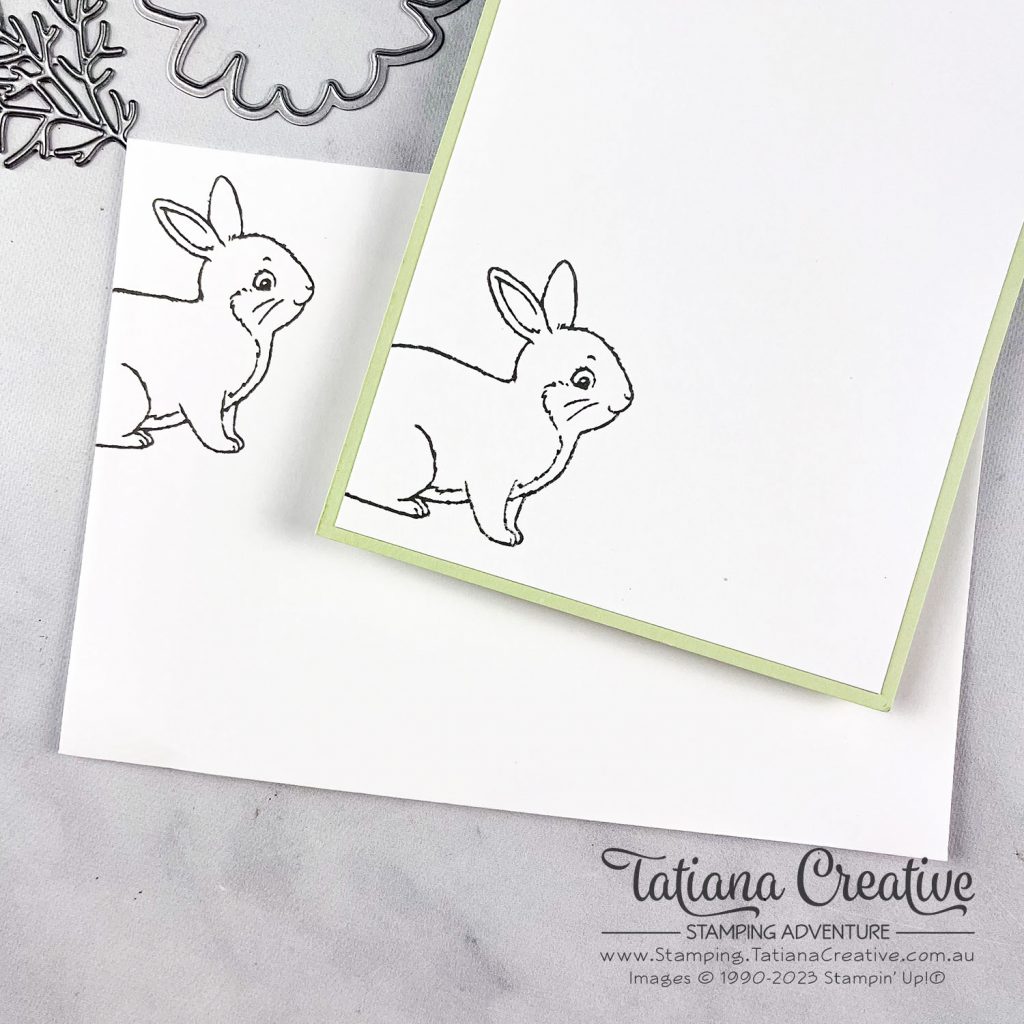
- Card Insert: Basic White (10 x 14.35 cm)
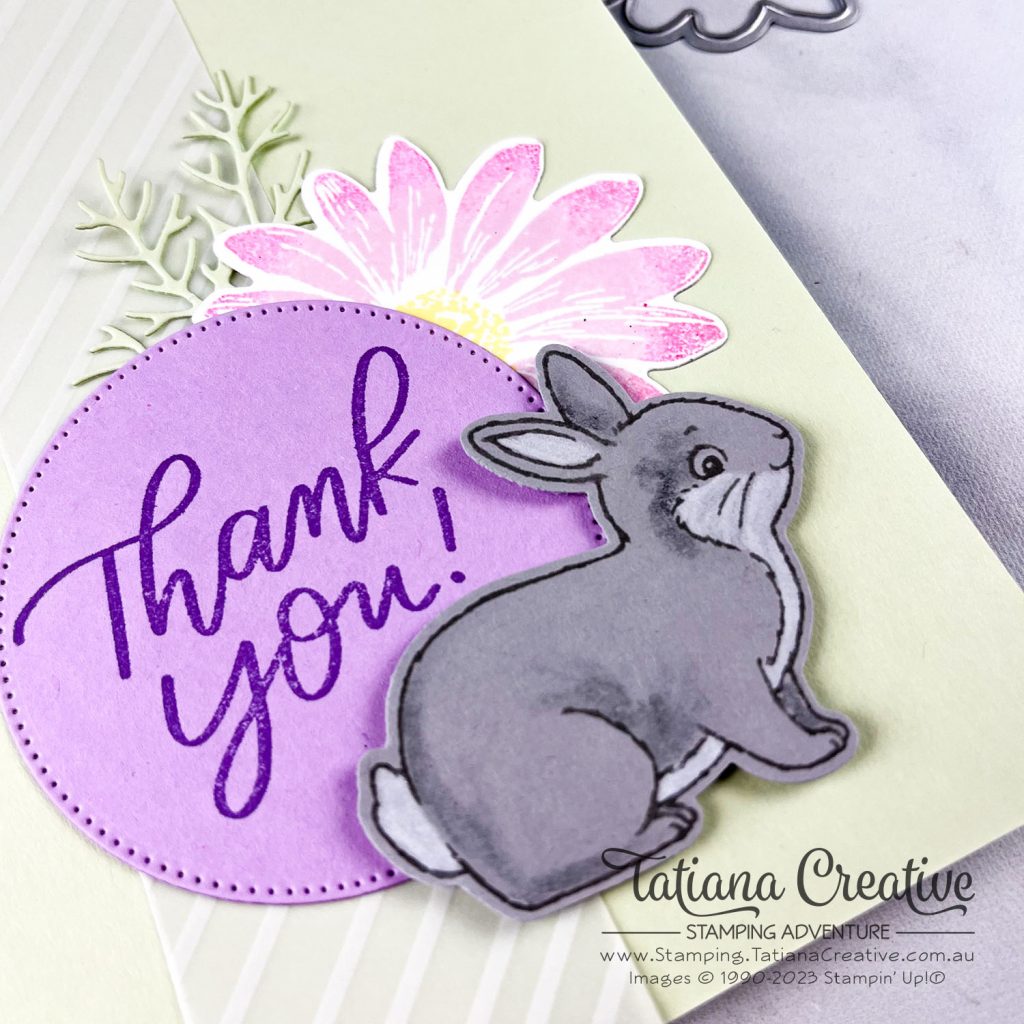
- Start by stamping the bunny that coordinates with the Easter Bunny Punch in Basic Gray ink onto Gray Granite cardstock. Add some shading with the Basic Gray Watercolor Pencil and blend out using a Blender Pen.
- Using the Basic White Watercolor Pencil add some highlights on the tail, inside the ear, and chest. Blend using a Blender Pen.
- Punch out using the Easter Bunny Punch.
- Onto the Fresh Freesia circle stamp the “Thank You” from Good Feelings stamp set in Highland Heather.
- On a piece of Basic White cardstock stamp the large daisy from the Cheerful Daisies stamp set. To get the two tone look, first ink the stamp in Bubble Bath ink and then using a Sponge Dauber ink Melon Mambo ink around the tips of each petal and then stamp. Die cut out with coordinating die.
- Die cut from Soft Sea Foam cardstock one sprig from the Cheerful Daisies Dies.
- To assemble, adhere the spiral of Vellum Basics Specialty DSP to the card front. Then add the daisy and sprig behind the sentiment circle and add to the card. Finish by adding the bunny using Stampin’ Dimensionals.


No project is complete till you decorate the envelope and the inside. I kept this simple by stamping the same bunny in Basic Gray ink.
You can join me at my next retreat on the 8th – 10th Septembers for a celebration of florals. There’s a limited number of spots left. If you can’t make it, then you can join in at home and get all of the same swag. For all the information visit – www.craftingretreat.com.au
Thank you for visiting my blog! I hope that I’ve inspired you to be creative.
Bye for now!
Tatiana
- Join Stampin’ Up!® to start getting your products at 20% discount: CLICK HERE
- Request a Catalogue to see what products you can purchase: CLICK HERE
- Subscribe to my newsletter to keep up to date with the latest news: CLICK HERE
- Follow me on Facebook for regular updates and inspiration: CLICK HERE
- Go SHOPPING for clearance items and specials: CLICK HERE
If you live in Australia you can purchase Stampin’ Up!® products from my online store.
Current Host Code (August 2024): NN39AWU4
(Use the hostess code when ordering less than $250. All orders over get a handmade card from me. Orders over $50 will receive a FREE gift, and collect stickers part of my Customer Loyalty Program! Orders over $90 will also get a FREE tutorial bundle the following month!!). Click here to shop now using the current Host Code.
Supplies:
You can purchase the of the supplies I used in this project. Please click on the image below to purchase. Thank you for your support.
Basic Supplies:
I highly recommend the following basic supplies to make your paper crafting experience easier. I use this products in every project.


